pfang56
2255

Strap Changing on a RM005 (long)...
Dear Purists:
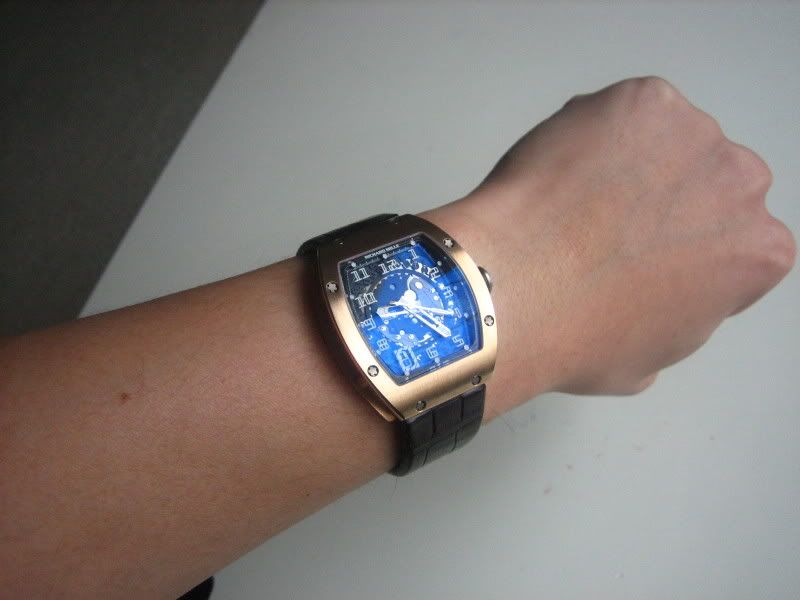
I wanted to share with the community a little photoessay on changing the strap on a RM005.
As a Panerai collector, I have been clearly spoiled by the simplicity and ease of the strap changing system on modern Panerai (although the more vintage pieces have more permanent straps), allowing users to change the look of their watch without the aid of an experienced service technician. Of course, this contributes to a form of obsessive strap changing disorder, where I'm continuously in search for the "ultimate" strap for each timepiece.
The possibility to change straps on RM intrigued me about the RM brand. Of course, I was most attracted to the primary attributes of the brand - avant-garde design, robustness, and exclusivity - but I was also happy that I could somehow personalize the look of the watch without the need to visit the Authorized dealer for assistance, and at the same time, feed the obsession developed from Panerai...
Anyway, to some important notes prior to starting the process:
- Overall, you must use the RM screwdriver, to match the fine titanium screws. Using other screwdrivers will only damage your fine timepiece
- Certain straps are compatible with certain screws. Be sure to check with your RM service manager to confirm that your strap can be replaced with the screws attached to your watch.
- Also, for the first time, I would recommend doing this in front of your friendly RM service manager.
- Your mileage may vary, and change straps at your own risk...
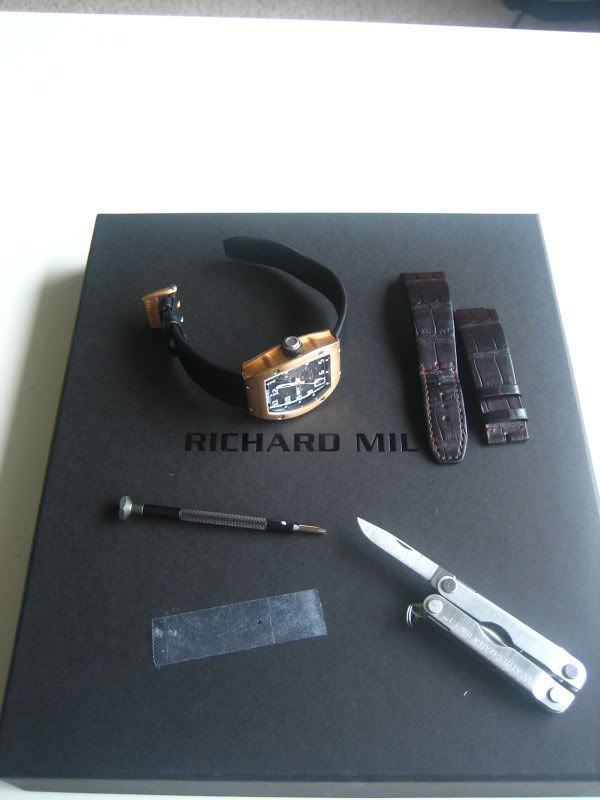
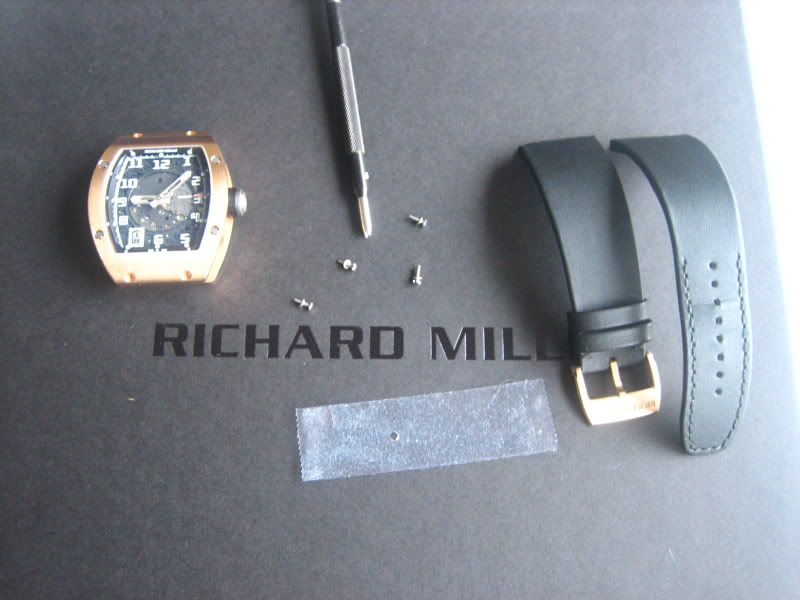
Items Needed:
Your RM Watch
An RM Screwdriver
Extra Strap
Piece of Clear Tape
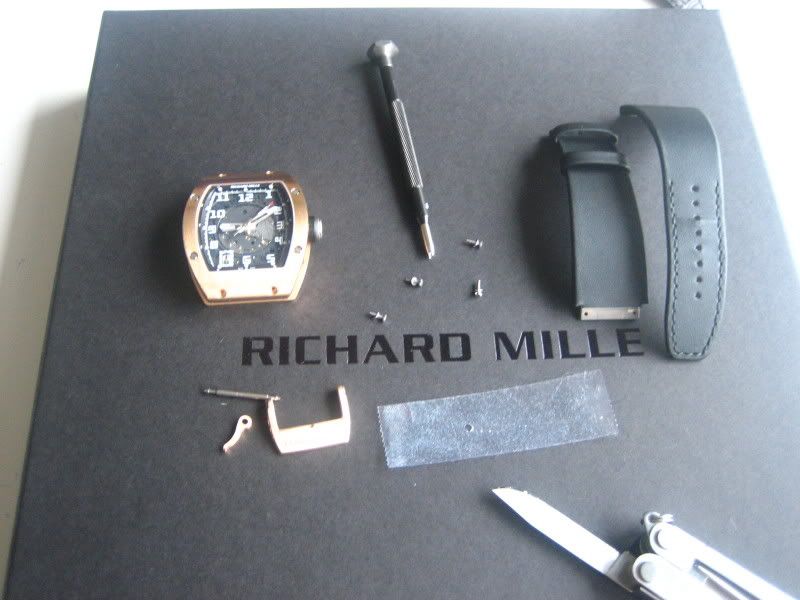
Blunt Knife (Mini-leatherman used here)
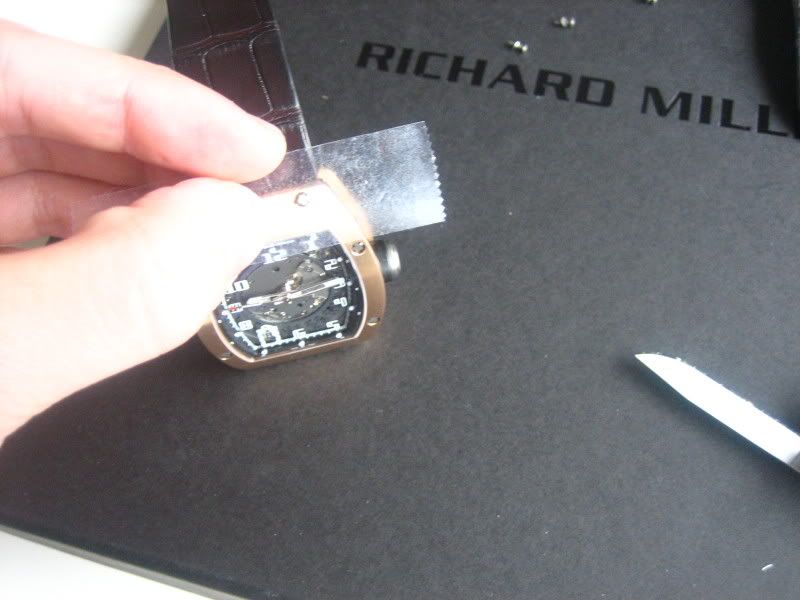
Step 1: Prepare Tape (no picture here)
This piece of Tape will serve as a guide for the screws and help prevent any scratches from any surrounding areas.
Take a small section of clear tape (approximately 3 inches long). Allow the tape to adhere to any fibre (carpet, jeans, cashmere works fine), and reduce the stickiness of the tape until it adheres like a post-it note. Make a hole in the middle of the tape by using the RM Screwdriver. Remove any remnant tape or adhesive on the RM screwdriver.
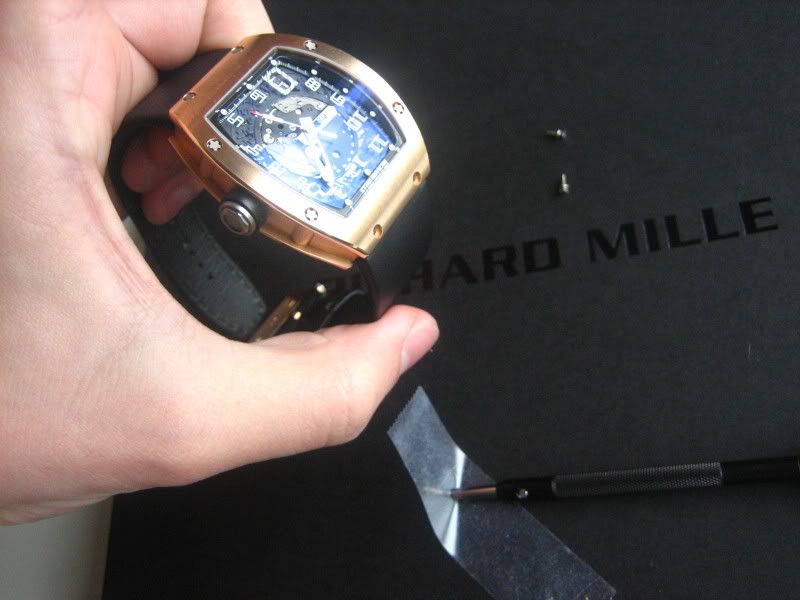
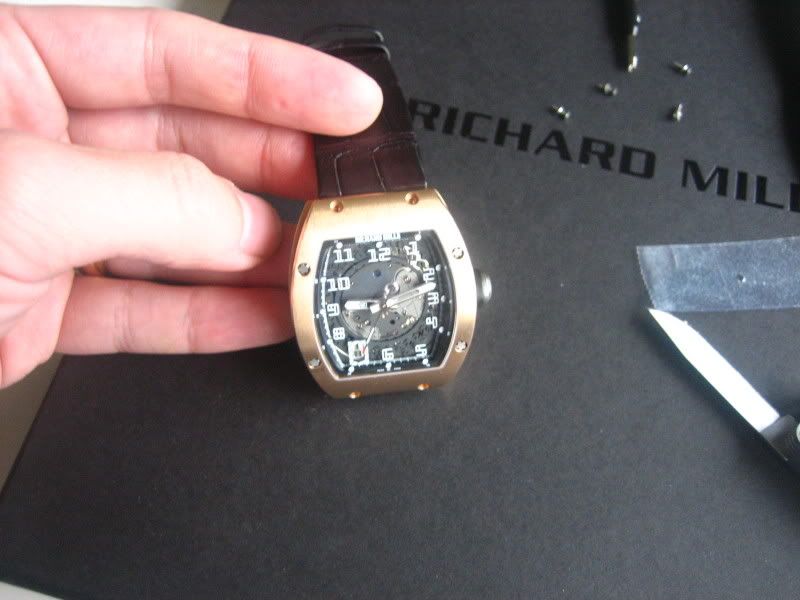
Step 2: Removing the Screws
Take the tape and place it over the watch, so that the hole is directly over the targeted screw.
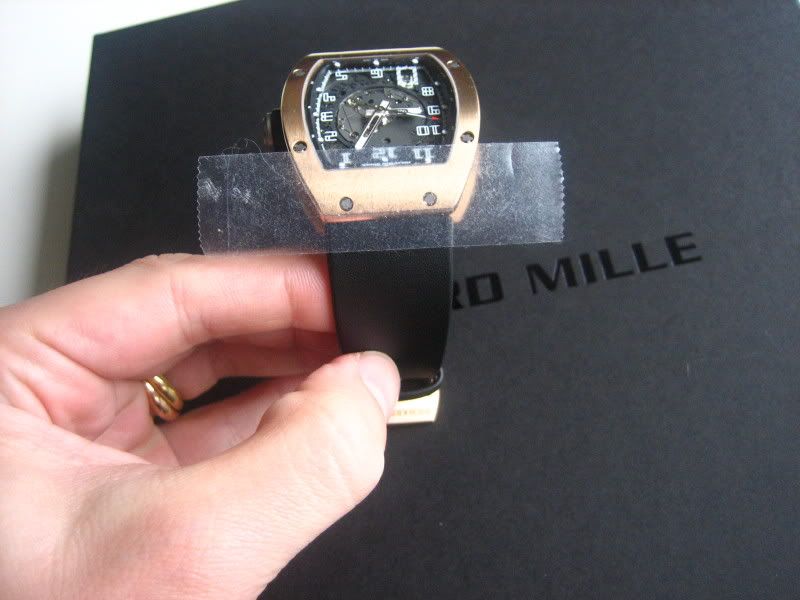
Carefully apply the RM Screwdriver on the targeted screw at an angle directly perpendicular to the surface. Slowly twist counterclockwise until the RM Screwdriver has attached to the screw. Once the RM Screwdriver is attached, begin firmly twisting counterclockwise (using soft force) until the screw does not advance upwards.
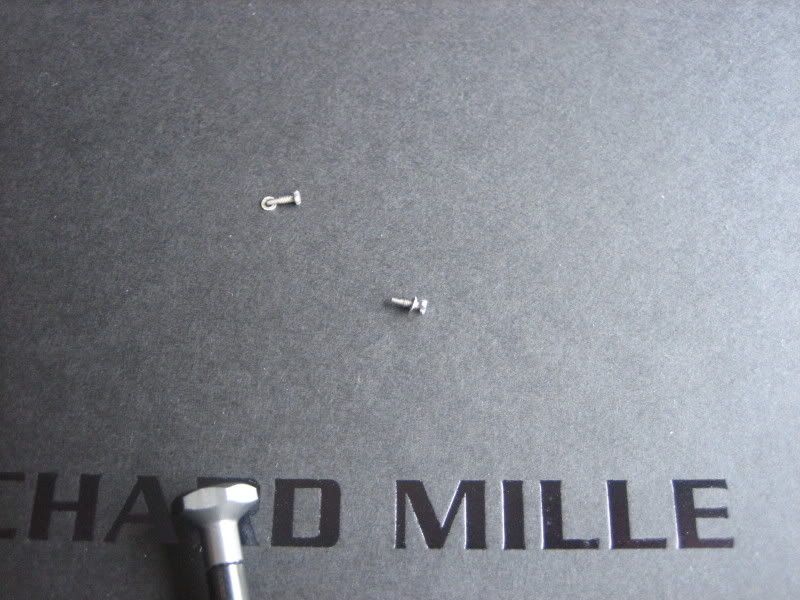
Remove the RM Screwdriver. Slowly turn the watch upside down so that the screw assembly falls out from the slot. Important: The RM Screw assembly contains a screw and a small washer. Be sure that both pieces are kept together.
Once you remove the first Screw, remove the second screw on the same side using the same process in Step 2.
Step 3: Removing the Strap
Once the two screws are removed, the strap should continue to be attached the watch.
Firmly pull the strap away from the watch. A slight side-to-side motion may be necessary to remove the strap.
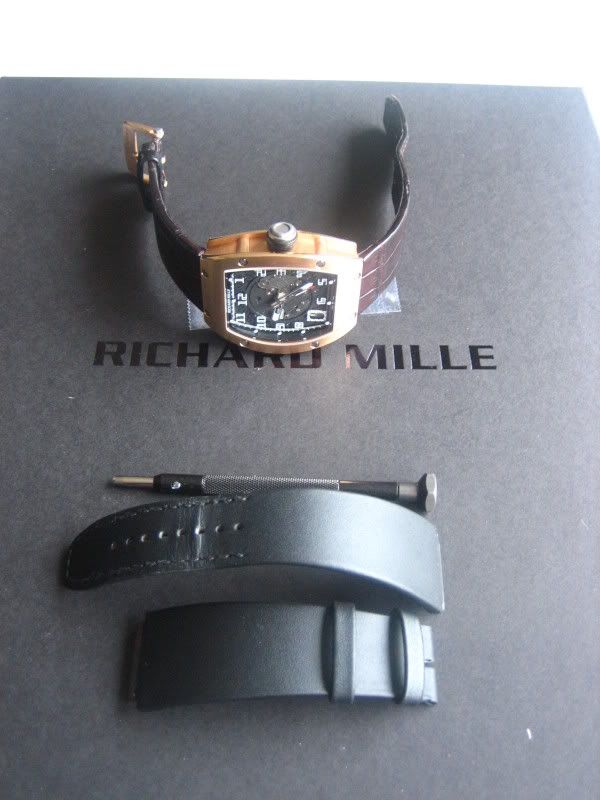
Step 4: Repeat Steps 2 and 3 for the other side
Once complete, you should have the following disassembly
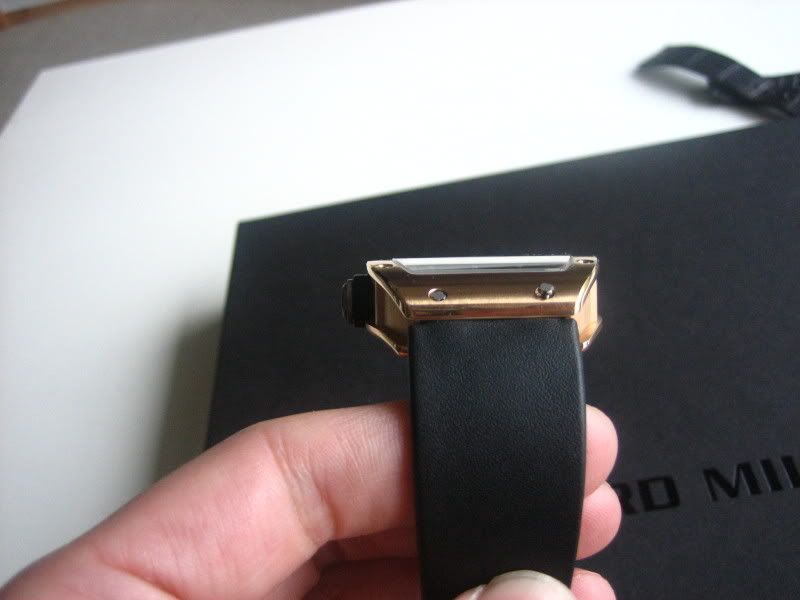
Step 5: Removing the Buckle
In all of its extraordinary gold exterior presentation, the RM Buckle is anchored on a simple steel springbar. Total surprise to me (I was expecting more robust materials), but nonetheless, very easy to remove.
With one hand, take the buckle end of the strap, and compress both sides, to expose the corner of the springbar.

Take your blunt knife, and insert it at the intersection of the buckle and the springbar, while not touching the strap. Carefully and slightly twist the knife so that the springbar moves inwards towards the strap. At some point (approximately 1-2mm), the springbar end should come free of the buckle.
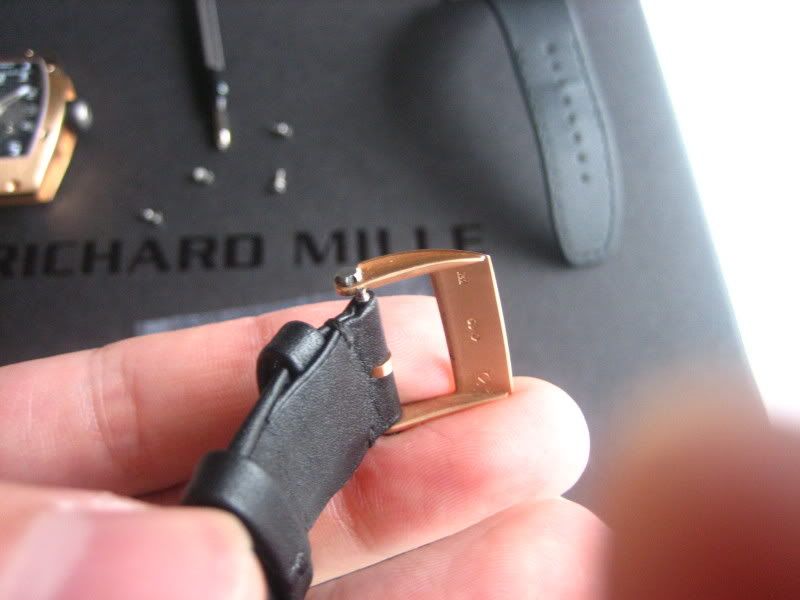
Remove the buckle from the springbar altogether, being careful not to allow the springbar to escape. Remove the spingbar, and attached buckle extension, and place it aside.
Step 5: Attaching the Buckle to the New Strap
Take the new strap (old strap pictured here
, and place the buckle extension in the middle slot. Slowly thread the springbar to the strap so that it threads through the buckle extension and reaches the other side. 
Make sure the buckle extension is placed in its "upwards" position (above the natural placement of the buckle). Now, seat the springbar to one side of the buckle. There should be a small hole at the end of the buckle to guide you. Once you seat the springbar to one side of the buckle, rest the other side next to the springbar (previous picture with old strap, but same idea).
With your finger, depress the springbar slightly inwards, so that it can be attached on the buckle. Slowly guide the springbar onto the buckle hole until it "clicks" into place. Confirm that both sides of the springbar are attached by pulling on the overall buckle assembly.
Step 6: Attaching the New Strap to the Body
Insert the strap side (buckle side first) to the top of the watch body. Guide the strap so that you can visualize the holes on the strap.
Once again, place the tape over one targeted screw hole. Insert one screw assembly into the screw hole. Note: Proper placement of the screw assembly through the strap holes is critical here.
Carefully attach the screwdriver onto the screw. Once attached, begin twisting slowly in a clockwise motion. Advancement into the screw hole confirms propert placement of the screw assembly. Continue to twist until the screw is firmly attached.
Conduct the same process with the other screw on the same side.
Step 7: Repeat Step 6 with the other side
Congratulations! You have (hopefully) successfully completed a strap change!
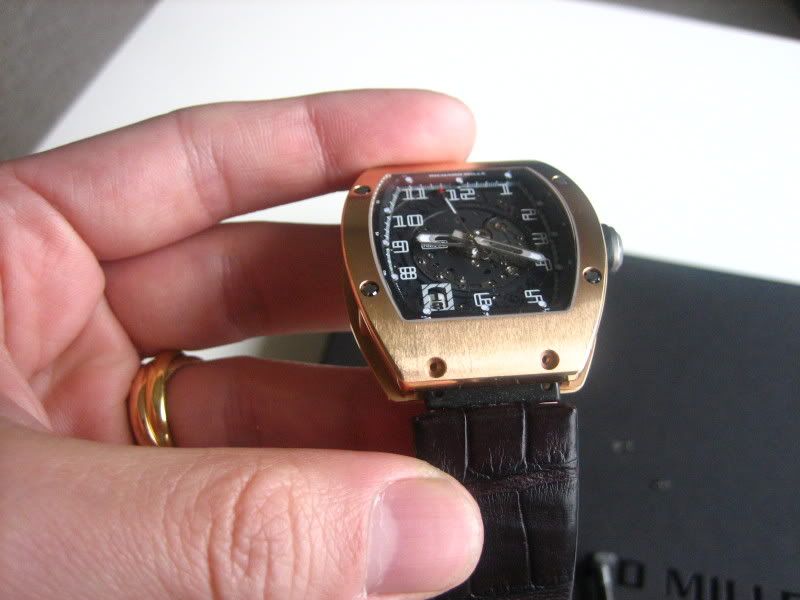
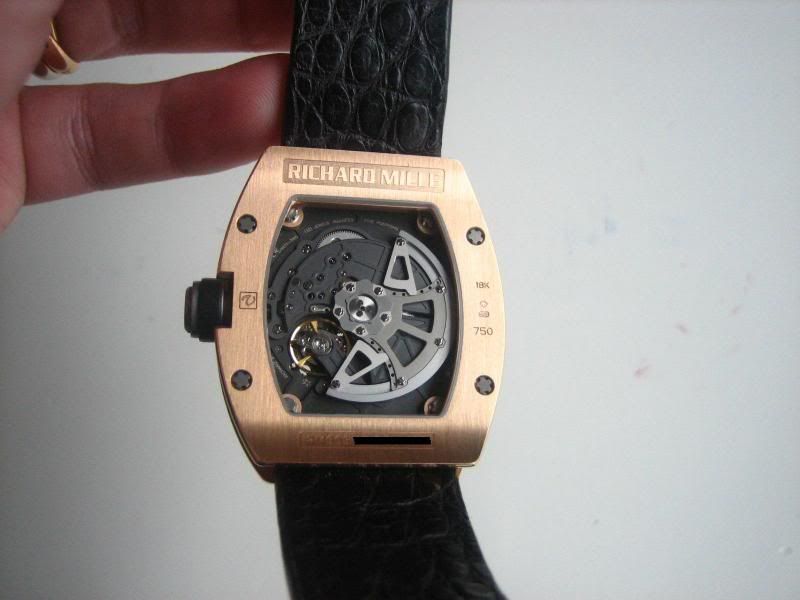
Some gratuitous photographs...
Some last comments. Overall, because of my previous experience and comfort with changing straps on Panerai, I felt that the degree of difficulty was acceptable and not too significant. The process itself is enjoyable, and helps enhance the bond that I have with the watch and the watch brand.
In any case, I hope that this was useful to some, and helpful.
Good luck to everyone, and wish you well,
Regards, Peter


Strap Changing on a RM005 (long)...

Peter - WOW! What can I say, but thank you. With your permission, I would


Tell me more about this strap fetish >>
Excellent questions!...while I have pared down my strap collection as of late...

