cazalea
[Seiko Moderator]
19659

Baking Sourdough Bread
"Sourdough" is a term used to describe bread made with natural yeasts, "captured" from the air by an inviting dish of flour and water which you leave on the counter in your kitchen. This won't work in the desert, or in a snowstorm, or underwater, but next to the coast in California we have nice cooperative wild yeasts for making wine and "San Francisco" Sourdough bread.
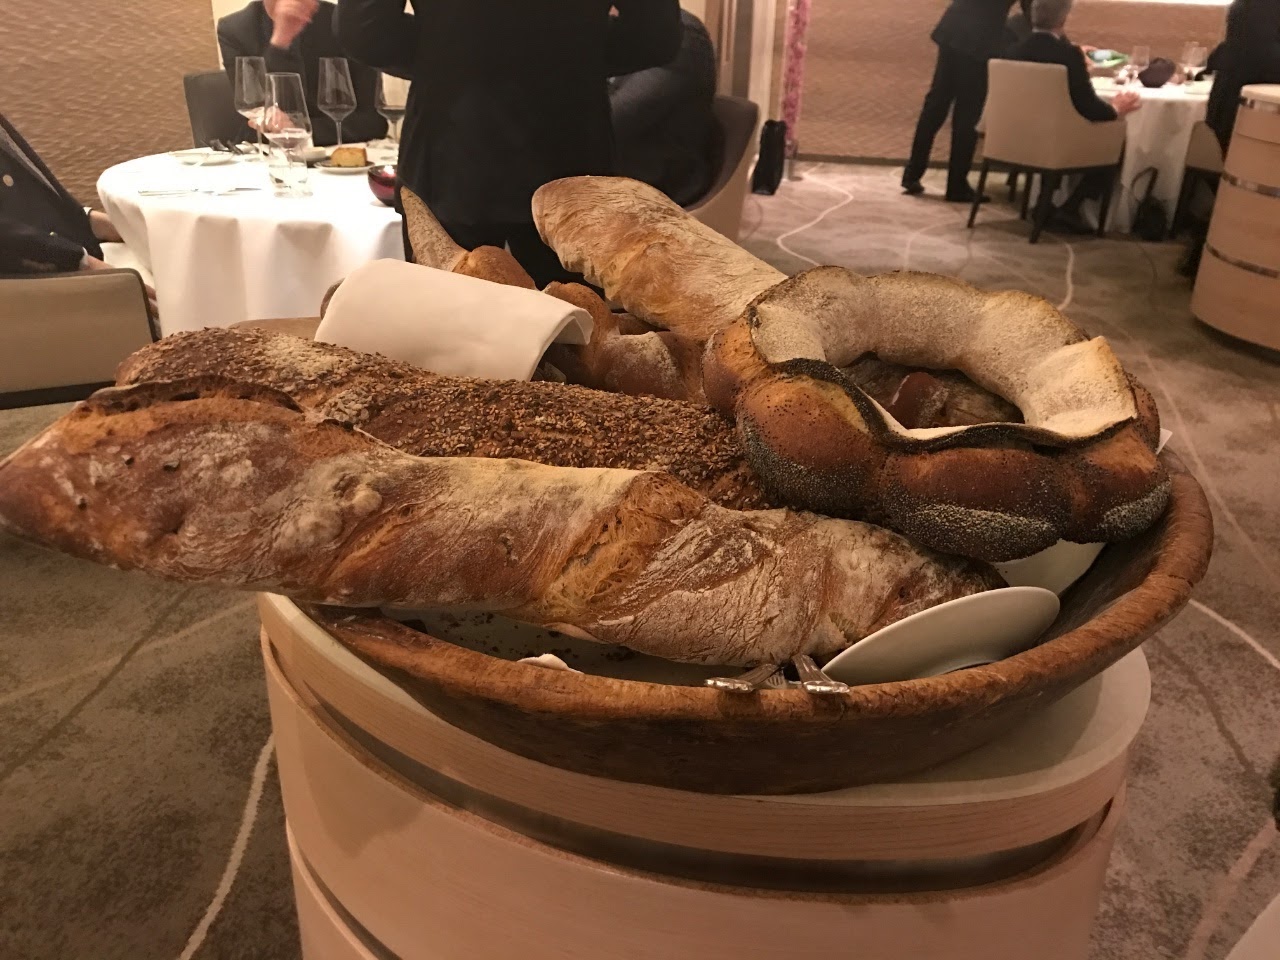
Of course, like all good foods, bread is a very magical thing. RaymondS posted a picture of a basket of the bread and plate(s) of cheese he enjoyed recently, and that inspired me to spend a few rainy days working on my baking skills BECAUSE THIS BREAD LOOKS SO VERY FANTASTIC! (Yes, I am shouting!)
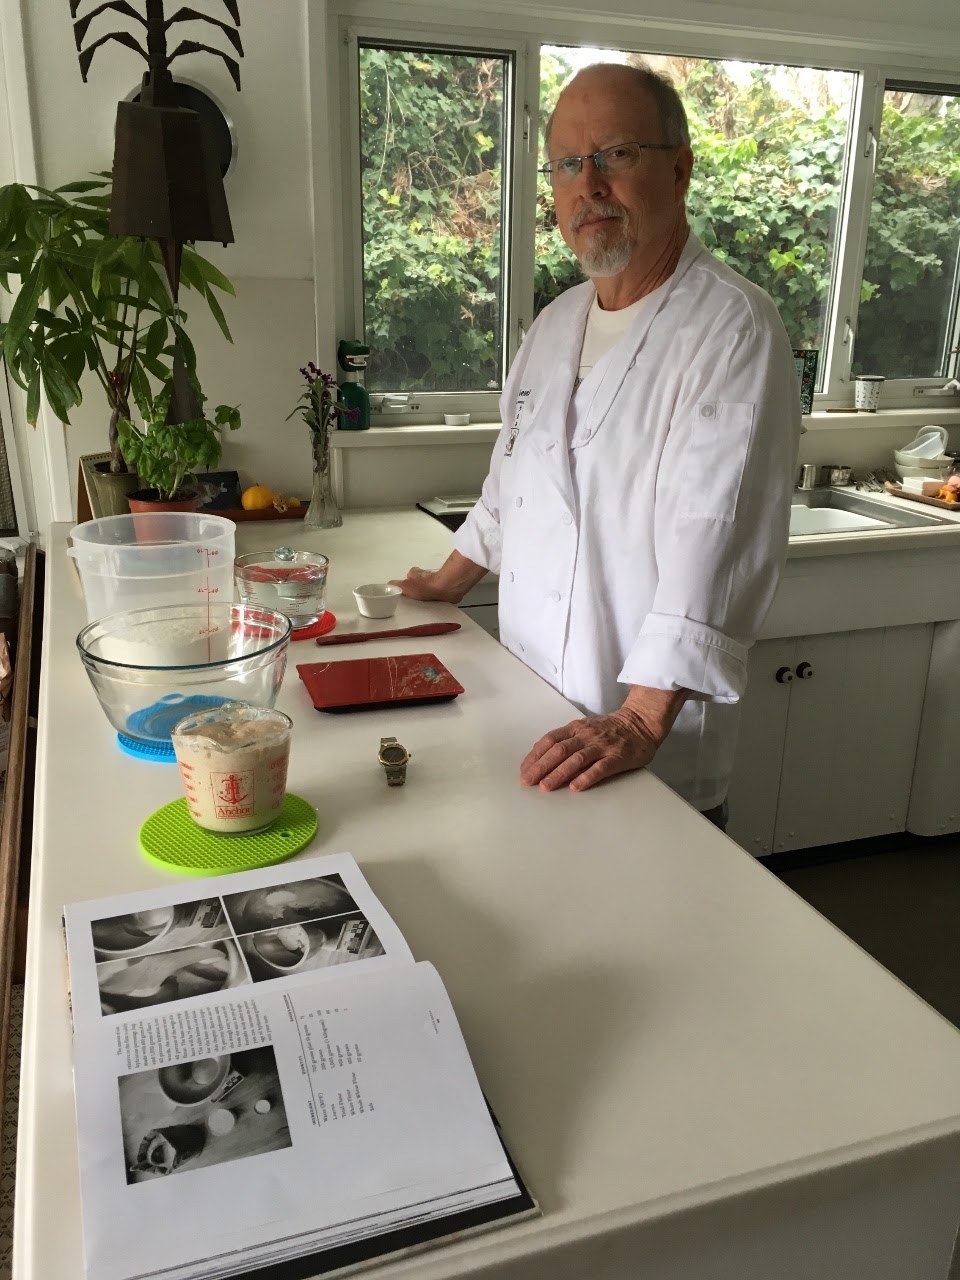
The big bowl has the "sour" batch of fermenting critters, flour and water. The small bowl is a younger, sweeter fermentation which we will use in the bread baking process shown below. It contains 100g flour, 100g water and lots of magical little yeasts that are burping up carbon dioxide, converting complex carbohydrates, making alcohol, etc.

As a guide, I am using a book from Tartine, one of the premiere bakeries in California, USA, Planet Earth, etc. You can see their VIDEO HERE. I have about 10 baking books but this one leapt off the shelf at me this week, so I chose to follow its method.
I am an experienced baker, having made most of our bread for 12-15 years, but have never made sourdough from start to finish.
I put the dish of water and flour on my kitchen counter, and watched over a week as the mixture boiled and bubbled. Each day I fed it more flour and water, stirred, and waited. Now it's ready.
You can see my setup below. I am using a pad under each dish because my Corian counter can be cold and chill the dough. It's cold already due to rain outside, and I don't want to slow down the fermentation.
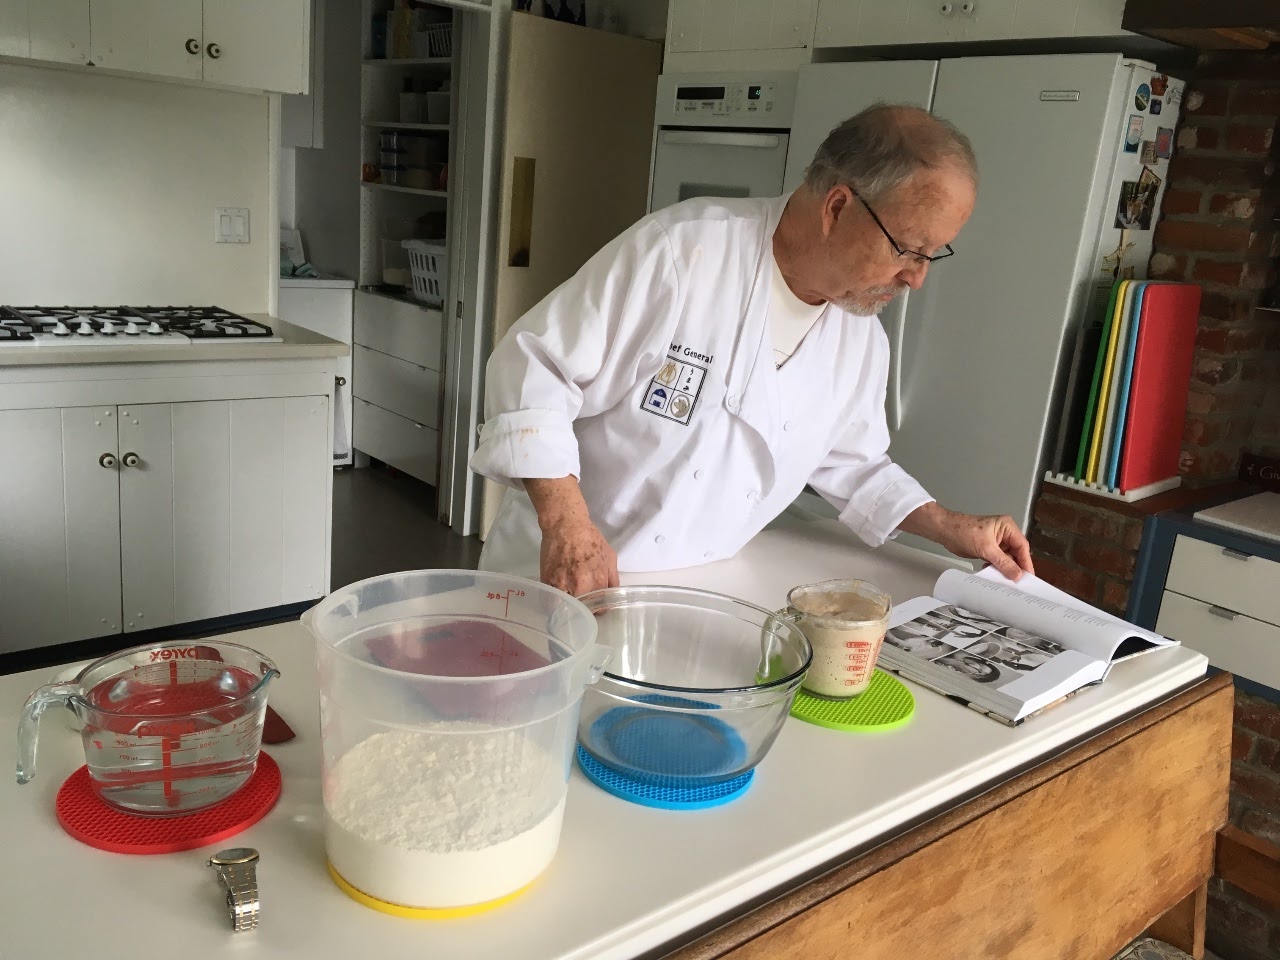
I have 1000g of flour, 1000g of slightly warm water, 200g of starter and 20g of salt. [I will only use 750g of the water] Since my AP's bracelet is not bread-dough resistant, it's watching from the sidelines.
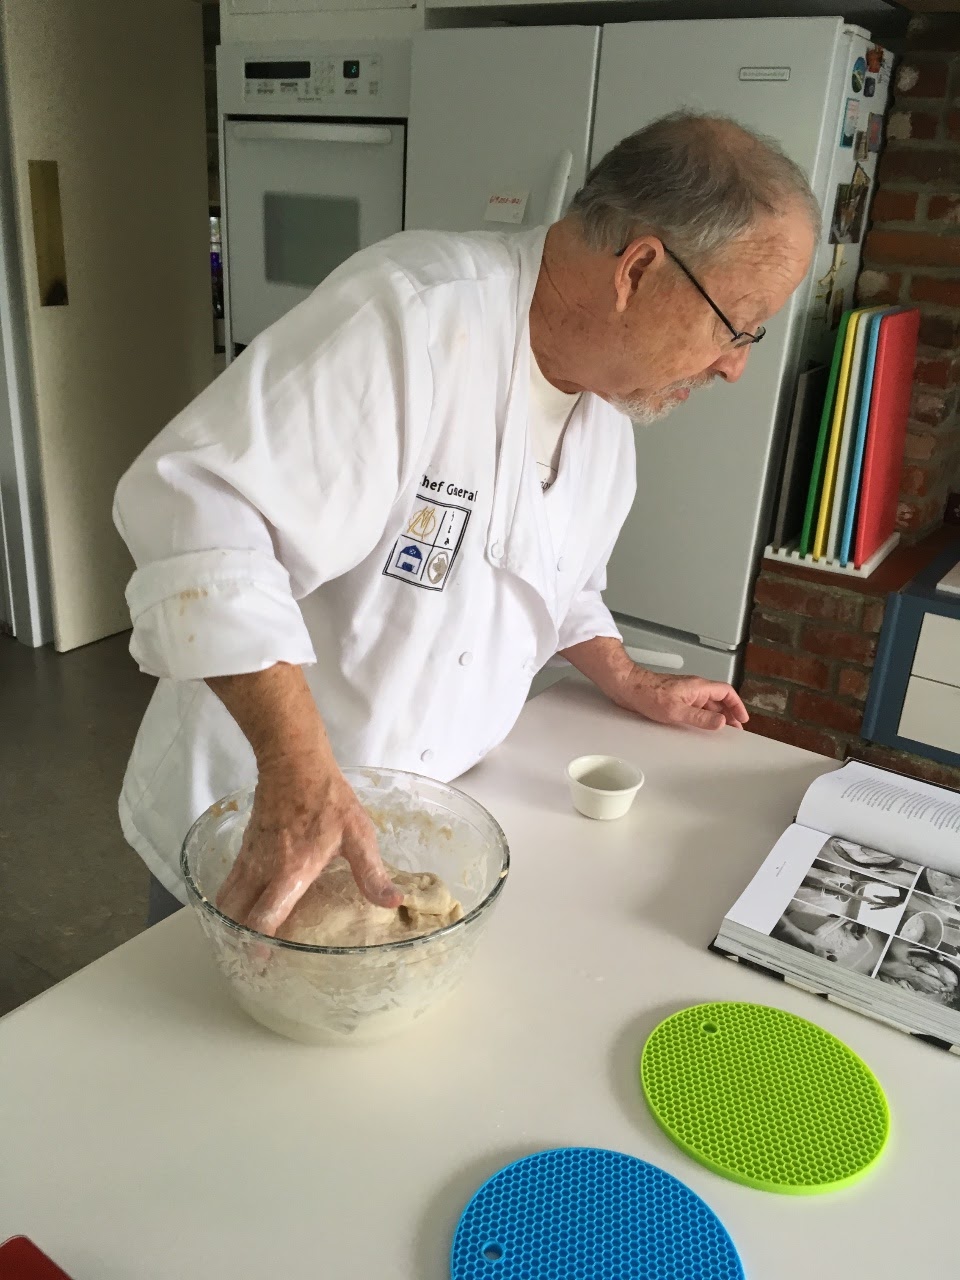
Everything goes in the bowl and gets mixed by hand until no flour is visible. Then it sits for 30-40 minutes and the yeast begins to go to work.
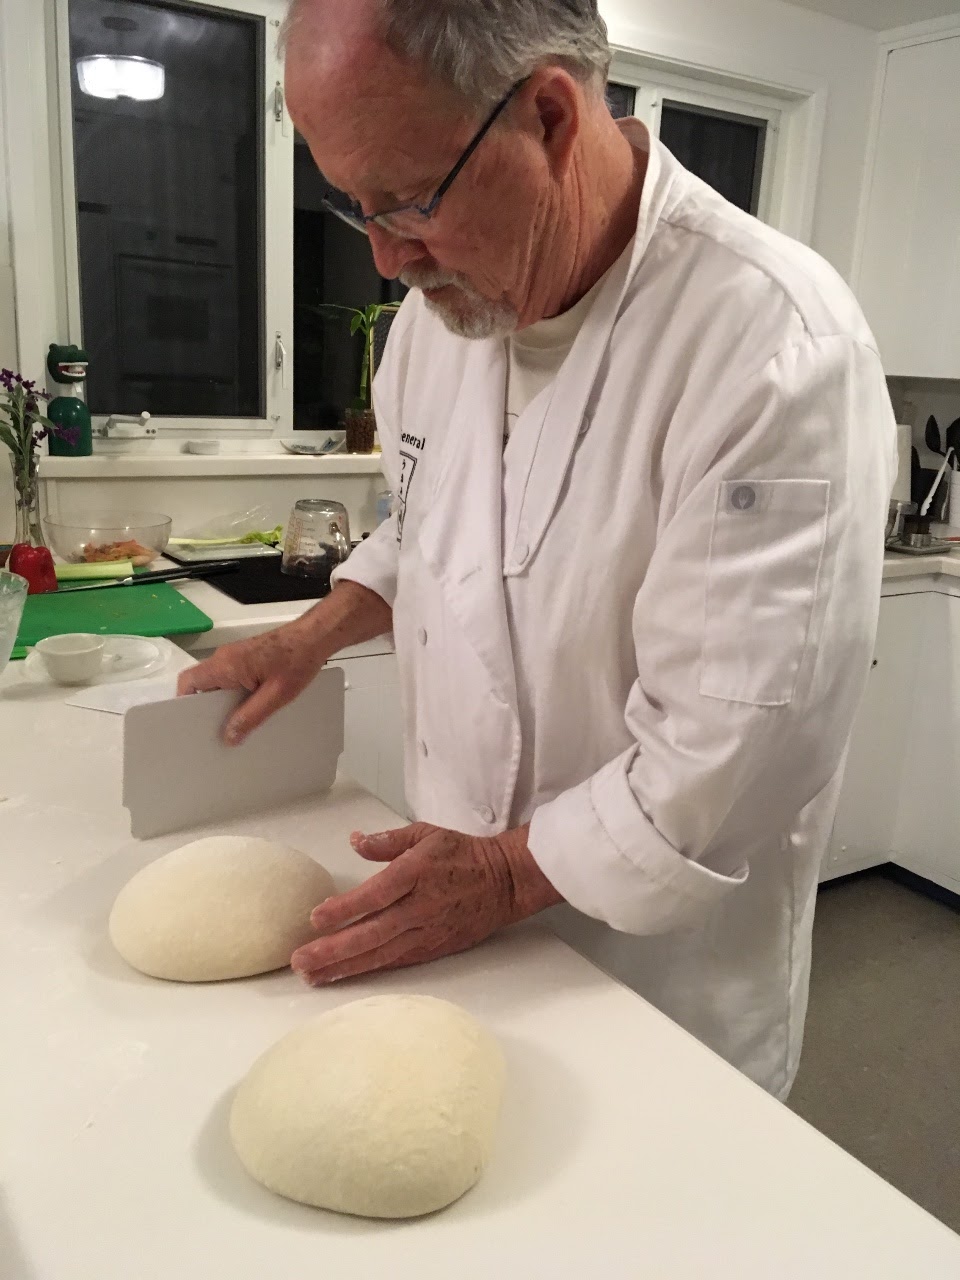
After a few hours of rising, I shape the dough into two balls.
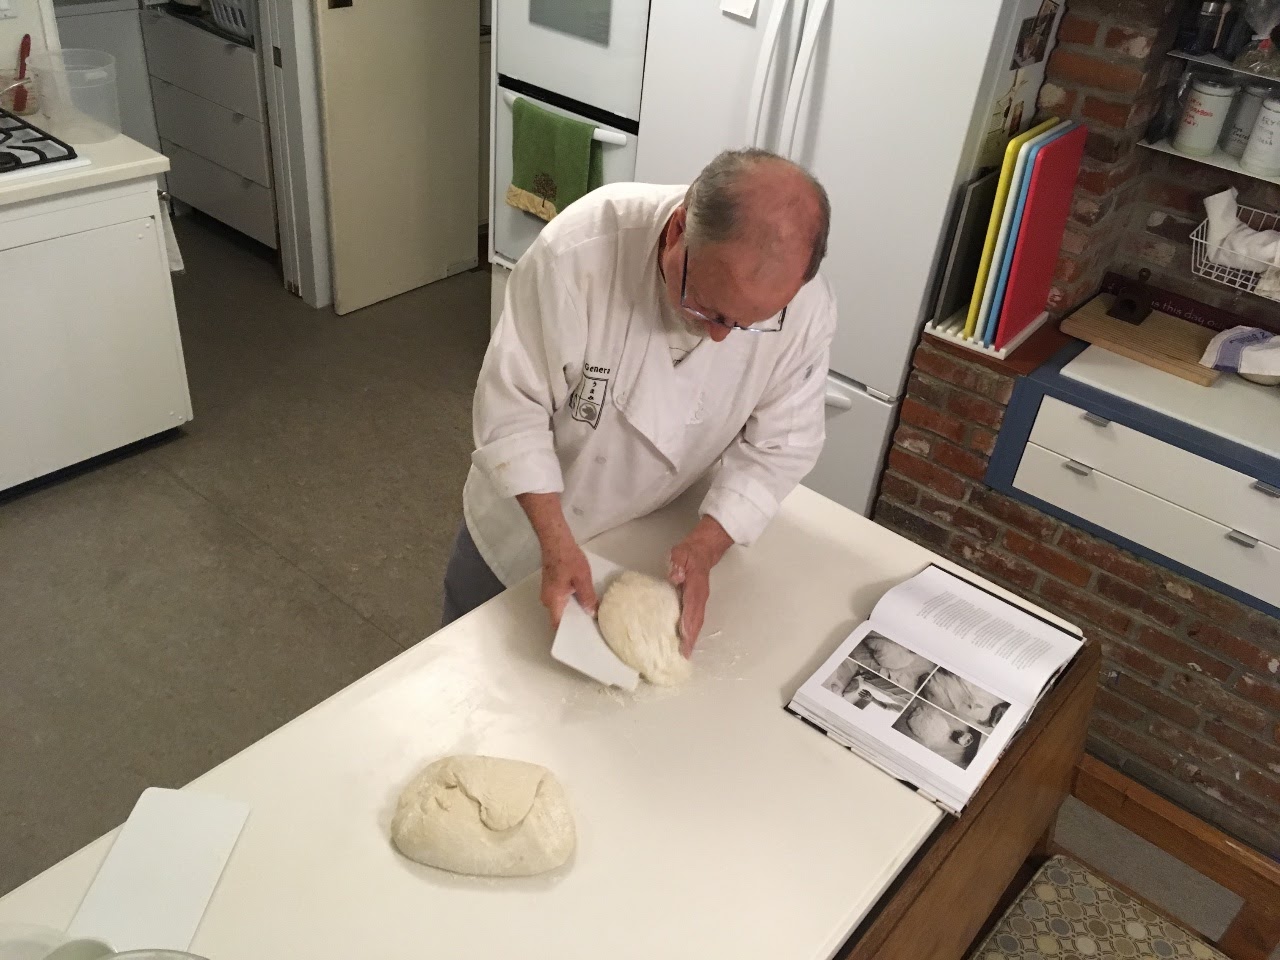
There's no kneading in this method, just careful folding and stretching to develop gluten strands and retain the gases.
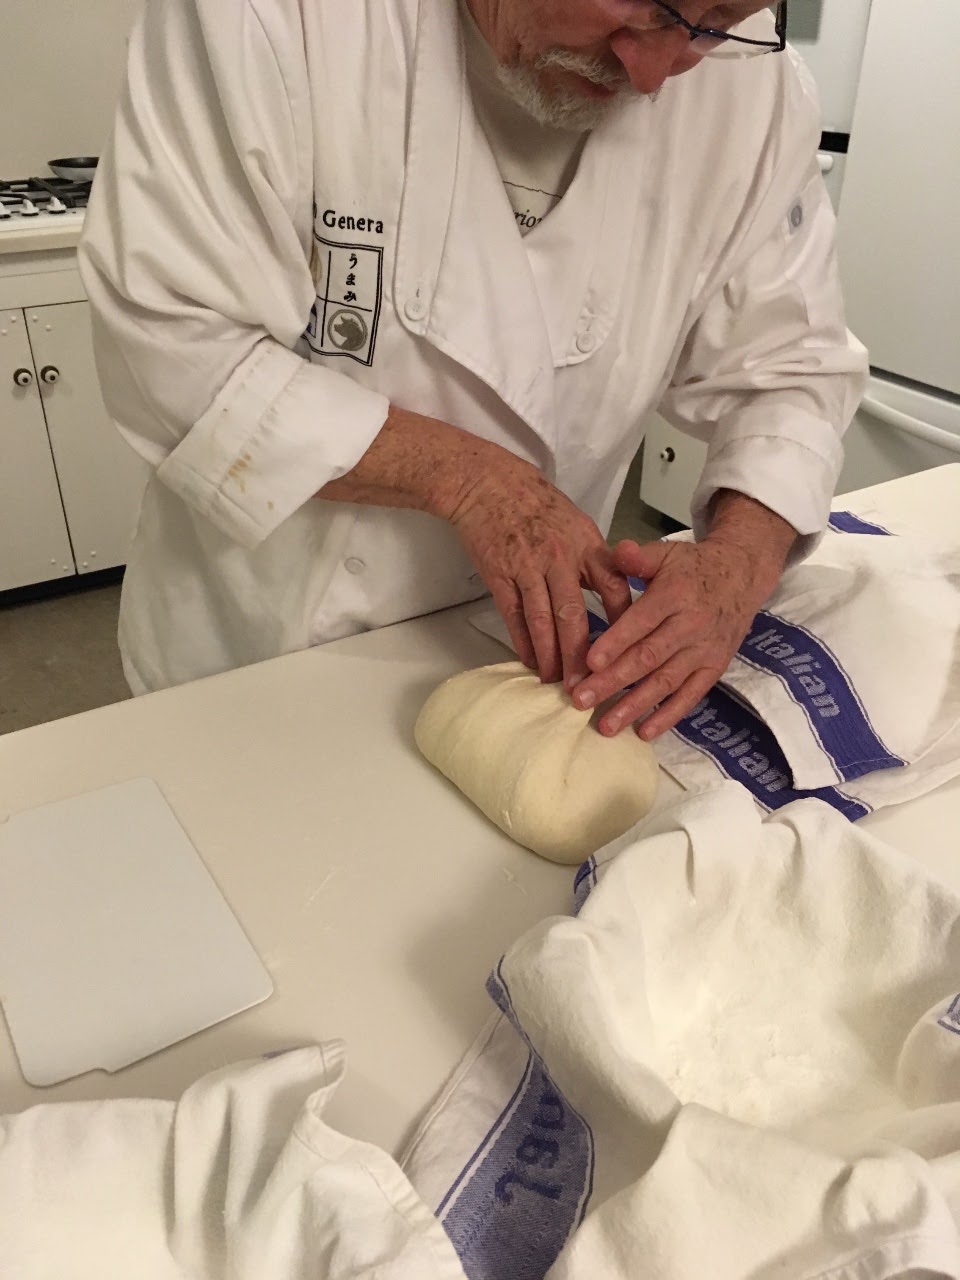
The balls of dough are flipped over and rest in a bowl on a floured towel.
This is actually a very clean process (as breadmaking goes) but the kitchen and I still get a bit of flour on us...

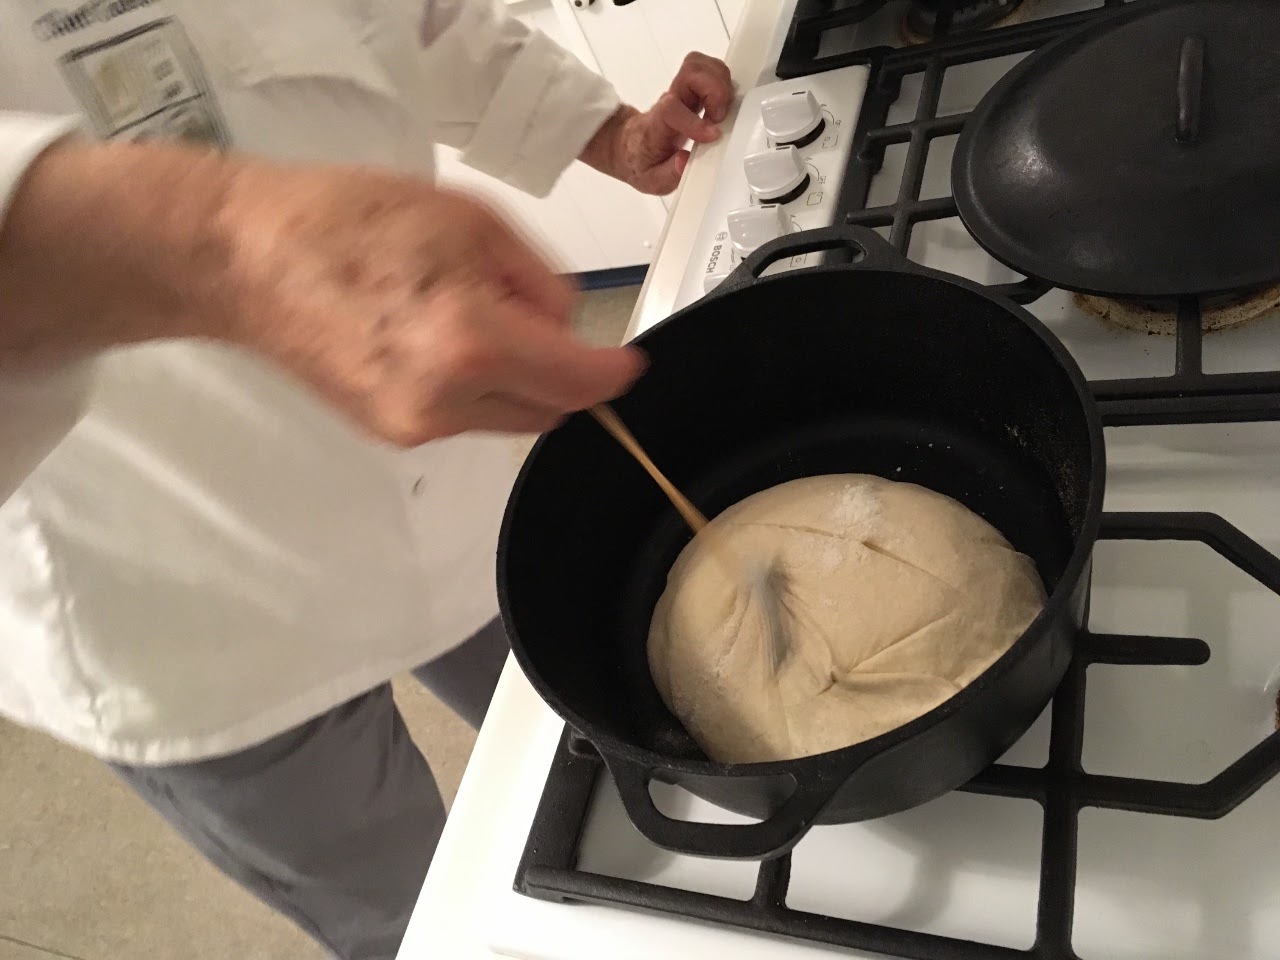
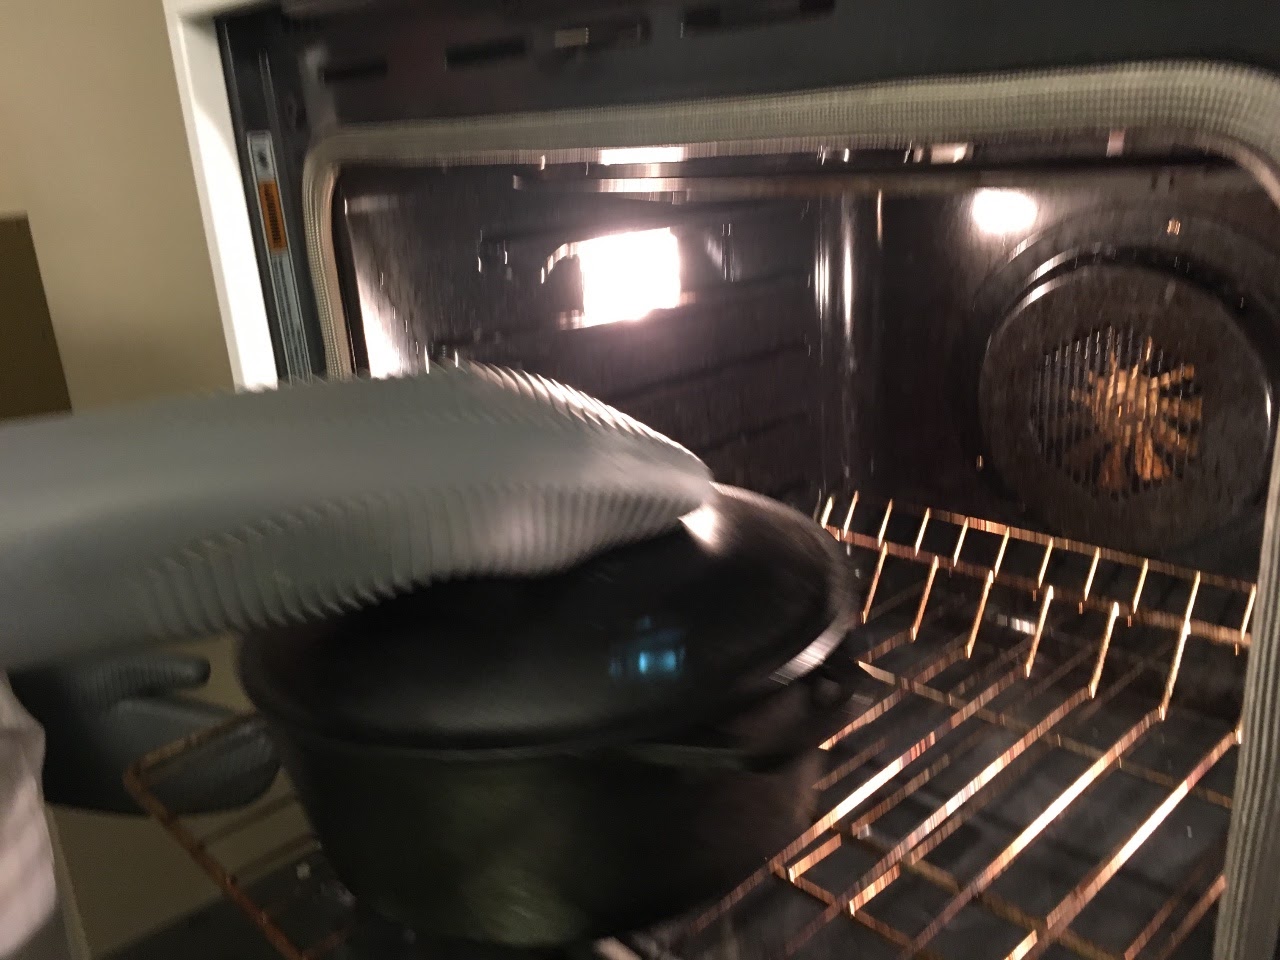
Now I heat the oven and my cast iron Dutch oven to 500 degrees F. The Dutch Oven will function as a sealed chamber that captures the steam coming from the wet dough. This helps it cook and improves the crust.
When the pot is VERY HOT, I remove it and pour in the dough. Slashing the top allows it to expand nicely, and gives an artistic look to the loaf.
Back in the oven, sealed up, for 20 minutes.
After 20 minutes I remove the top and allow it to bake another 20 minutes
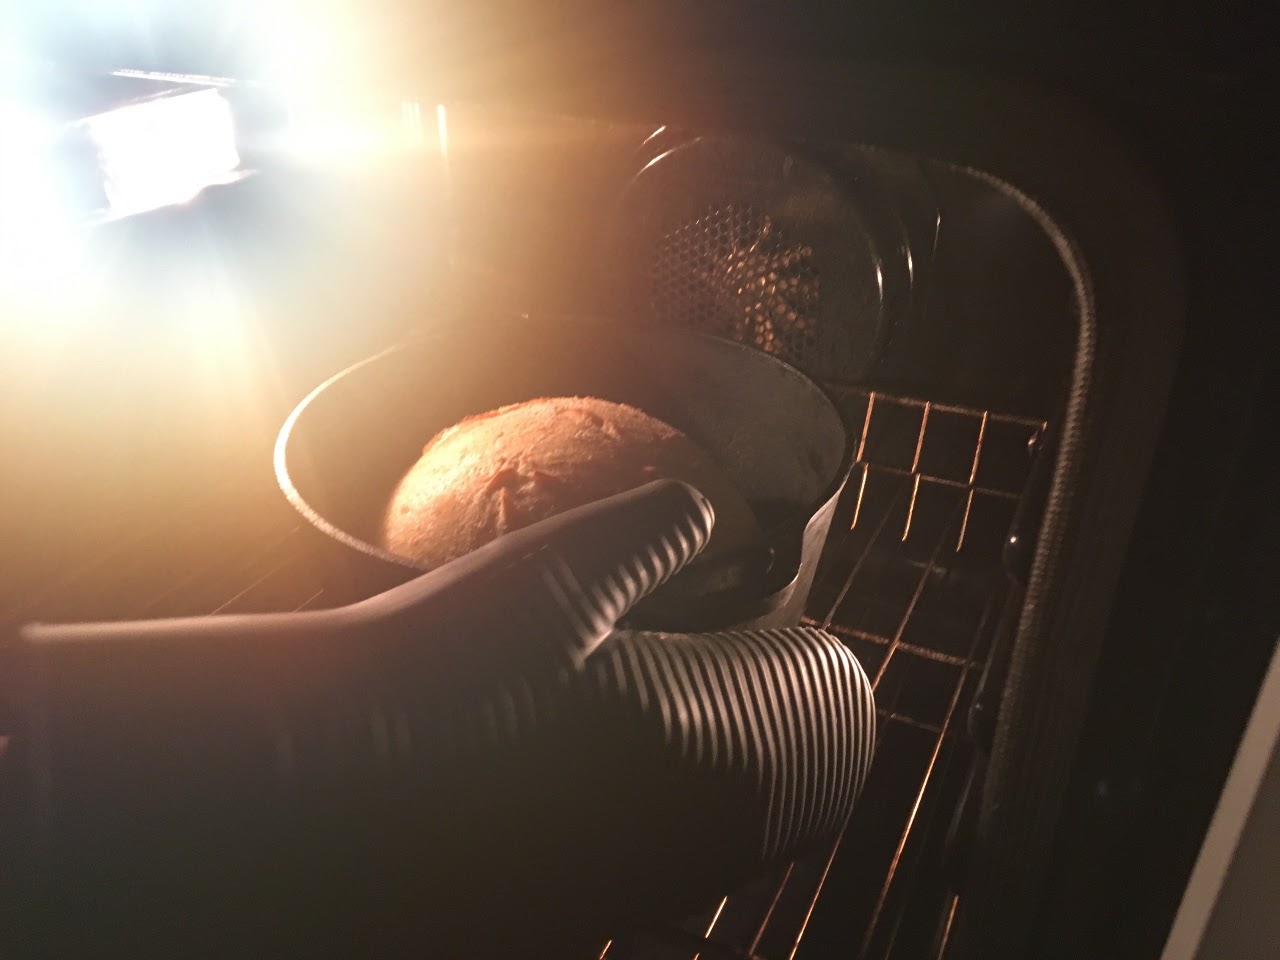
Then we take the loaf out of the Dutch oven and let it sit on the shelf for a few minutes to very gradually dry out and cool.
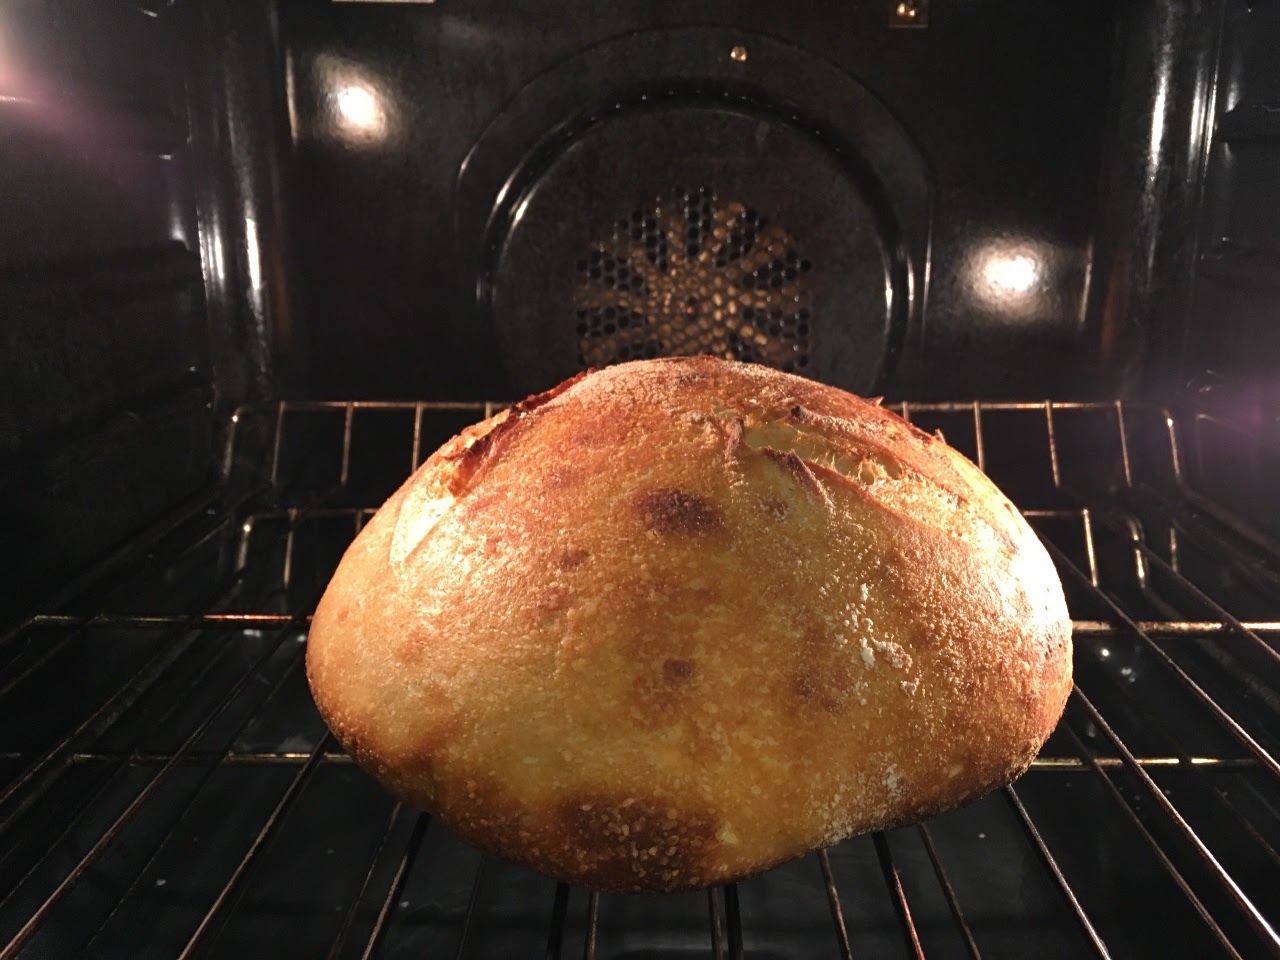
The bread looks and smells great. I put in the second loaf and eventually this is what we got:

It tastes even better than I could imagine, but I have some work to do on getting even distribution throughout the crumb (inside part of the loaf), and it needs to be a bit drier and not so dark on the bottom.

I gave half of the first loaf to a friend and we will cut into the next loaf soon. I have two more in progress today and I expect they will be better.
Cheers,
Cazalea