
tick tock doctor
341

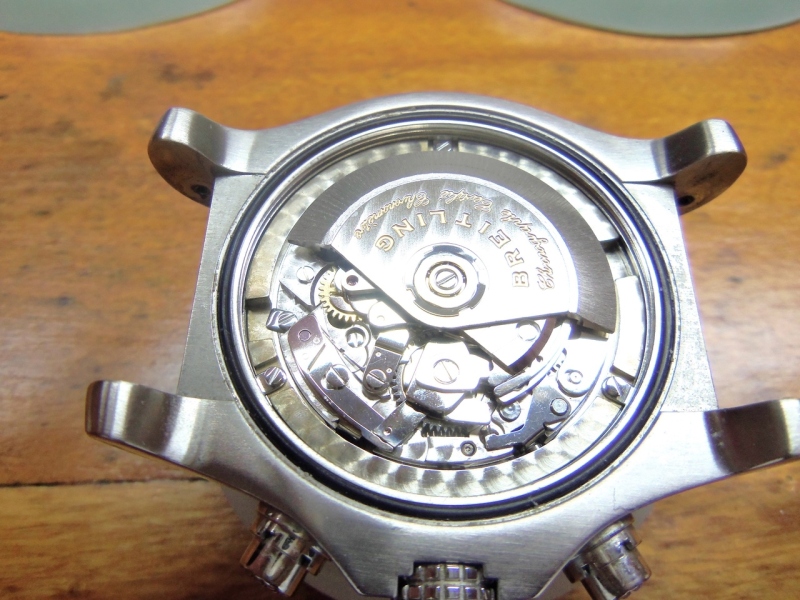
Service of an ETA / Valjoux 7750
This is a chronograph movement used by a multitude of manufactures. Designed in the 1970's by Edmond Capt, this movement uses a three plane cam system known as Coulisse Levier mechanism.

In my experience, the small chrono hands are usually pressed on very tightly to the post. Great care should be used when removing the hands, as not to remove the hand and leave the boss still secured to the post.

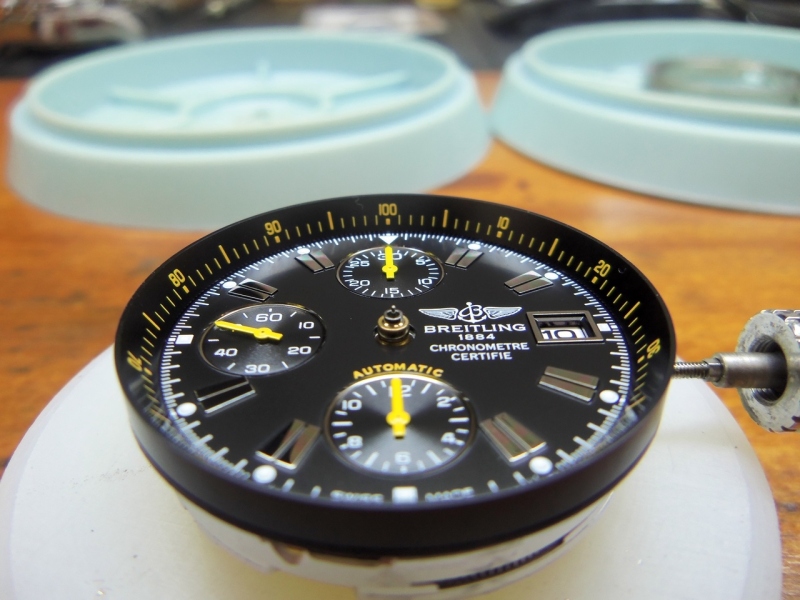
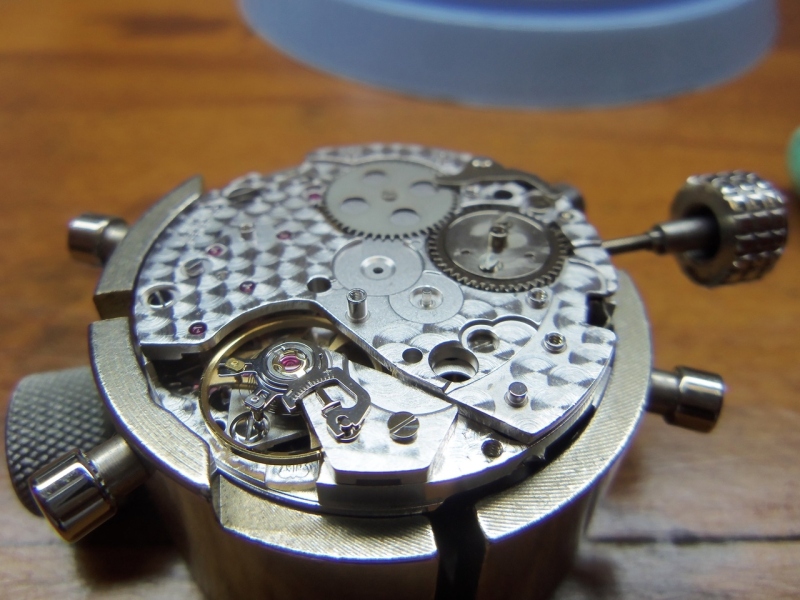
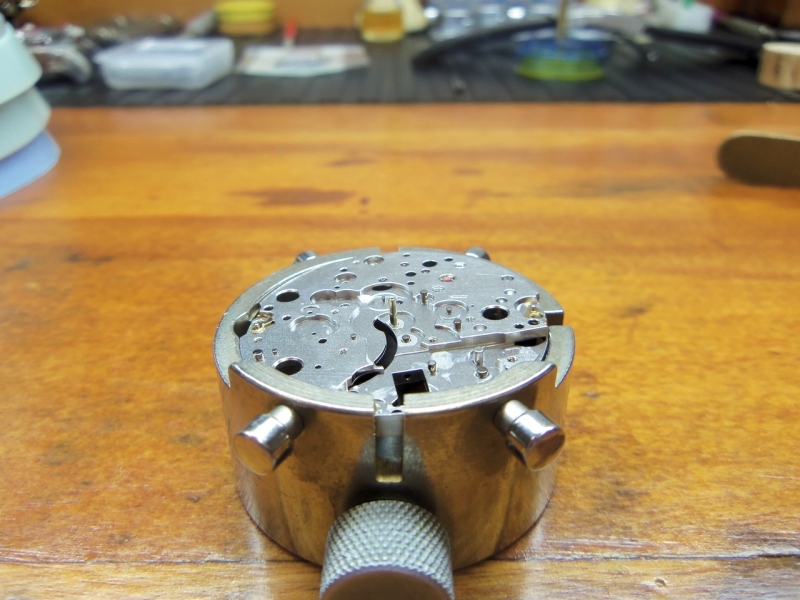
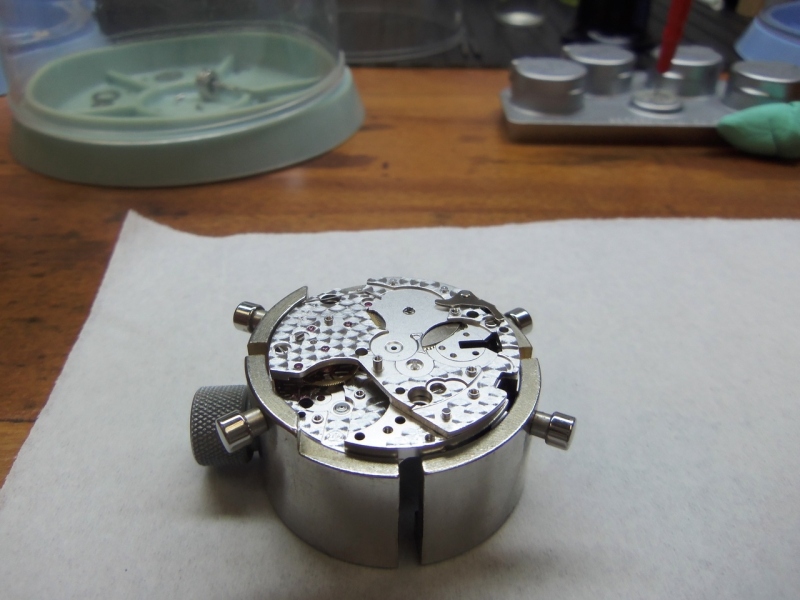
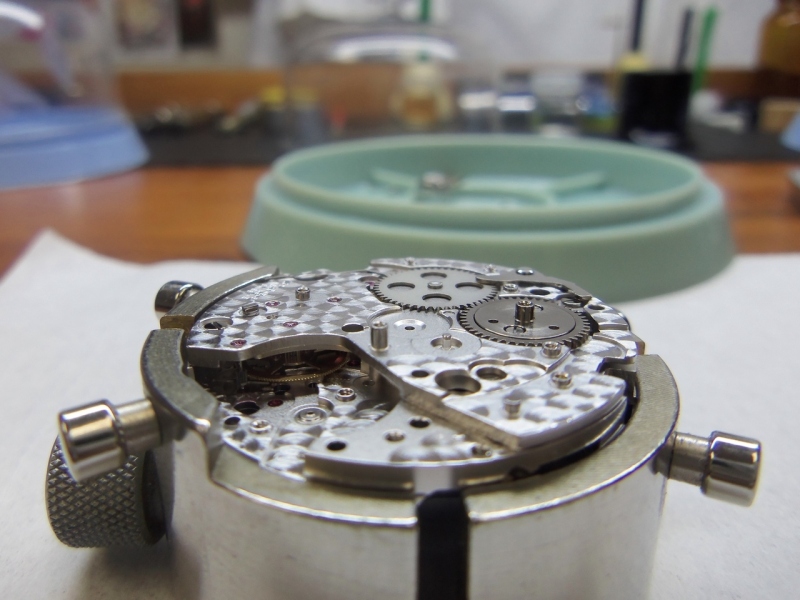
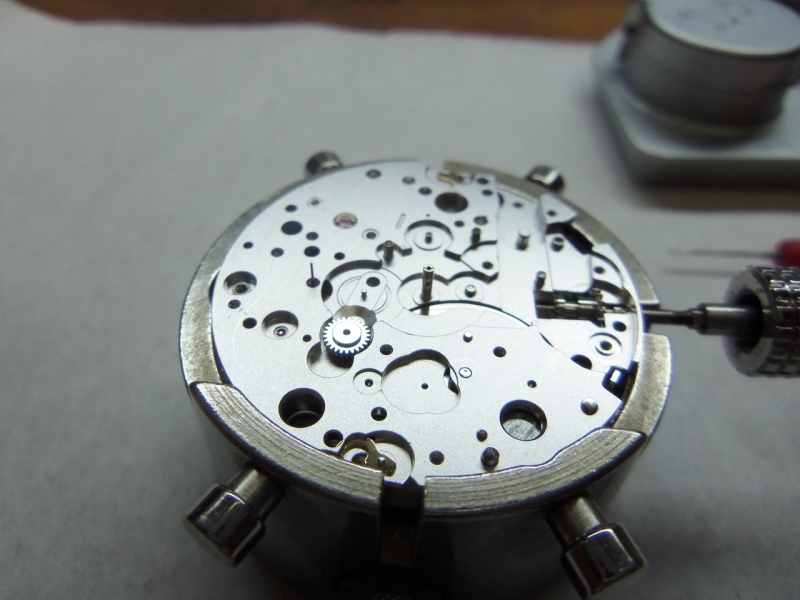
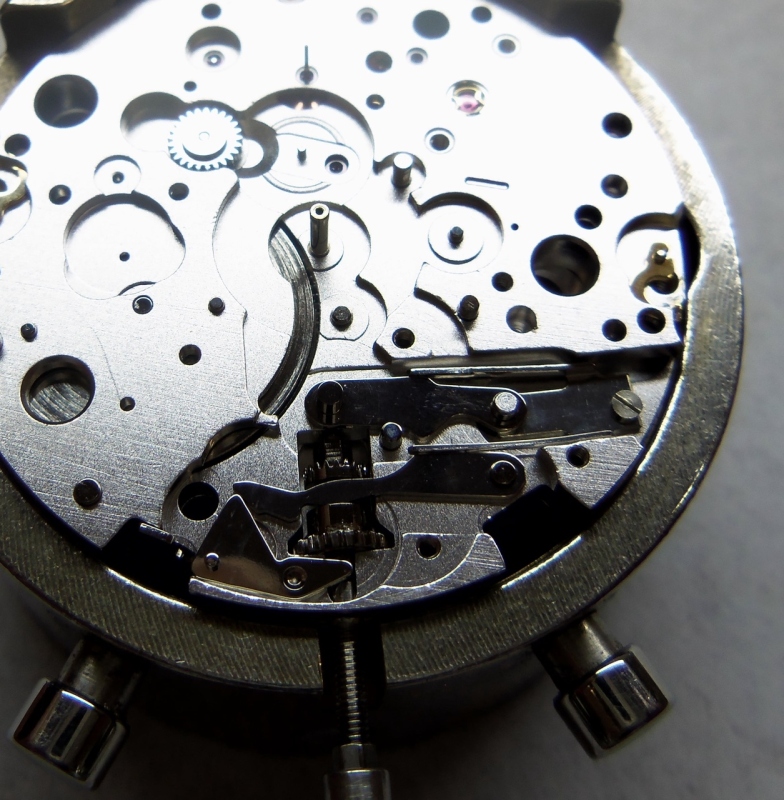
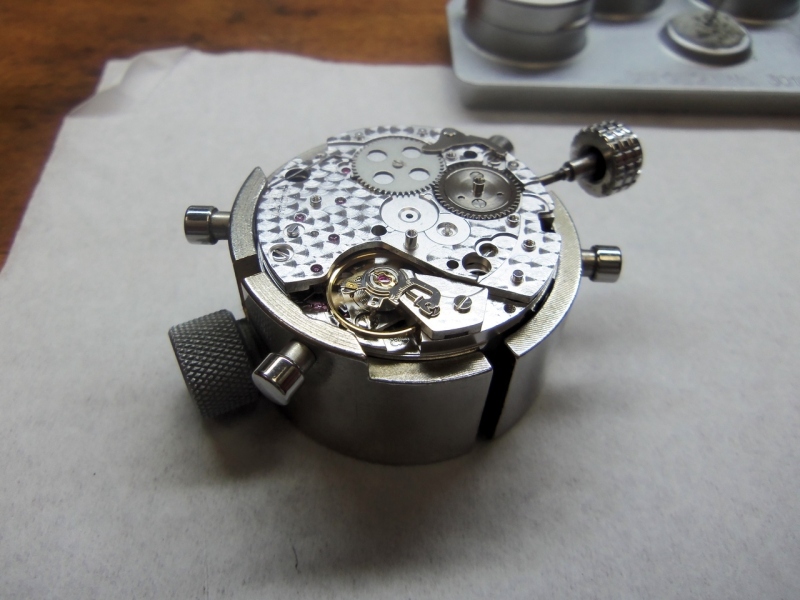
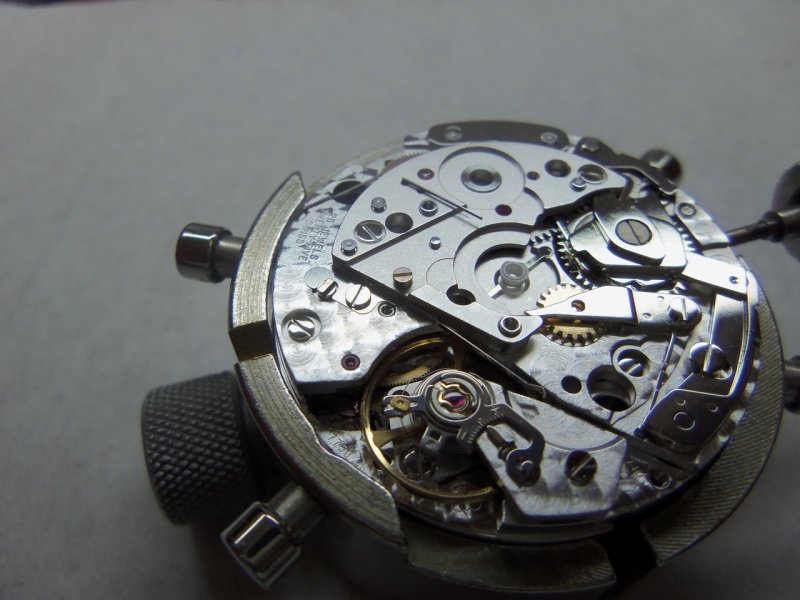
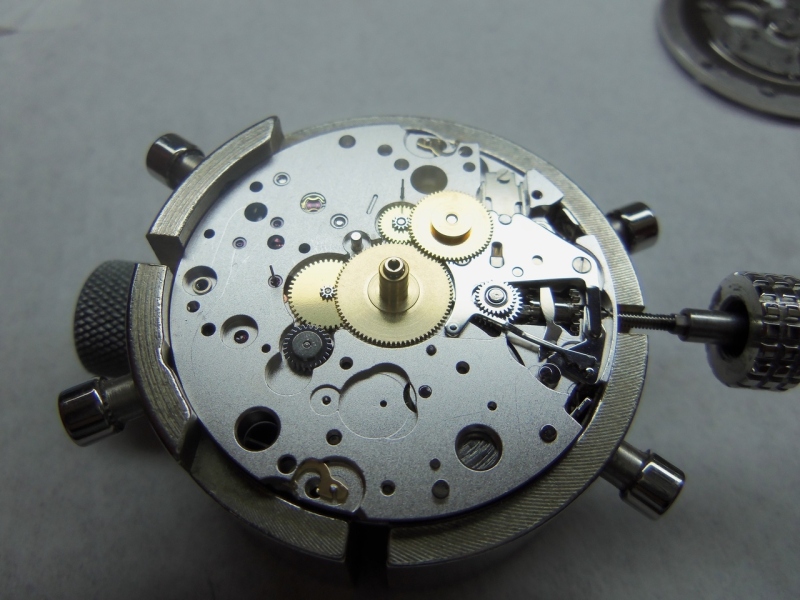
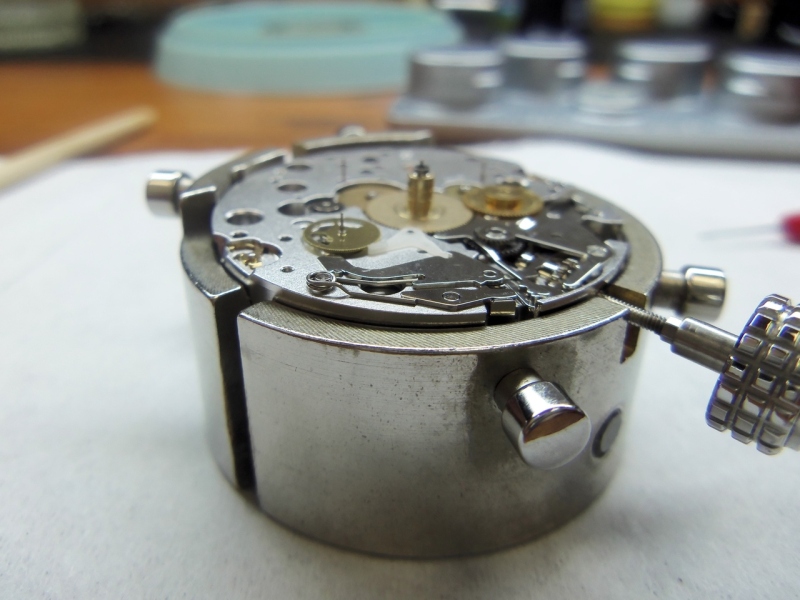
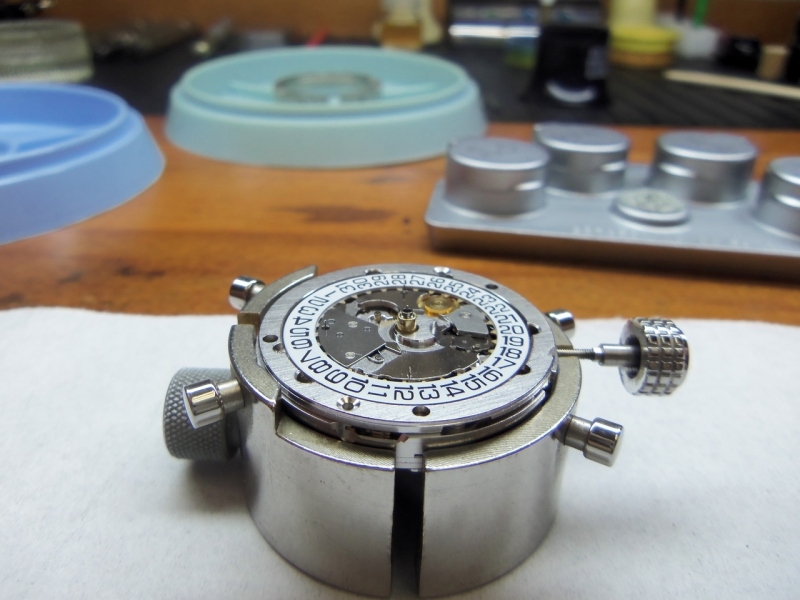
And here is our first look at the dial side.
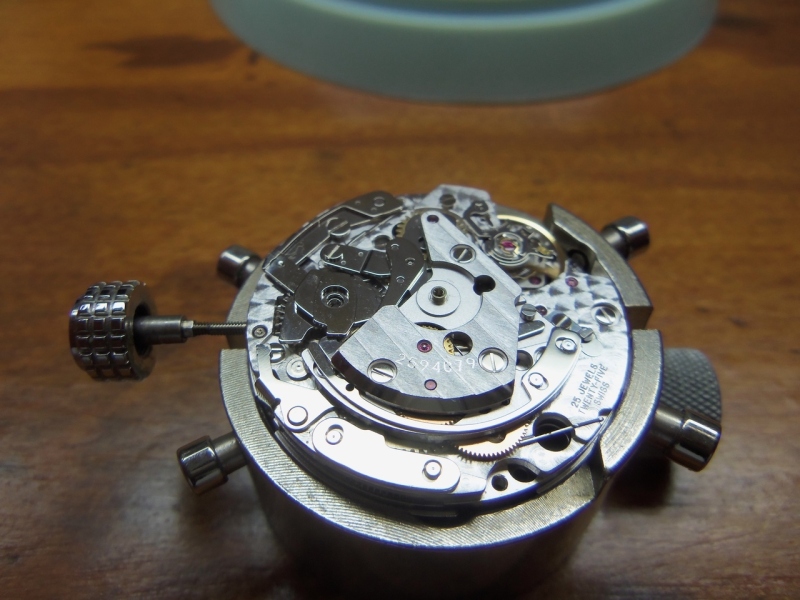
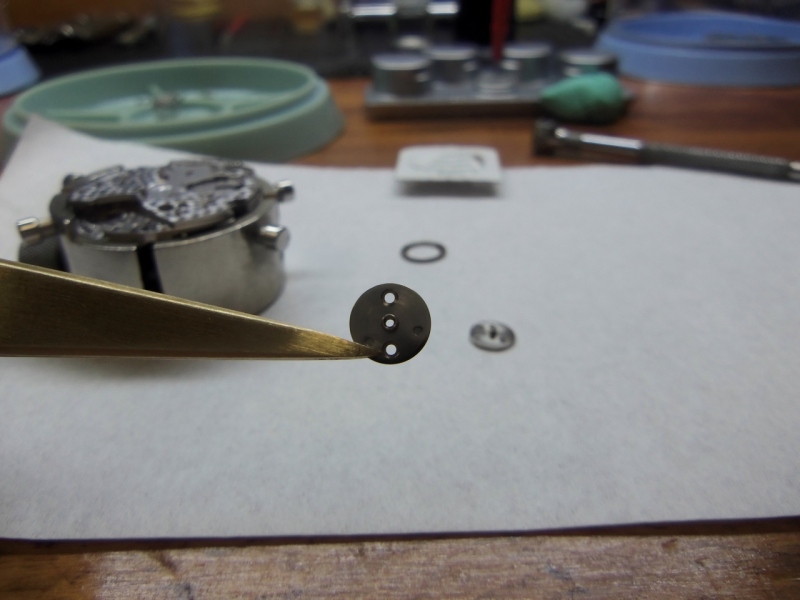
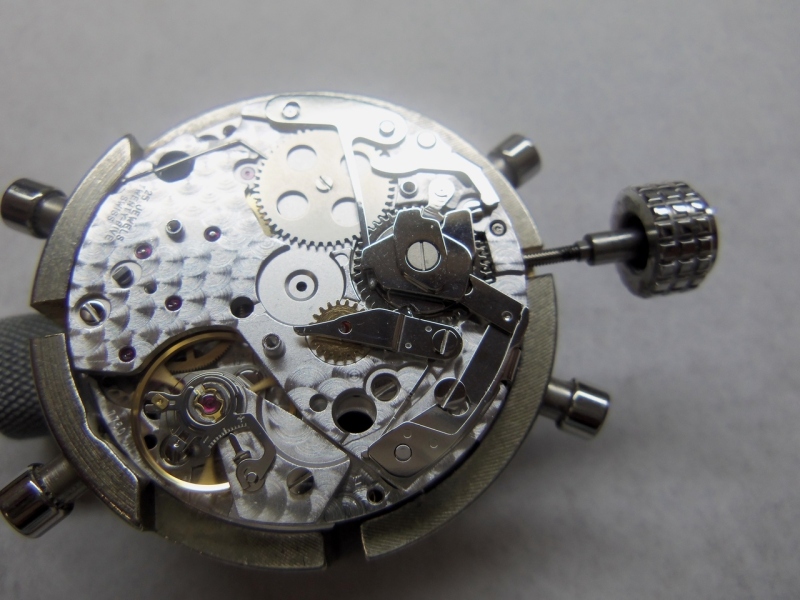
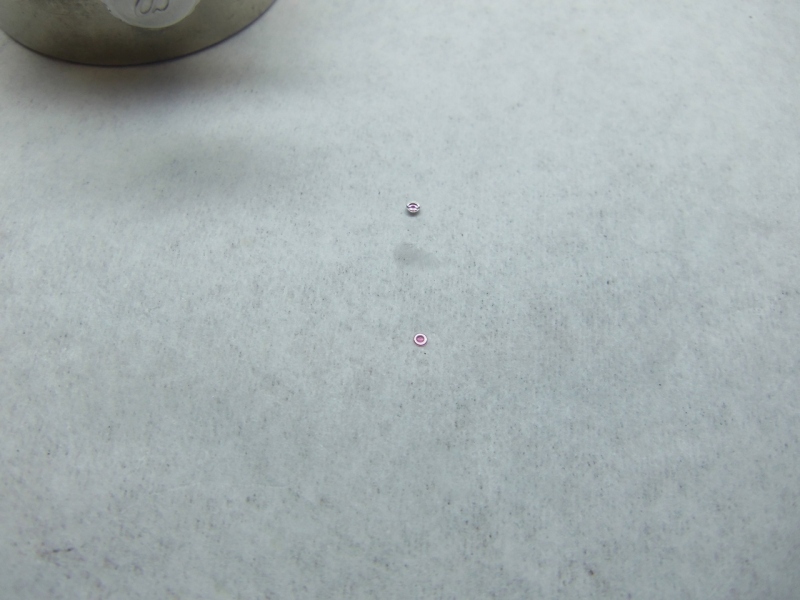
This repair has a broken Screw for the Chronograph cam. So I start by removing these parts and also the Oscillating weight and screw.

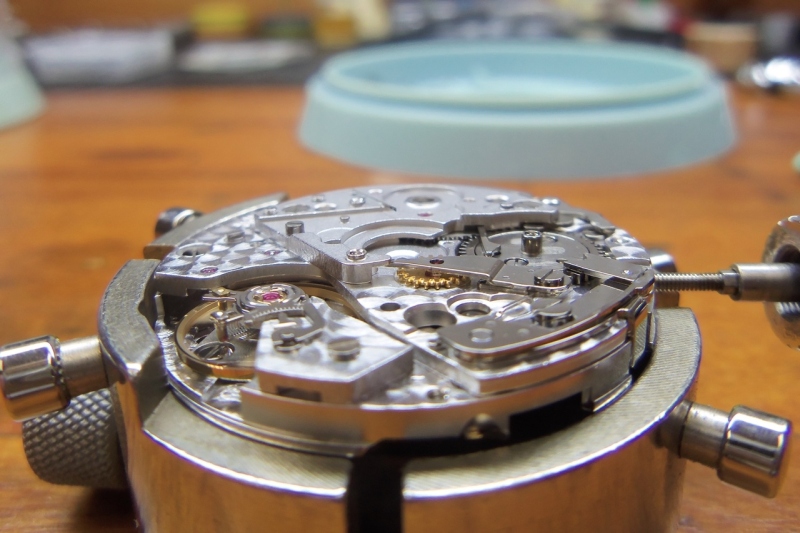
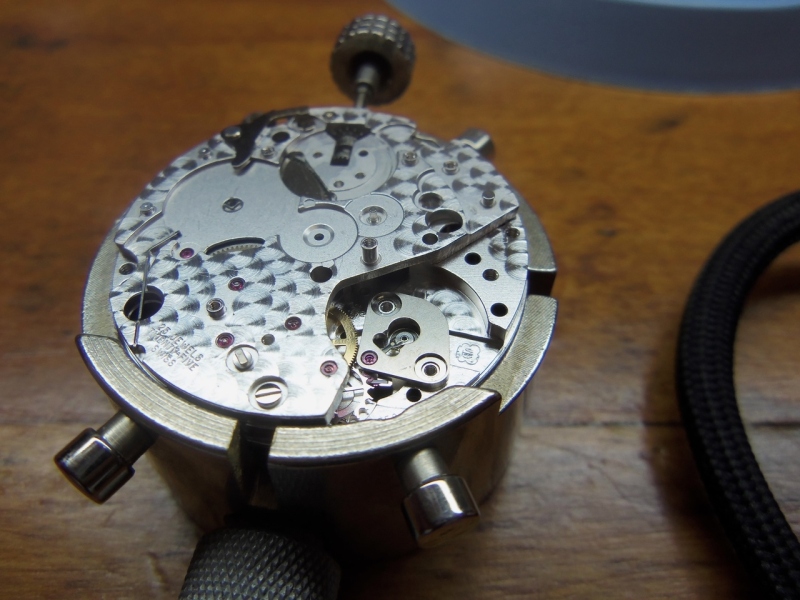
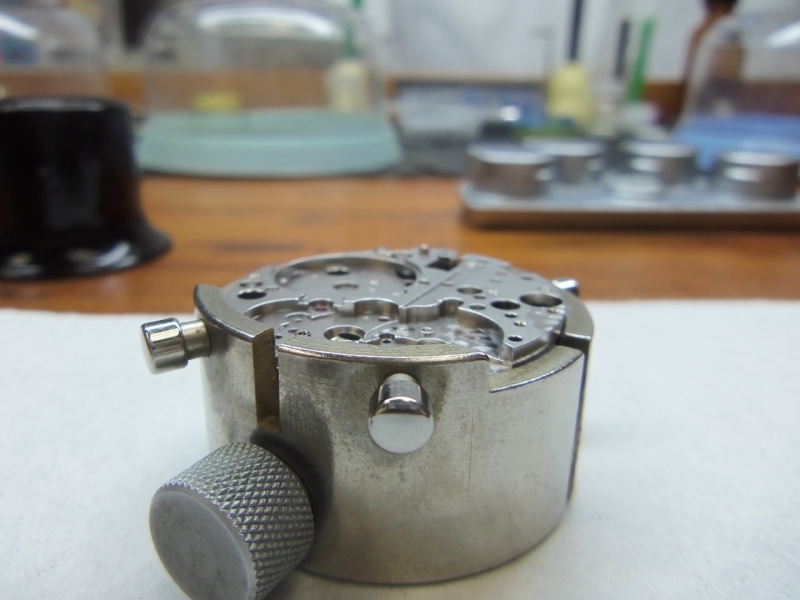
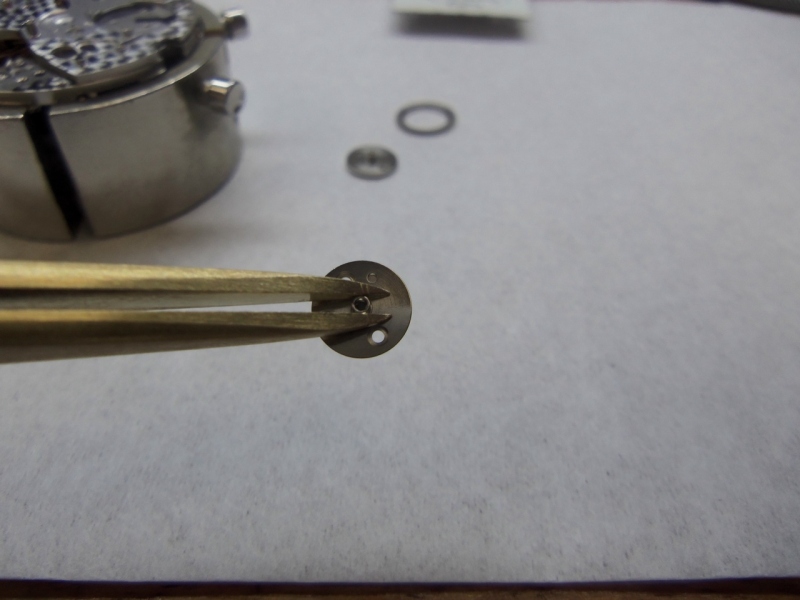
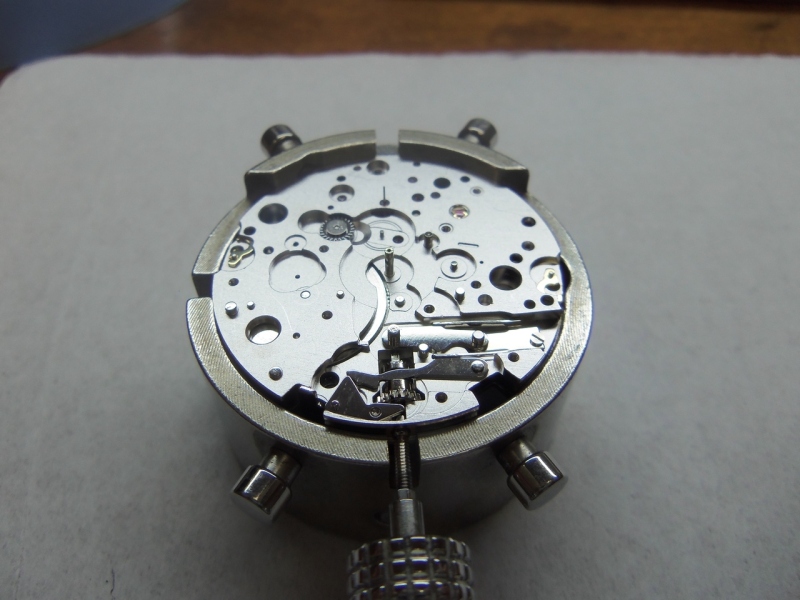
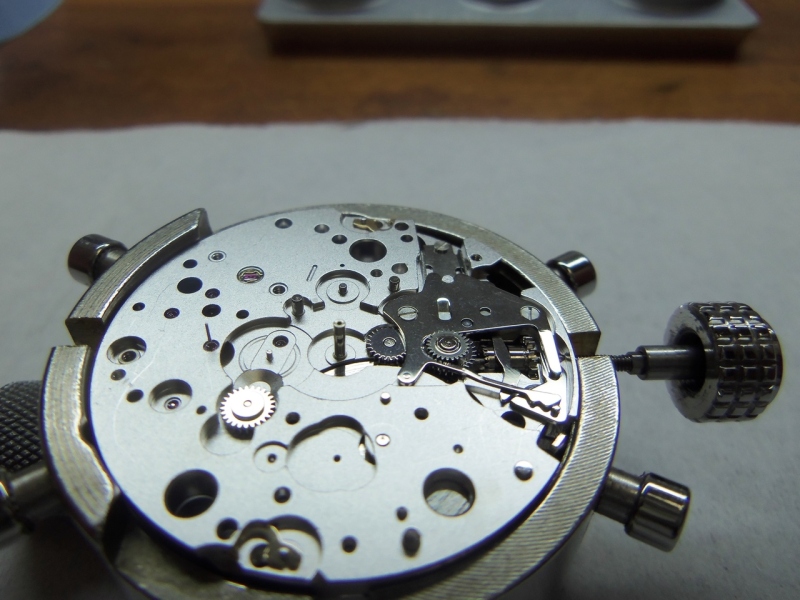
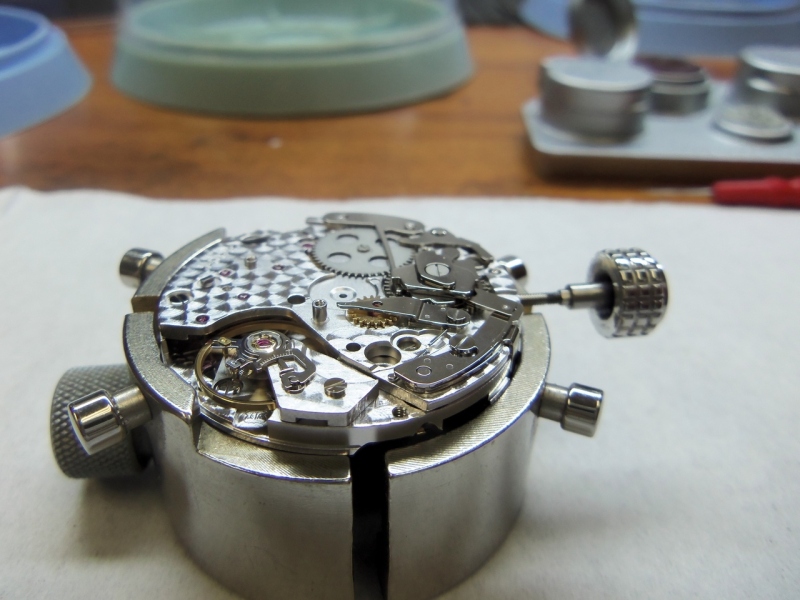
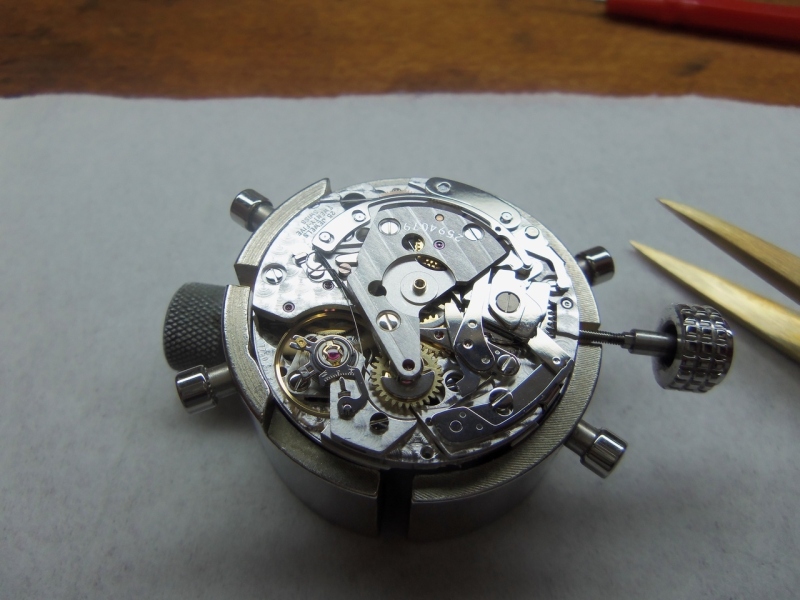
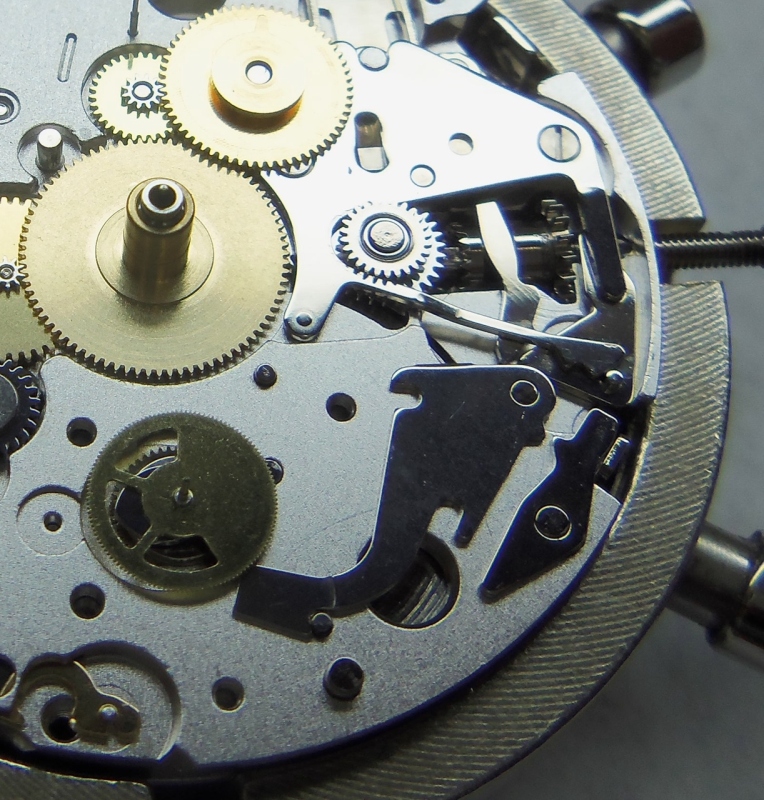
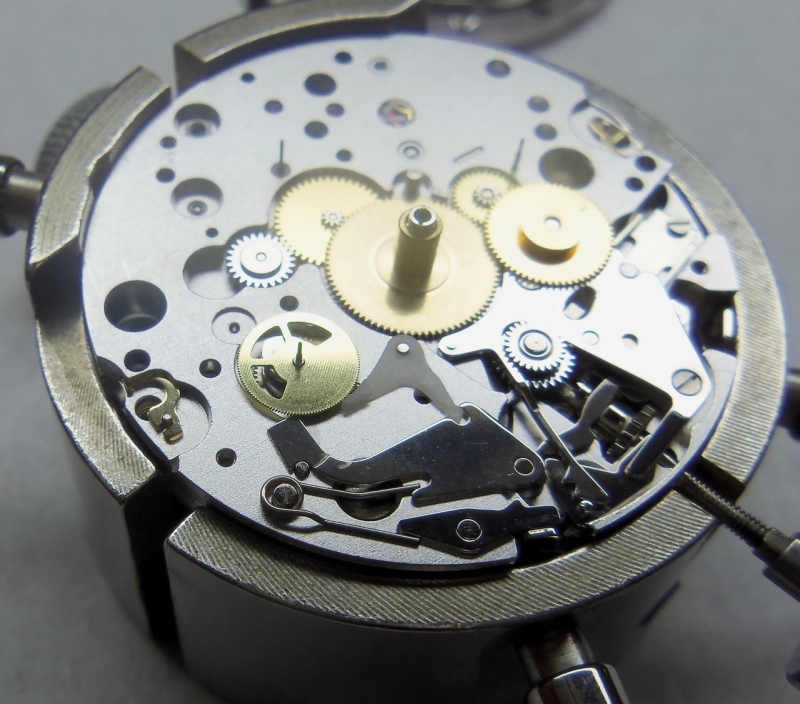
Disassembly is pretty straight forward, just removing parts as they are exposed.
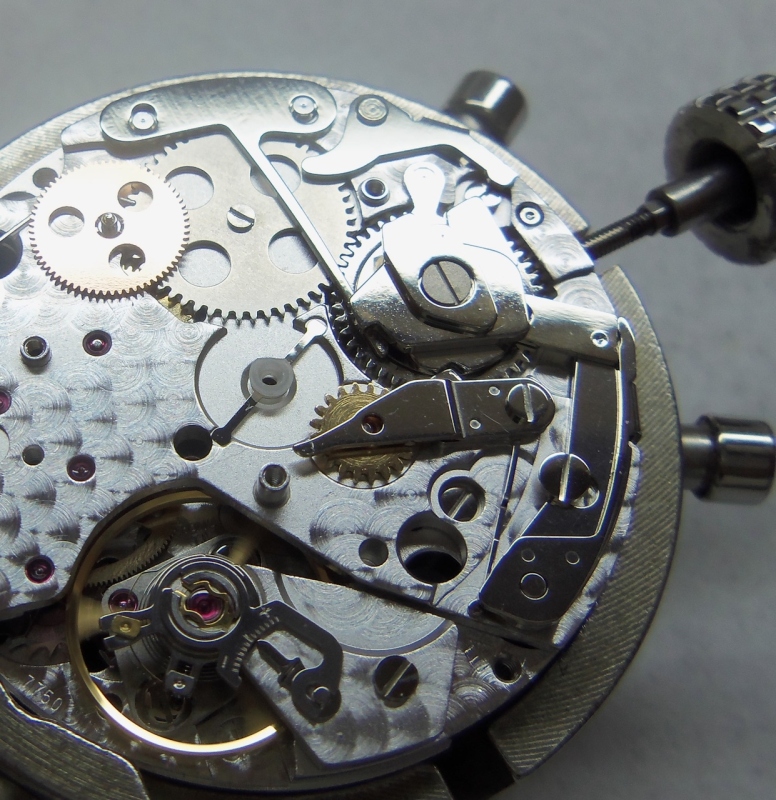
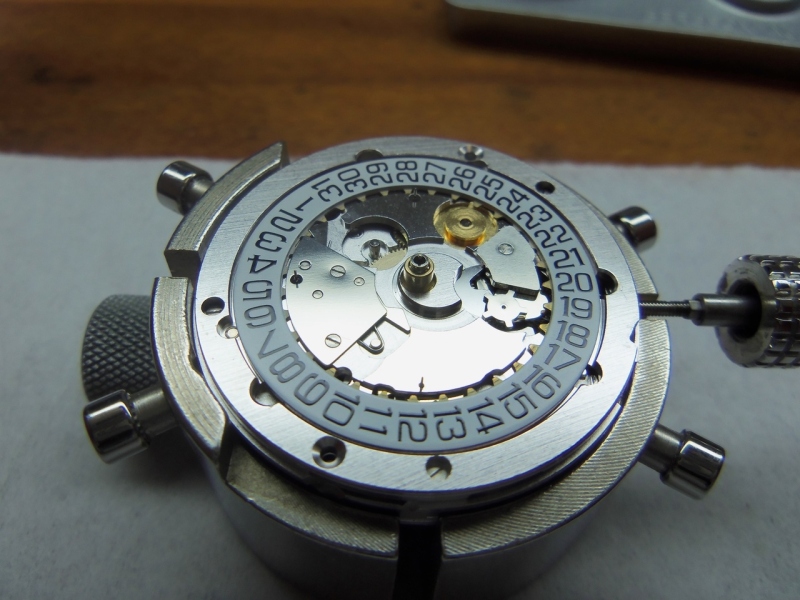
Testing the end-shakes of the wheels before removing and making corrections if needed(none were needed).
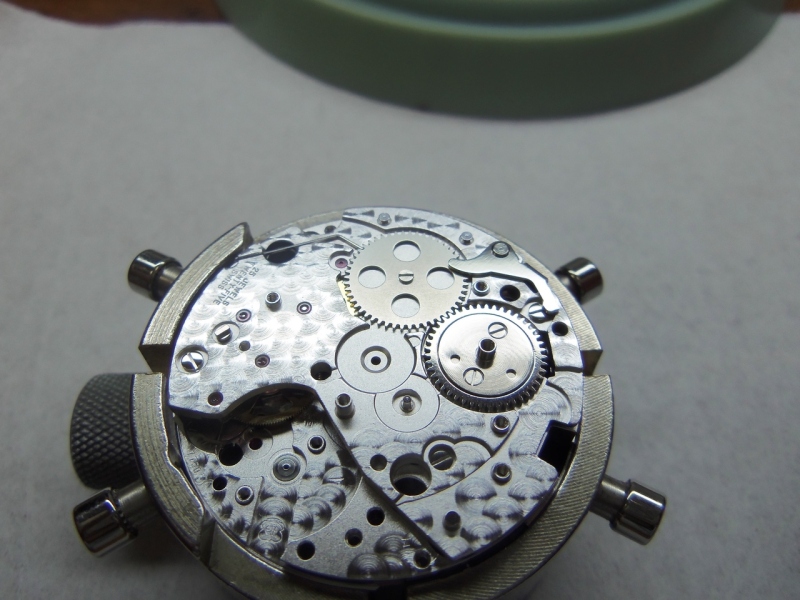
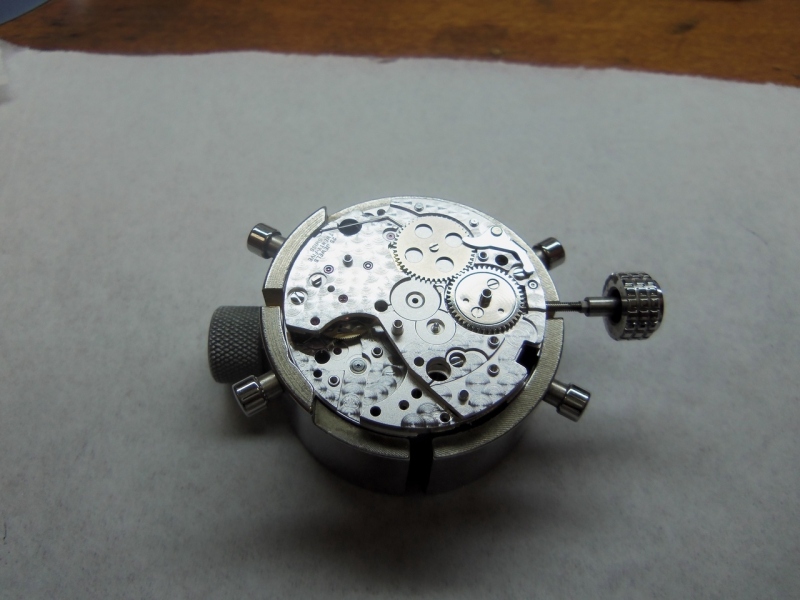
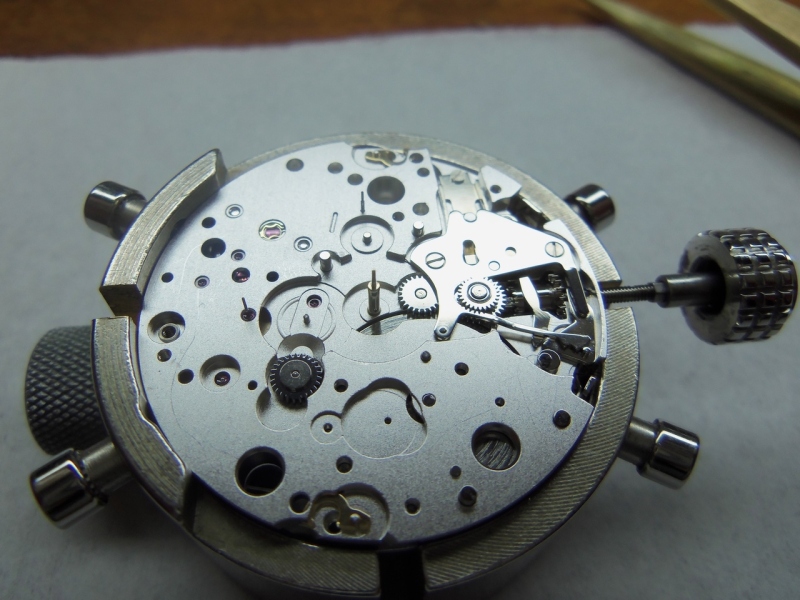
Removal of Barrel and train wheel bridge.
Now everything has been cleaned and ready to be assembled and lubricated.


Mainspring barrel assembled and lubricated.

Cleaning escape wheel in one dip and then drying.
Treating escape wheel teeth with epilame and then drying, taking care not to contaminate pivots.
Barrel and train wheels placed in their positions.

Stop lever spring placed into position.


Now to replace the bridge for the barrel and train and securing screws and lubricating the train wheel jewels.


Checking freedom of train.
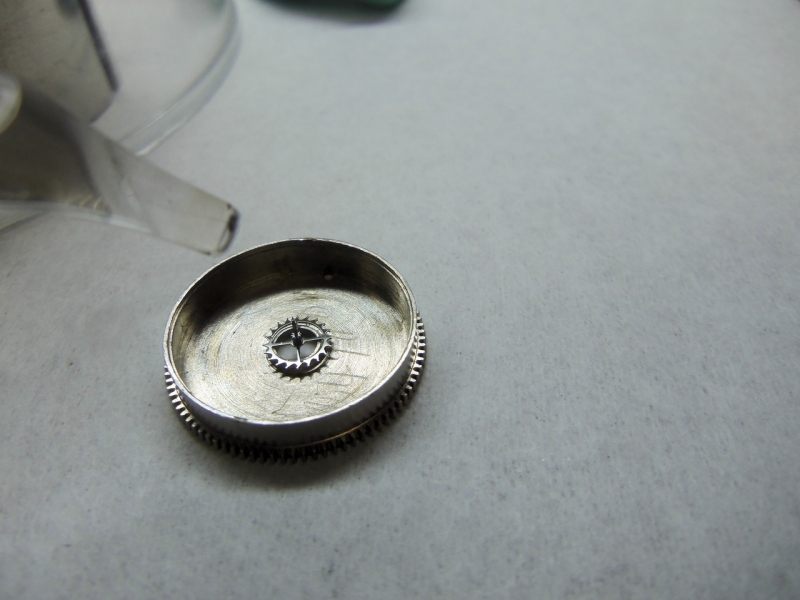
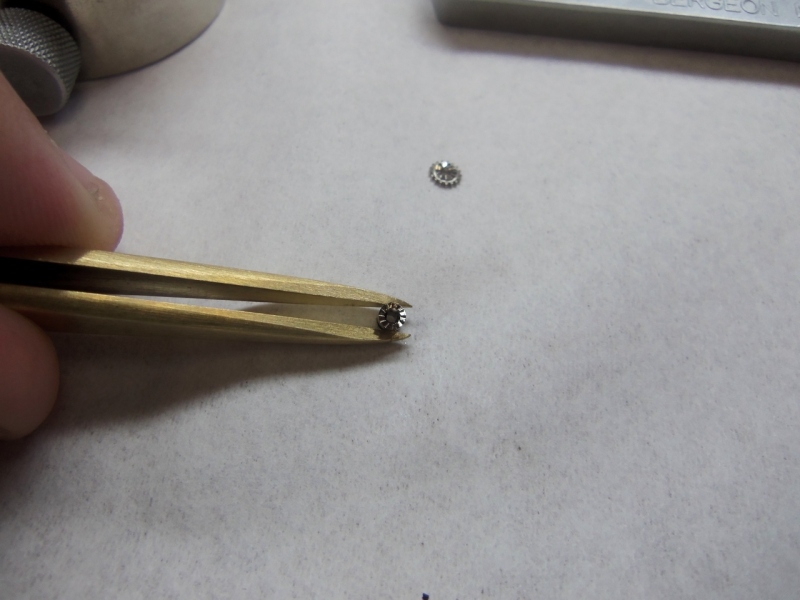
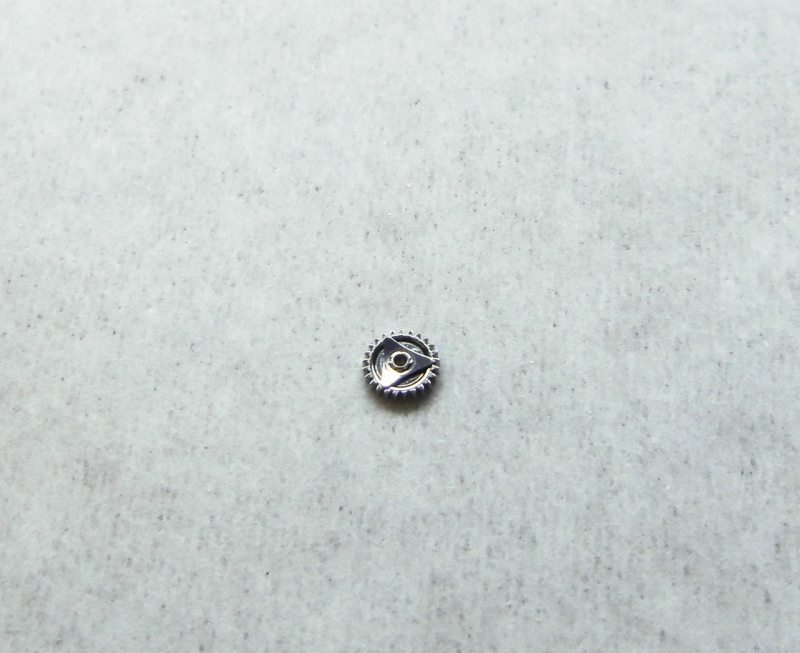
New replacement Crown wheel core.
Crown wheel core with broken screw in threads. Since parts were available, I elected just to replace Core instead of removing the broken screw.

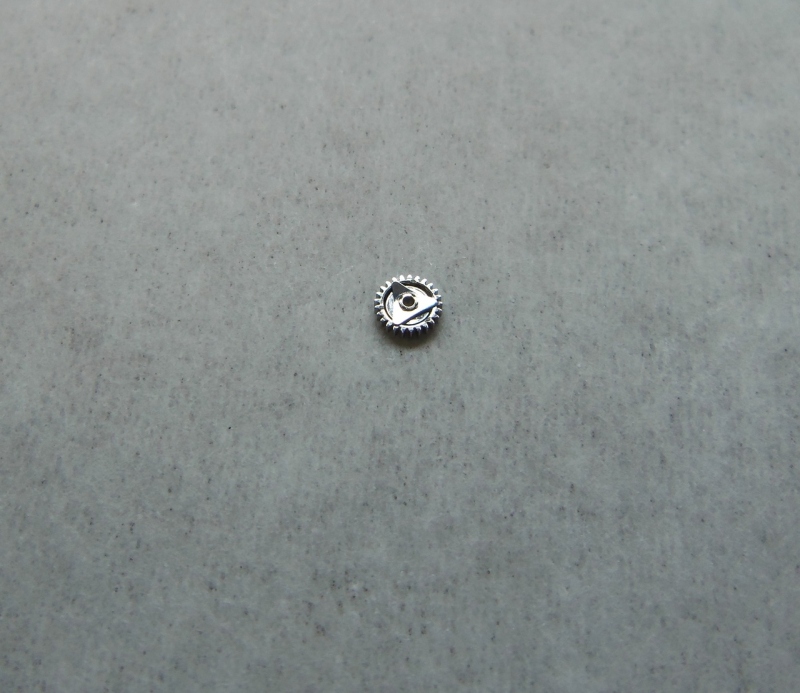
Crown wheel lubricated and placed into it's position.
Crown wheel core and screws. Ratchet wheel and screw.
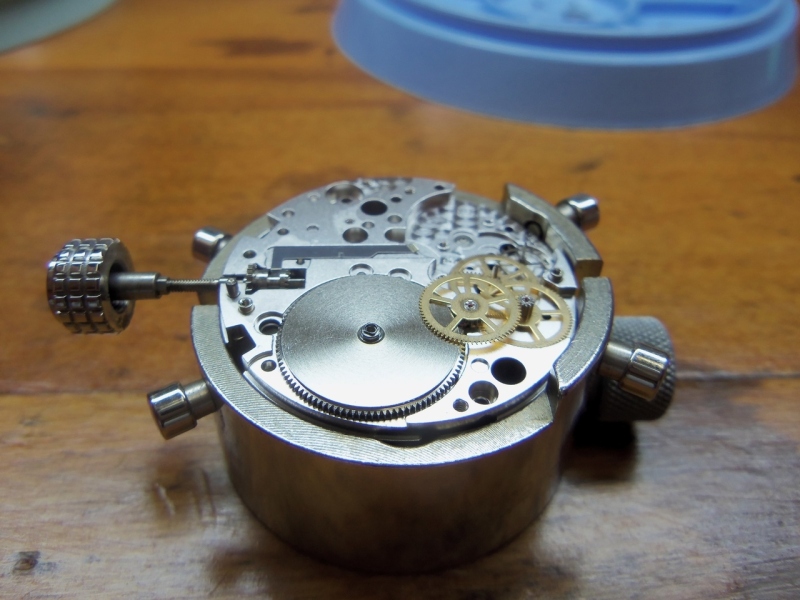
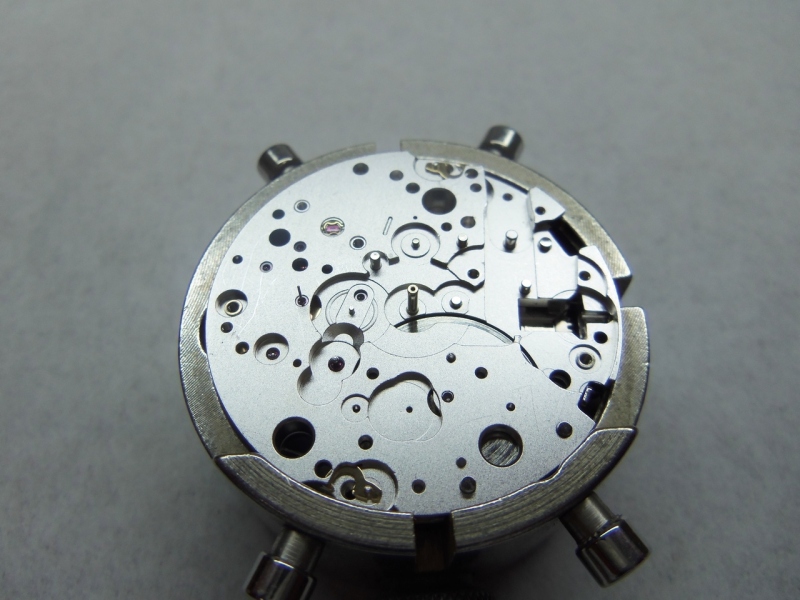
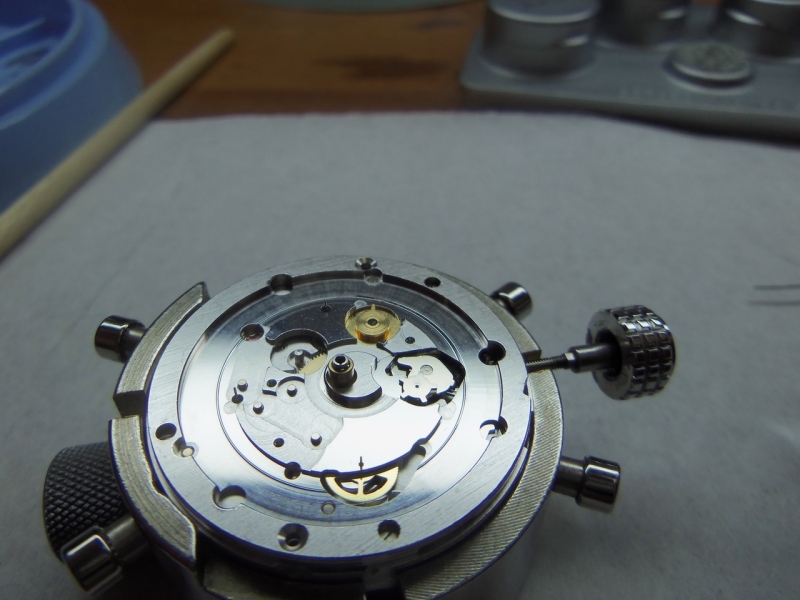
Time to flip movement over.
Sliding pinion lubricated and ready for assembly. At the top the winding pinion ready to be installed.

Driver canon pinion, factory instructions say not to wash this part. If it is very dirty or rusted it is to be replaced.
I use Rodico to clean this part and then re-lubricate(very lightly).
When Driver canon pinion is pressed on there should be enough clearance for the calendar platform so as not to bind . It is also note-worthy, to take considerable care, not, to mark the plate when removing this part(as it is easy to do).
Placement of lubricated winding and setting parts. Detent, setting lever and yoke spring.

Placement of Set wheel , intermediate set wheel, and rocking bar.
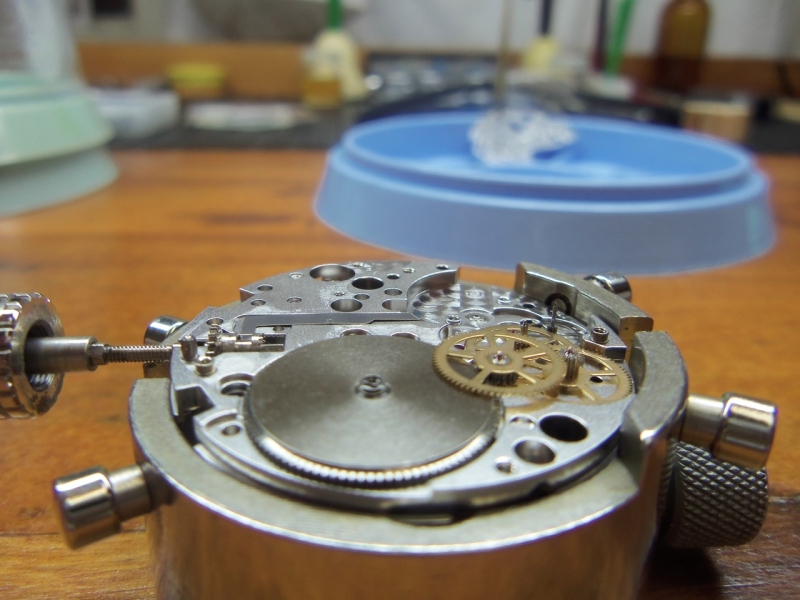
Time to flip the movement again.

Cleaning pallet in one-dip cleaner. After drying I then touch the pallet stones into Epilame, and then dry again.
I like to run the escapement dry for a little time before oiling pallet stones. But, do not run the balance wheel jewels dry.

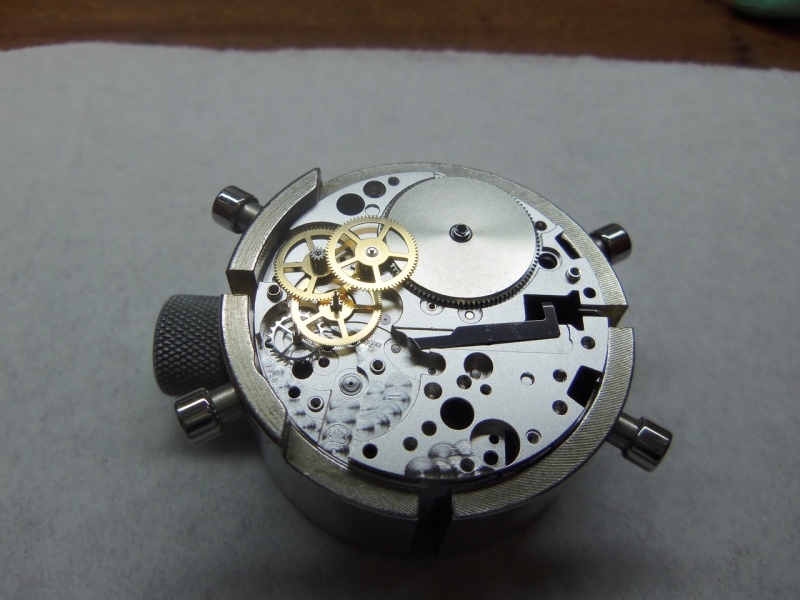
Chronograph cam and Hammer cam jumper are placed in position.
Now the lock is placed into position over the minute counter wheel.
Operating lever and screw placed into position.
The chronograph friction spring is plastic and should not be cleaned.
Assembly of Hammer spring, oscillating pinion, chronograph wheel, clutch, Hammer, reduction wheel, and clutch spring.

Oiling balance jewels. I Also treat the cap jewels with Epilame(not the hole jewel setting).
Dial train assembled into position.

Assembly of Hour hammer operating lever and Hour hammer.
Hour hammer spring and Hour counter lock are next.
Again plastic parts should not be cleaned with solvents.
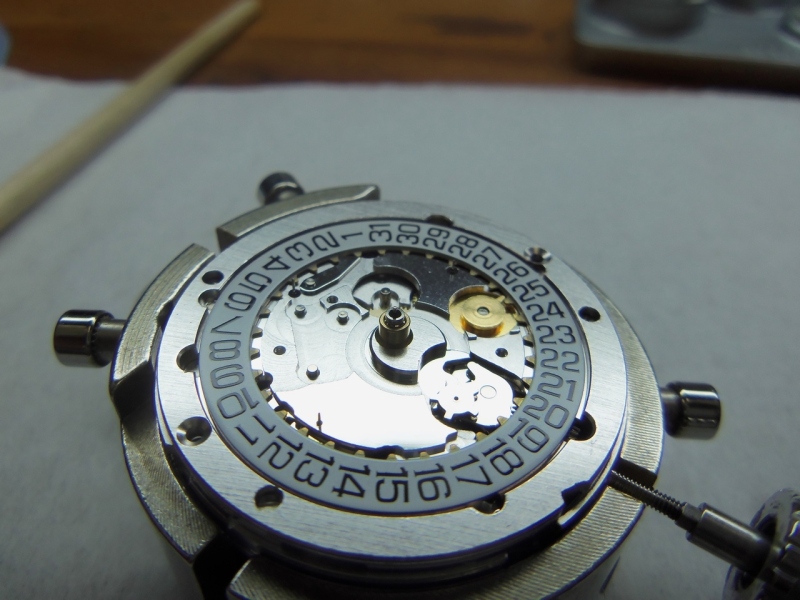
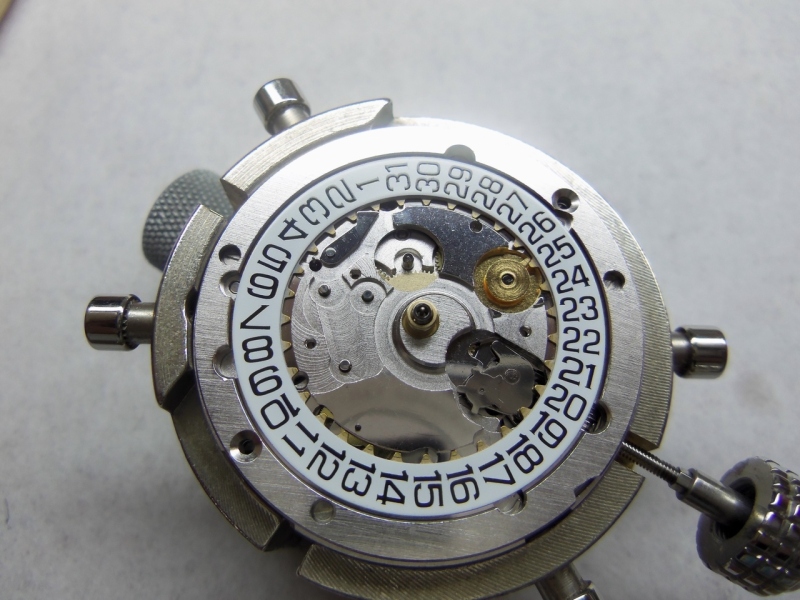
Double corrector and calendar platform.

Now to install the calendar mechanism,
Date jumper installed.

Date jumper spring.

Date jumper retaining plate.
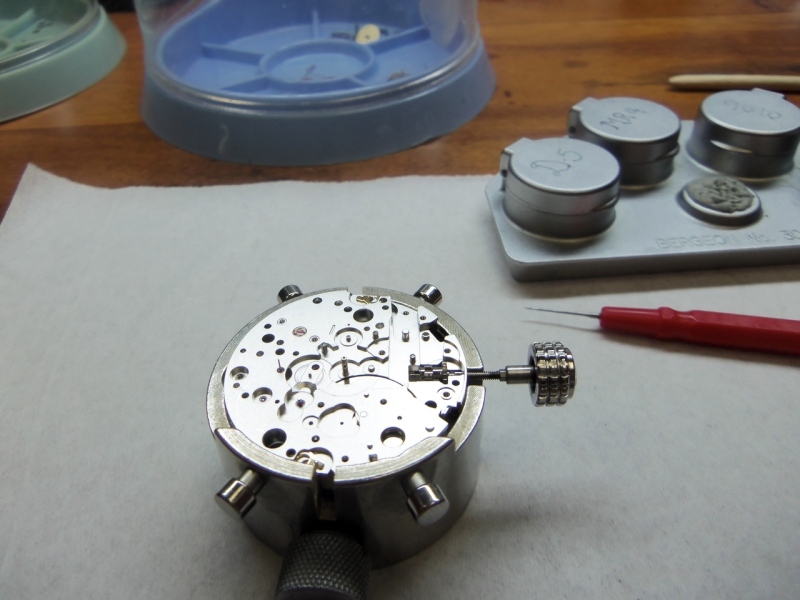
Now ready for dial and hands.
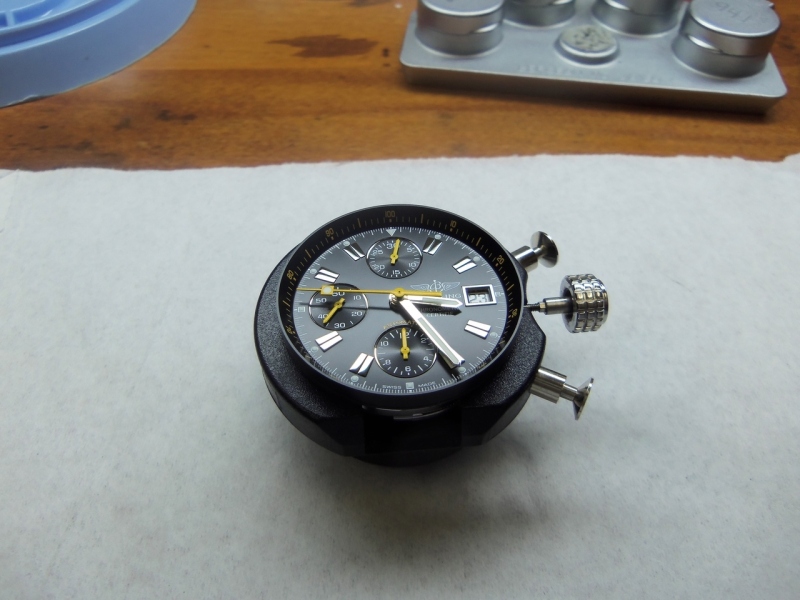
Pressing the hands on is best done in a movement holder that has a support for the hands.

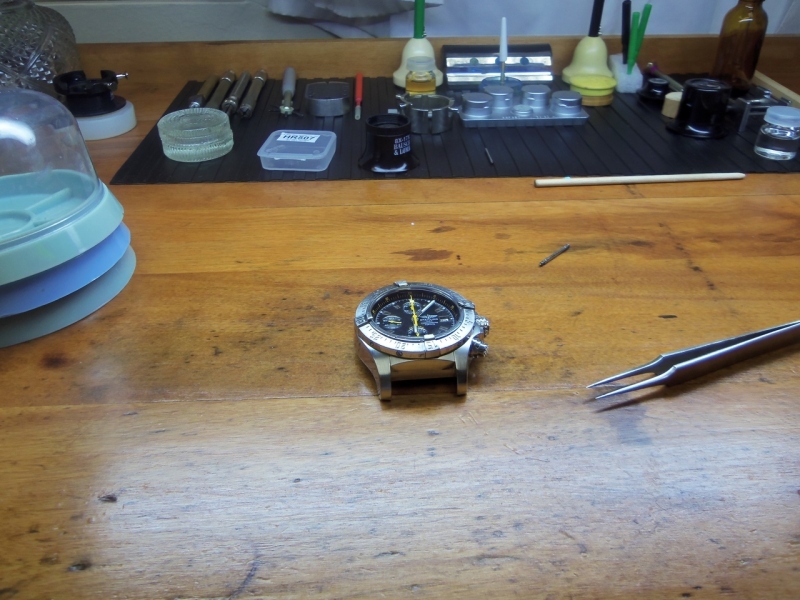
Now for ready testing. Thanks for looking, hope you enjoyed.
Kind regards
Anthony
Service of an ETA / Valjoux 7750
This is a chronograph movement used by a multitude of manufactures. Designed in the 1970's by Edmond Capt, this movement uses a three plane cam system known as Coulisse Levier mechanism. In my experience, the small chrono hands are usually pressed on very...


Another magic performed by the Doctor ...
Your posts are educative in two areas: On the pure horological sense And To demonstrate to us the amount of work that watch maintenance takes. Admirable. Thanks, Nilo

Wonderful photoessay but....
at a wholesale price of, what, sub $250, why ever service these perfunctory tractors and not just replace the whole movement and be done with it? Velo
Do you want a watchmaker to ...
Throw away a 7750 inside a Breitling/Omega/IWC etc. and replace it by a commodity 7750? I'm glad to know that there are watchmakers that don't even consider to do this. Cheers, Nilo
If appropriate why not
Not suggesting substituting that, but really how different is a Breitling or Omega 7750 to a 'Top' or 'COSC' ETA 7750? You will know better than me. But at any given brand point the ratio of 'in house' labour rates will match the cost of a new branded mov...
In this case ...
You need a better watchmaker to do your maintenance and not a new movement. But this is me. I prefer to have the entire watch as much original. I use the same watchmaker for years and years and I only had one case that I need to return. It was a non trivi...
I agree
Yes, don't get me wrong. I appreciate originality too, but sometimes i would prefer the option regarding the movement. As long as they don't change the dial and hands! lol Velo

