
xyz123abc
541

Finishing of a 3/4 plate, a balance cock and bluing screws
Most movements have either Geneva stripes or perlage (you would surprised when you knew what brands that add finishing only by machine), but some hand finished movements have a rater rough appearance obtained by glass blasting, creating an almost “frosted” surface.
You first have to polish the surface to a very high standard to avoid any shadows before the glass blasting when the movement parts receive their final appearance by holding them inside the glass blasting machine, sprayng the surface with tiny glass balls.
The tricky part here is that when the glass-blasting is done, all touching of the metal must be with the rubber tips on your fingers, fat and acid will create marks and spots that will ruin the surface completely.
The second problem with this method is that the final finishing of edges, stone- and screw holes etc has to come after the glass blasting. Hence any scratch or mark on the surface means that the whole process has to start over again.
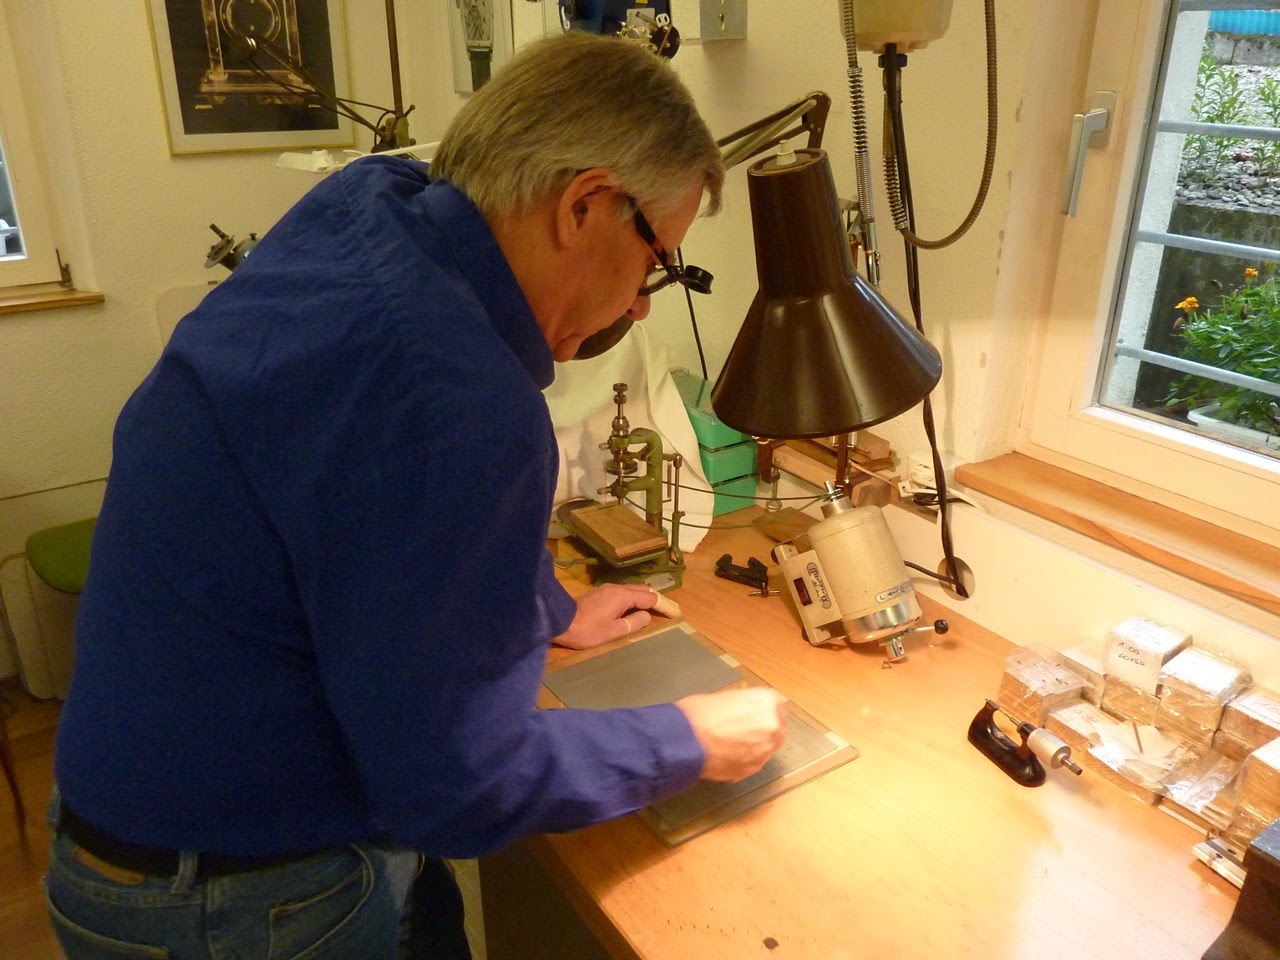
The photo shows a ¾ pate and a balance cock after polishing and surface treatment and into the process of chamfering the edges and the holes for stones and screws.
The angel is made by using several grades of sand paper on a wooden stick and finally a hard steel rod for the final touch. Working from below reduces the risk of destroying te surface, but when you work on the edges not accessible from the outside, the risk is that the steel tool used for the final treatment can slip.
Make sure the angle is not an even 45 degrees, then light will only be reflected from one angle only, a more “rounded” polish will create reflection when viewed from more angles.
Then black polish the crew heads and other steel parts before bluing by heat. Sometimes you wonder why polish a set of screw heads for more than an hour knowing they will be blue afterwards – but without a proper mirror surface, you will for sure see shadows in the blue afterwards. You need a perfectly flat surface, reflecting light in only one direction. Then it will look black when viewed.
Glass blasting
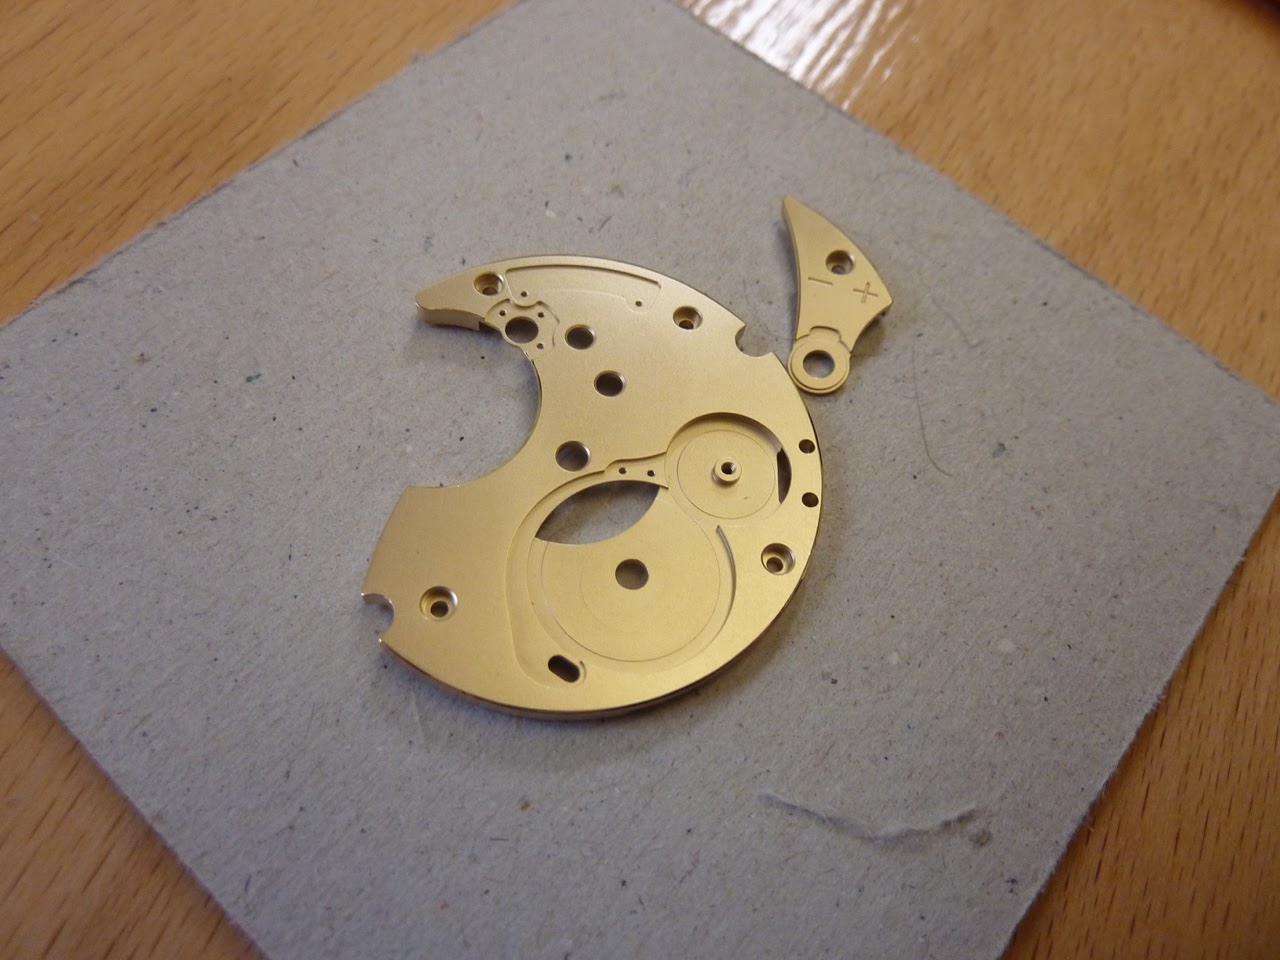
Surface finished
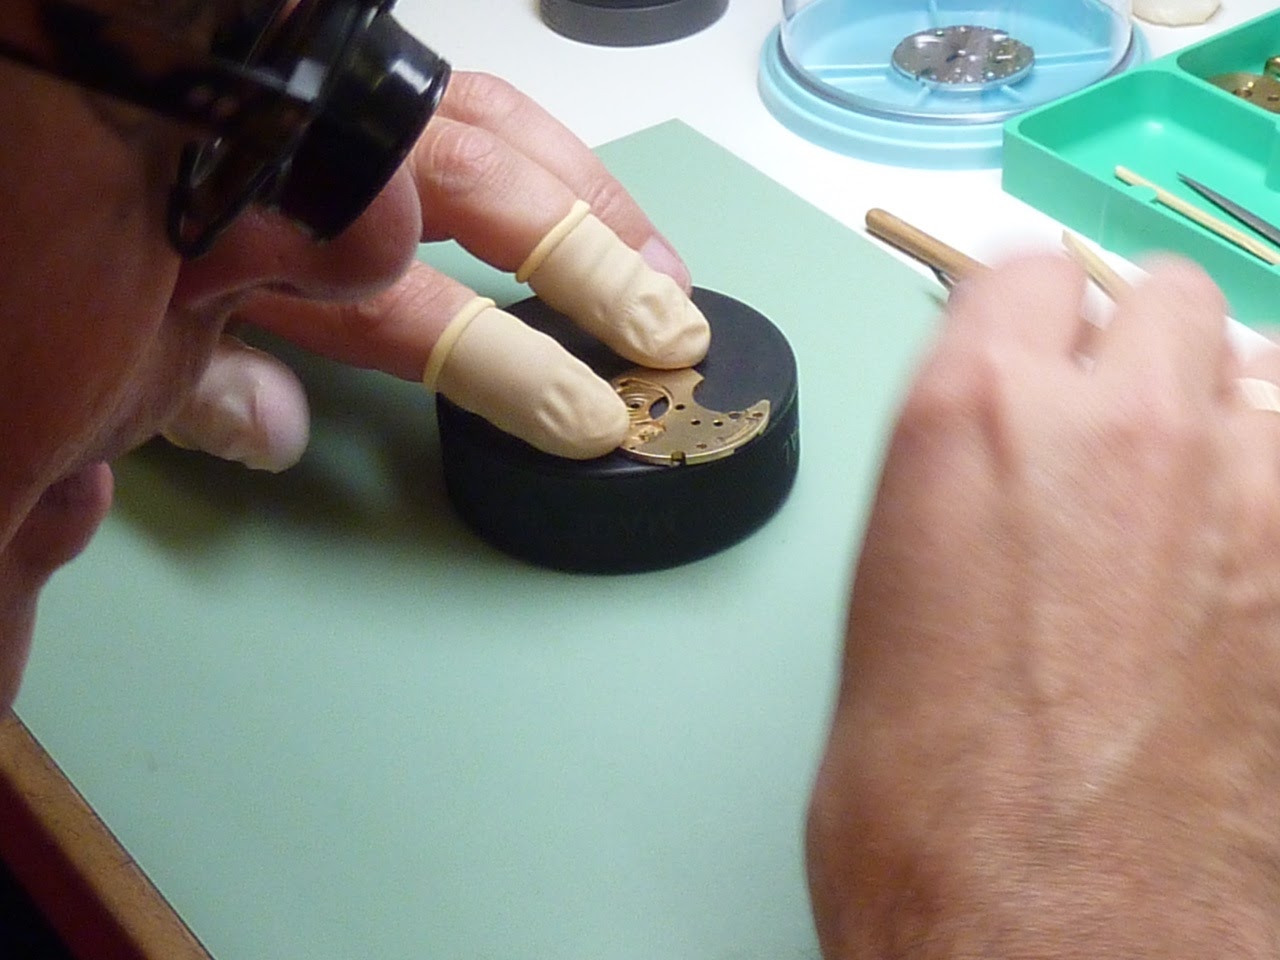
Angle finishing
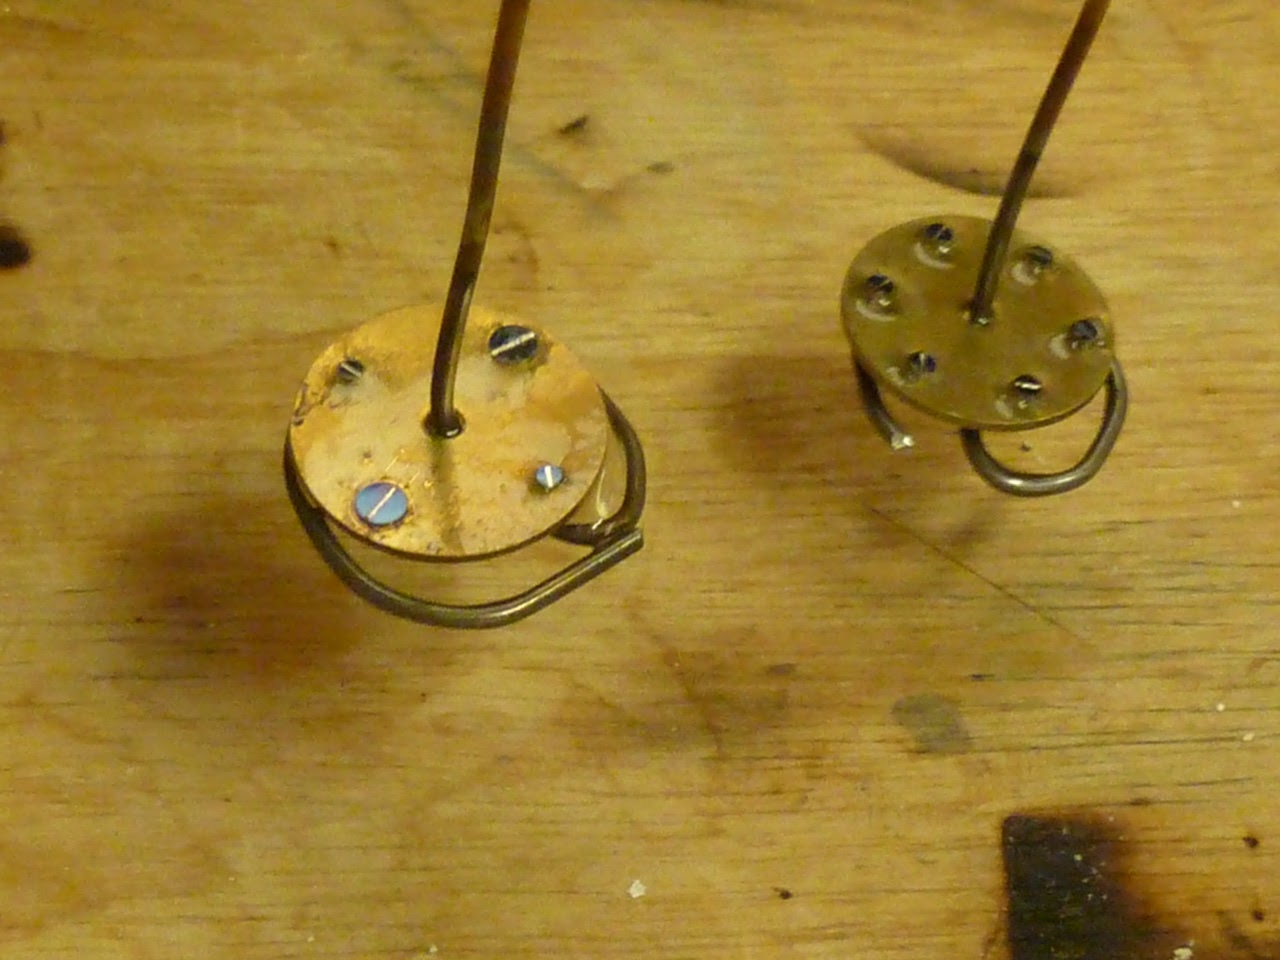
Screws mounted on a brass plate for bluing by heat
Black polishing is a challenge to rheumatic fingers. But you for sure will notice it if you cheat.
Finishing of a 3/4 plate, a balance cock and bluing screws

Thanks for posting this, very informative!


