20 July 2008, Singapore
Accompanying a few PuristS and friends to the JLC Decoration Class on a Sunday afternoon.
Session starting at 17:00 till 19:00.
Arrived early at about 16:30...
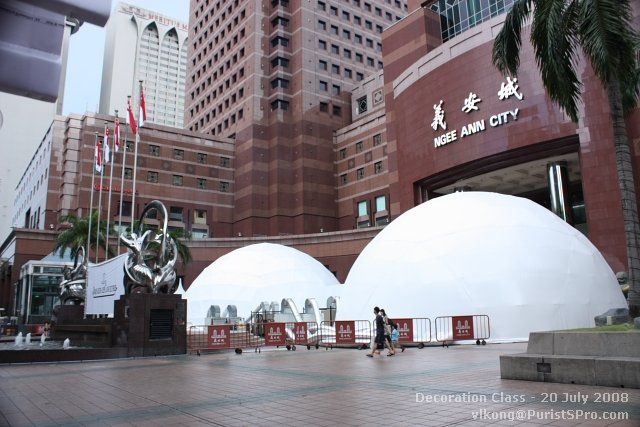
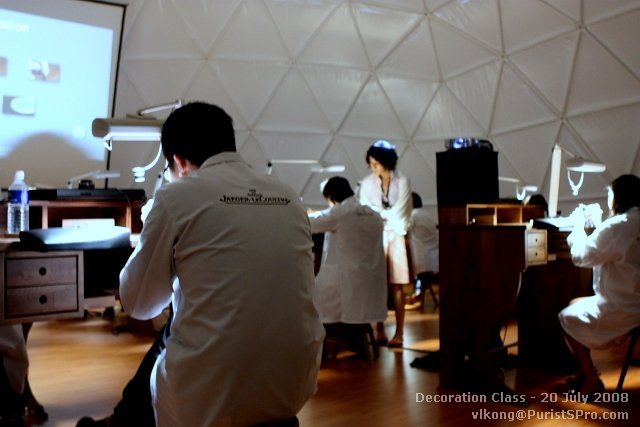
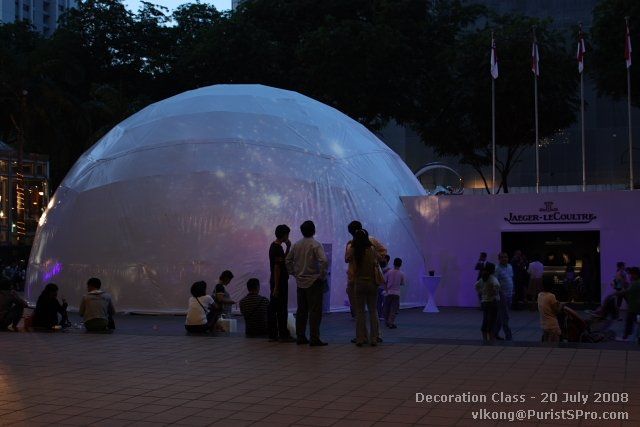
The venue and the geodesic domes.

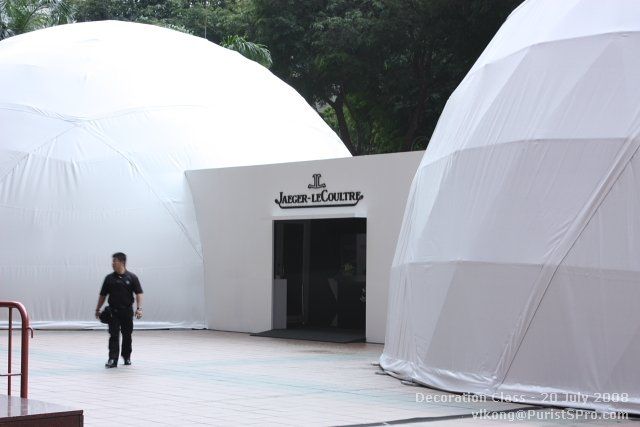
The entrance is at the opposite end.
Welcome to the Pleasure Domes


Guests registering before entering the exhibition. Security is tight.
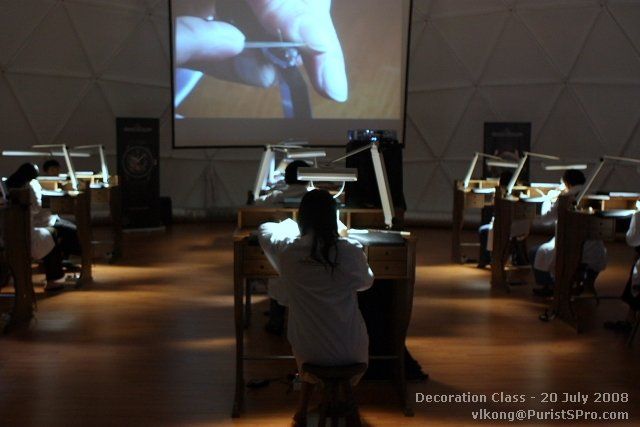
17:00 We entered into the workshop (opposite the exhibition dome) after marking atttendance.
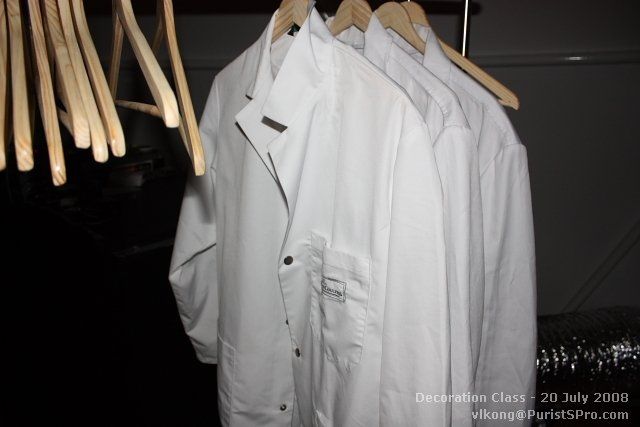
First stop...select the lab-coat.
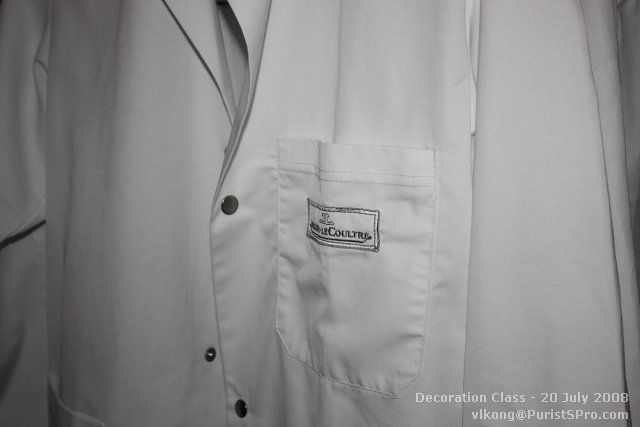
After putting on the coat, the students chose their seats. Each session is limited to 12 students.
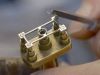
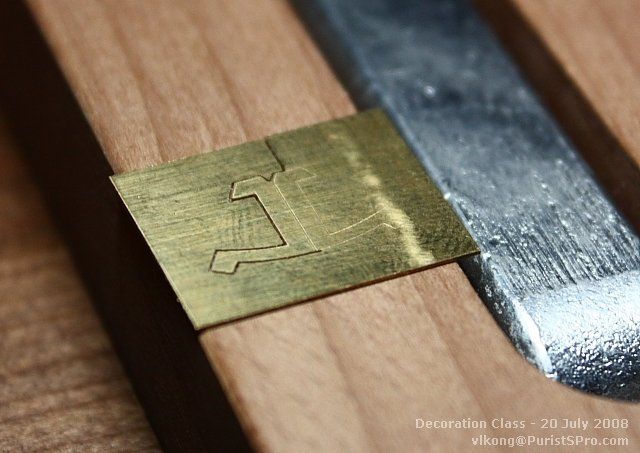
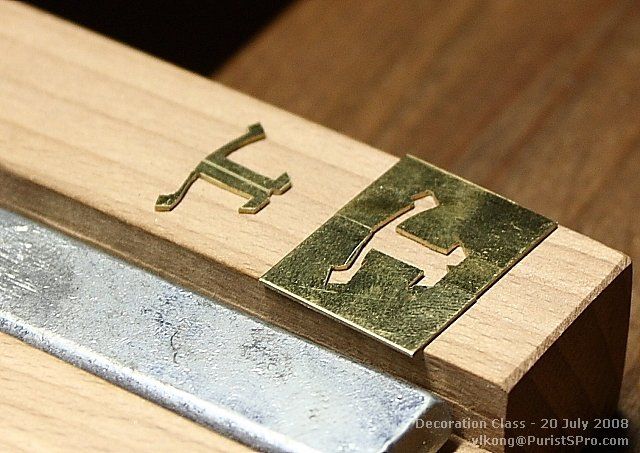
On the table was a brass plate with the JLC logo and a few tools.
Rachel gave a brief introduction of the workshop and translate for the Dominque Vuez, the Maître Graveur (Master Engraver).
After that everyone was asked to gather around to front workbench.

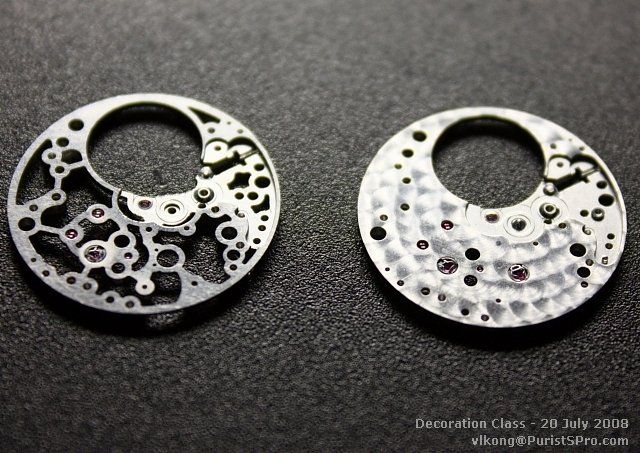
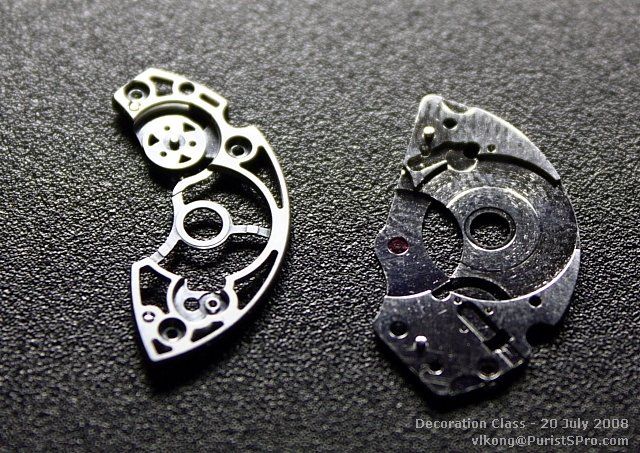
Some finished, decorated and skeletonised parts were shown to start the class.
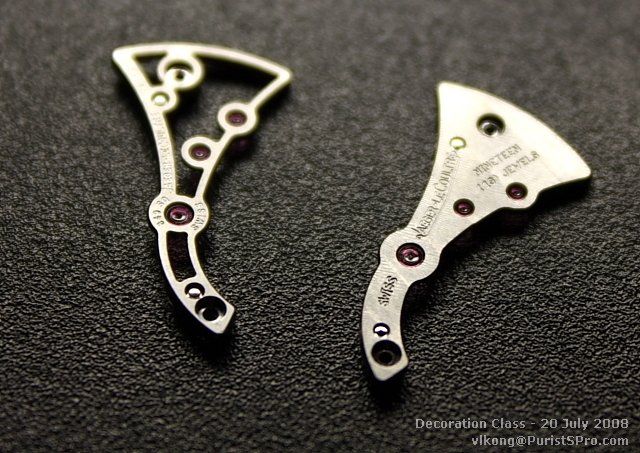
The objective of the workshop to cut and finish the JLC logo seen earlier.
(Also reported in Rapheal's & MTF's posts,
click here to read)
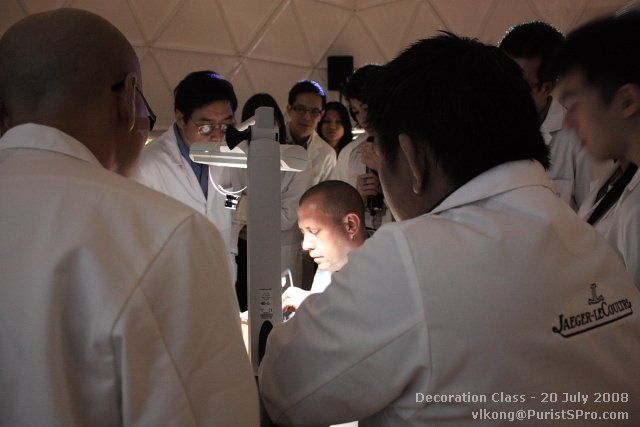
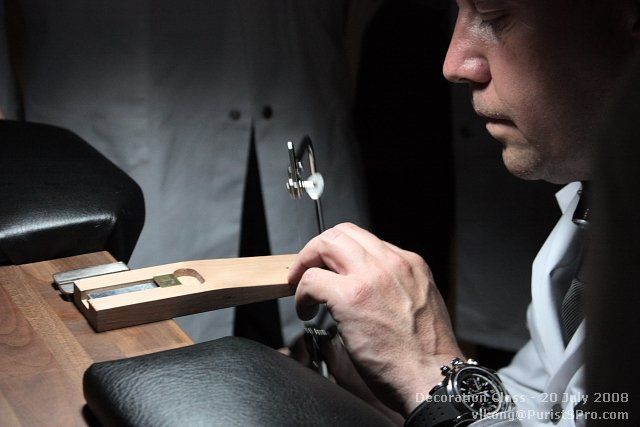
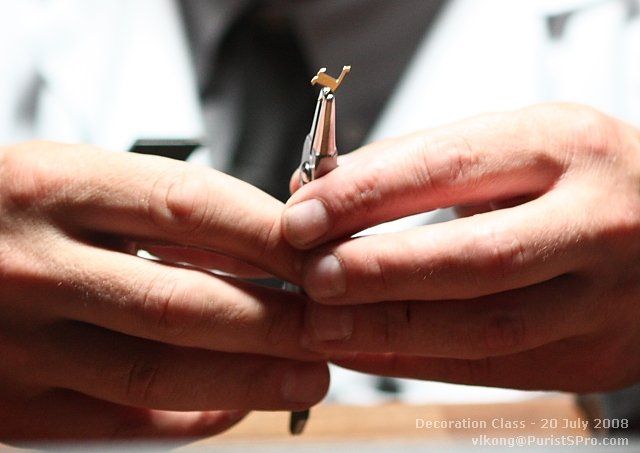
The students surrounded the Master.
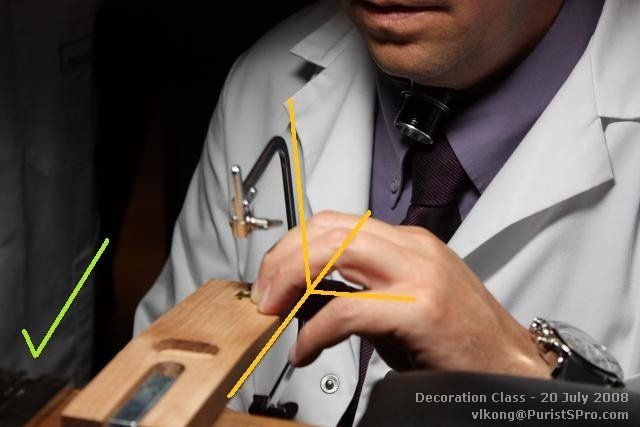
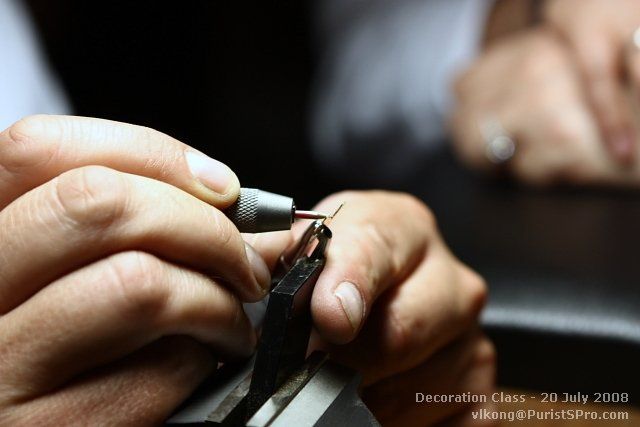
The correct method is to keep the Jeweler's Piercing Saw perpendicular while sawing.
To change direction of the saw, maintain perpendicularity and rotate the handle while sawing.
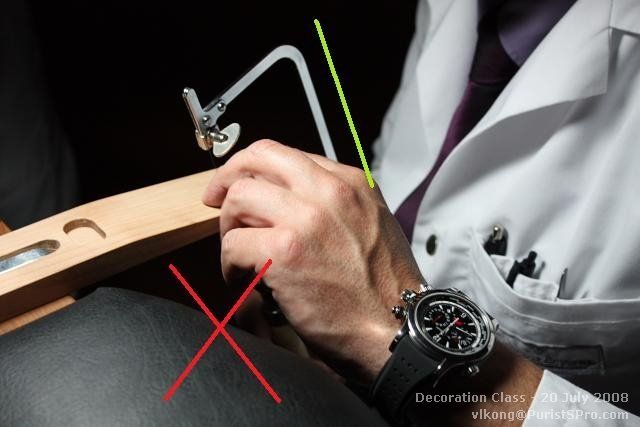
Tilting the saw is incorrect. It will not cut well and the thin blade will break.
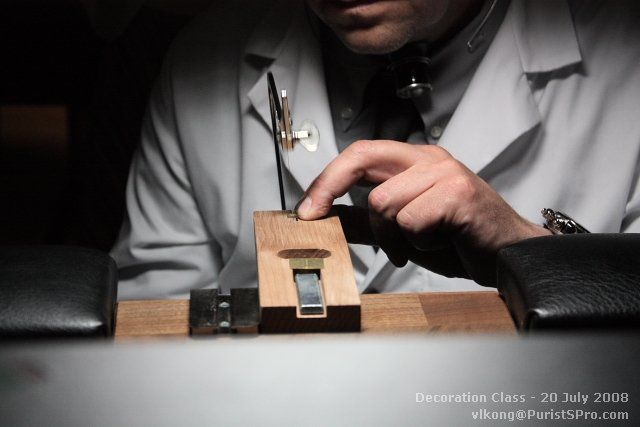
After the demonstration and explanation, everyone back to their seats and the practical began....
Racheal walked around to check and see who needs to change blades
Everyone in total concentration.... all our friends took instructions well.. all the saws were perpendicular!
This piece was finished by our lady PuristS. The part on the left was the objective.
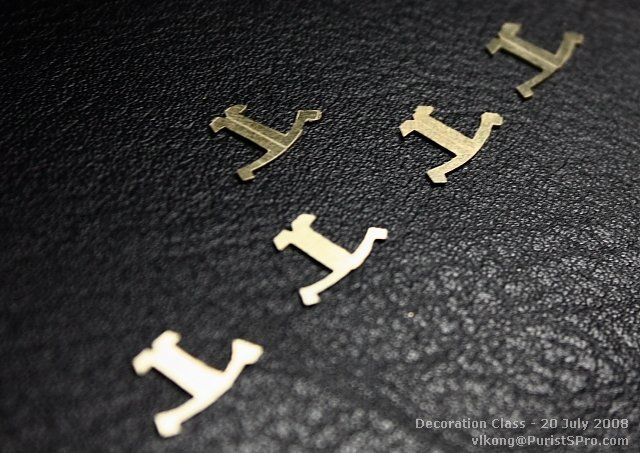
Some more of first-stage successes.... the ladies were doing very well...a couple were better and faster than guys :-P
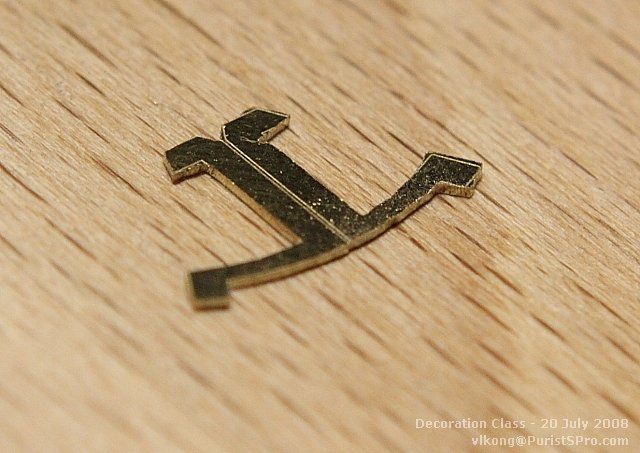
A close-up. The edges were jagged. The next step was to remove all the rough edges in 3 stages.
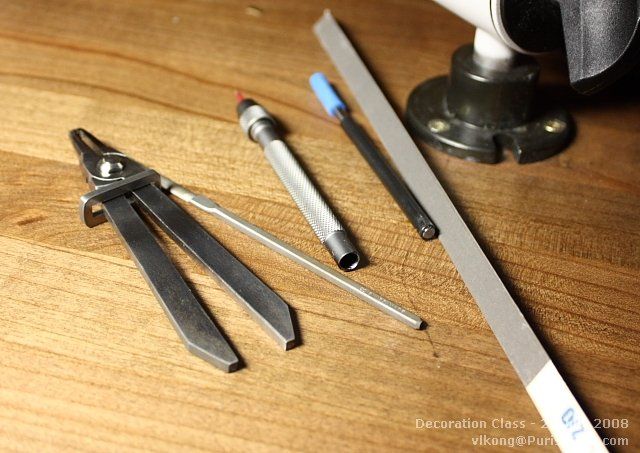
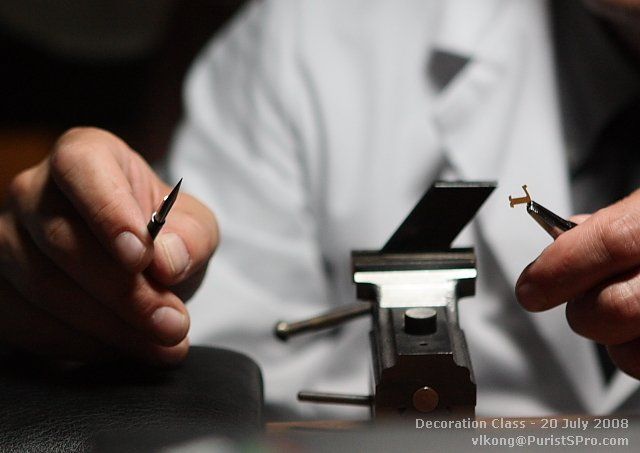
The tools for Step 2,3 and 4.
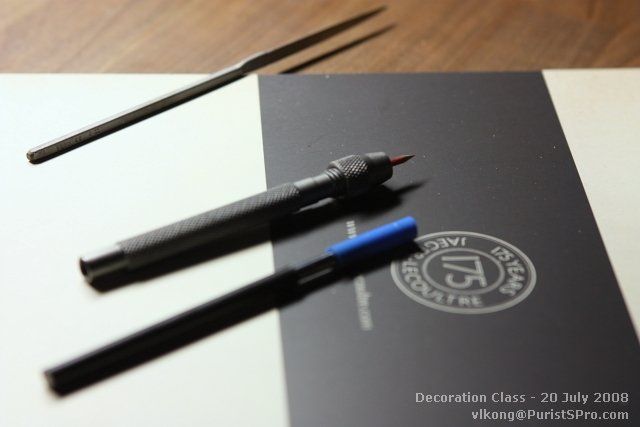
The sequence of the tools to use to give a mirror finish... start with the diamond file (top piece), oilstone (red tip) and
a hardened polished round tip (in blue cap).
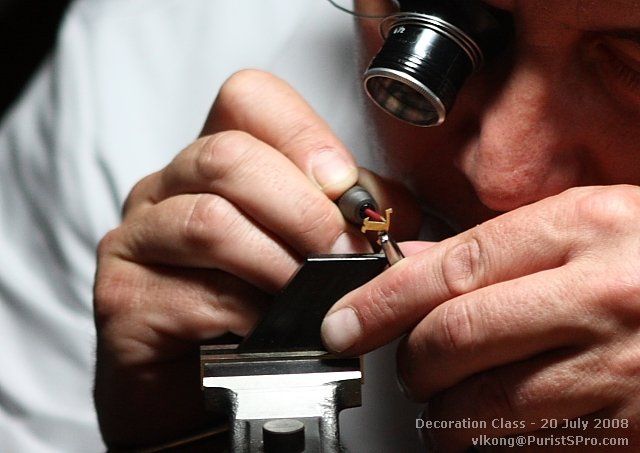
Dominique demonstrated the first step.
Grip the cut-out brass piece with the gripper and tighten well.
The diamond file motion and direction is important.
The file should contact and glide through the surface at about 45 degree and in one direction only with light pressure.
Use the flat portion of the file. For the corners, use the semi-spherical side.
Continue till the rough edges disappeared.
Then proceed to clear other rough edges.
A closer look...
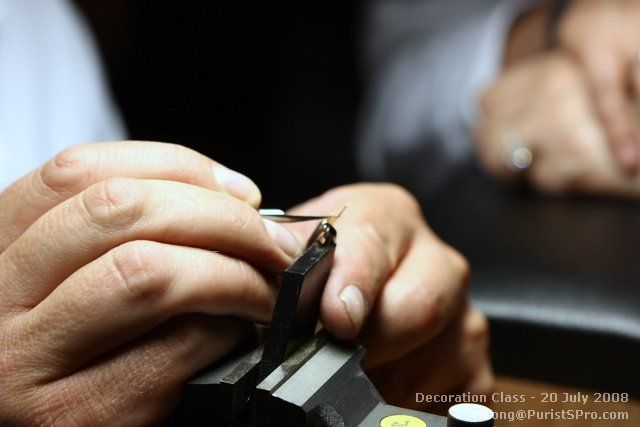
Next step is the oil stone (red tip tool).
Use the body of the tool to further smoothen the surface. For corners, use the sharp tip.
Once the edge is smoothen, you can anglage (or chamfer) the edges by tilting the gripper to about 30 to 45 degree.
Continue to using the oilstone to grind off the material (same motion as the diamond file).
Once all sides are done, the last step with the smoothener (blue cap tool, not sure how to call this tool ).
Use the round edge to polish the edge/anglage till it shines!
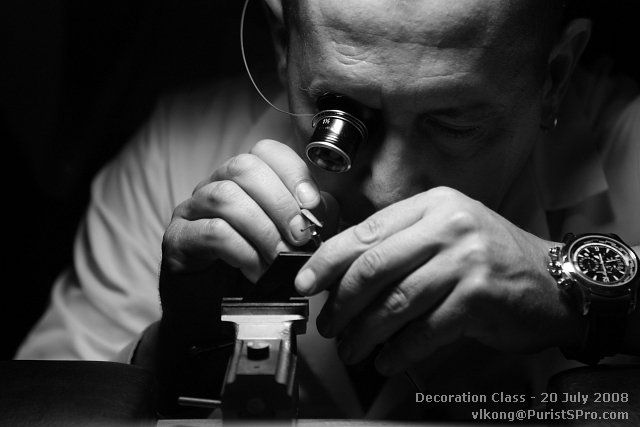
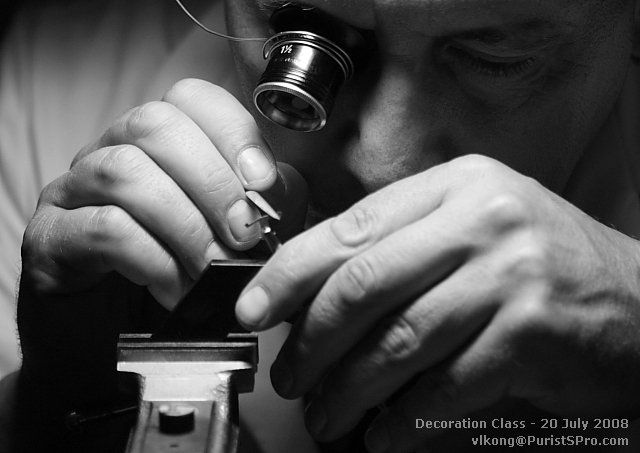
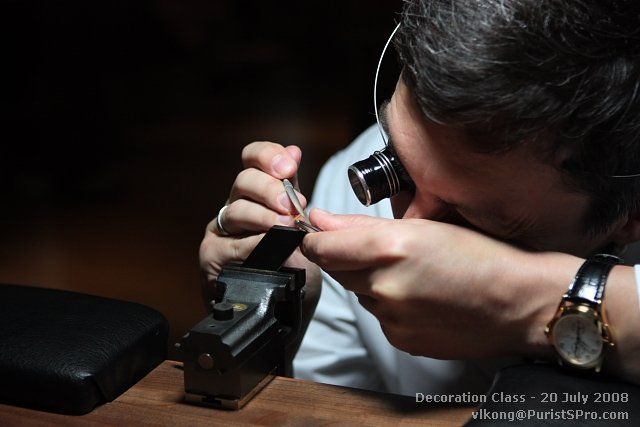
Two views showing how the Master does it....
Did anyone notice the Master has an earring? Perhaps he should hang a finished JLC logo on too
After that, even without using a loupe, with naked eyes (a properly polished parts with the above 3 steps ) you can
see the shine!
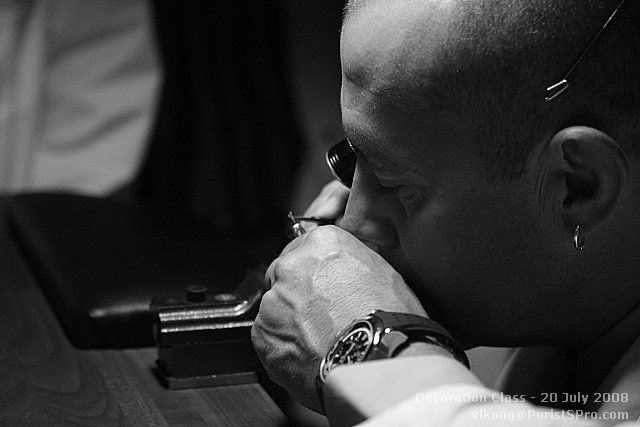
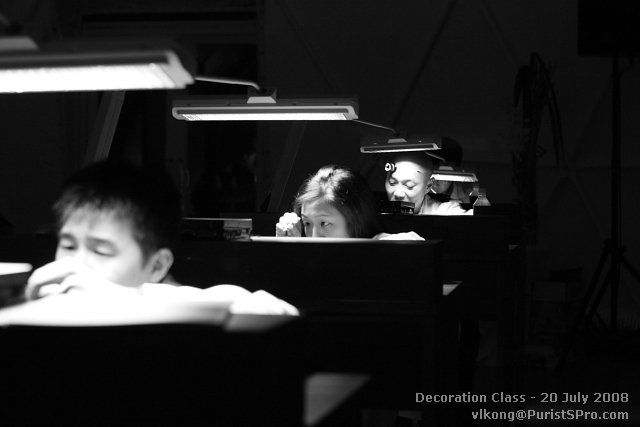
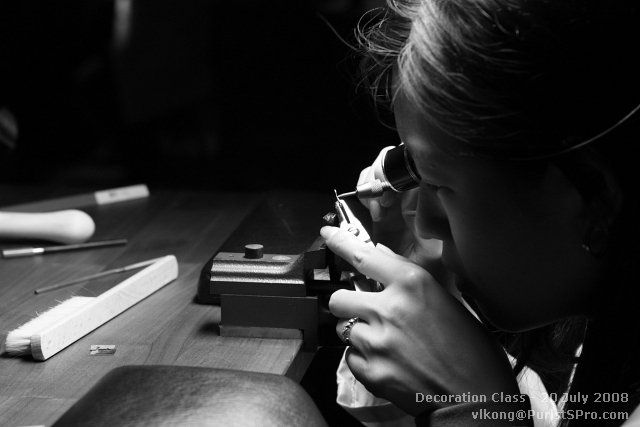
After the demo, everyone back to their work-bench. Total silence...
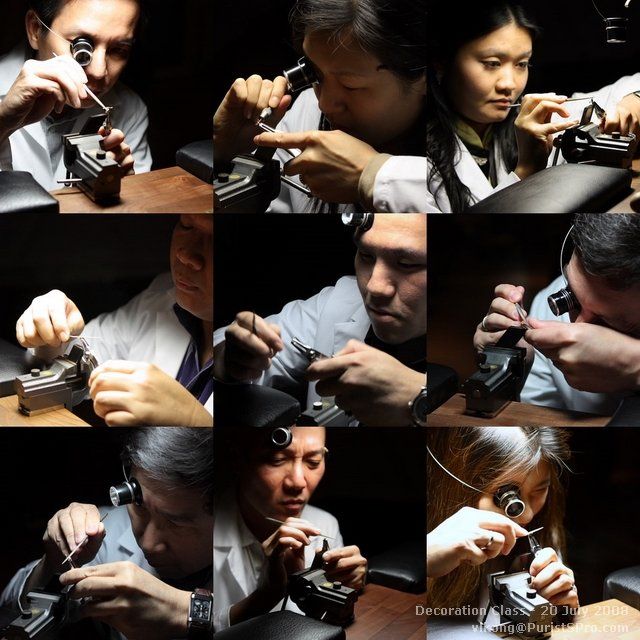
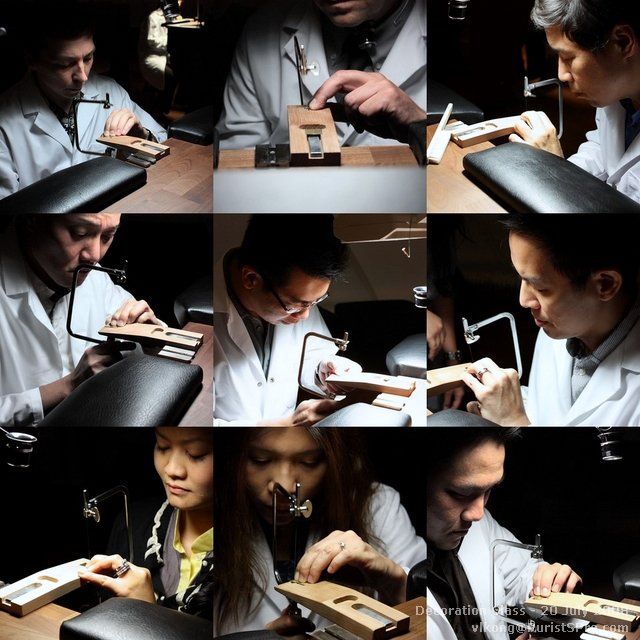
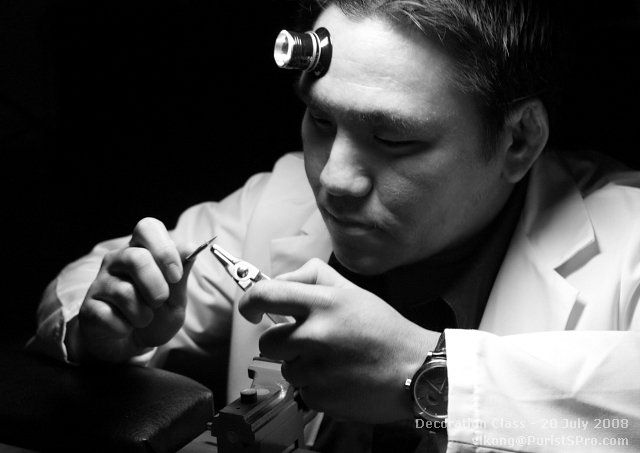
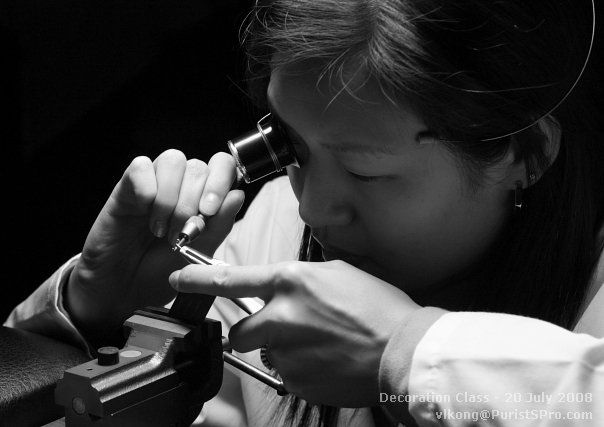
Some pics of our fellow apprentices
More pics.... just observe their eyes....everyone as if 'in the zone', totally shut off the surrounding...
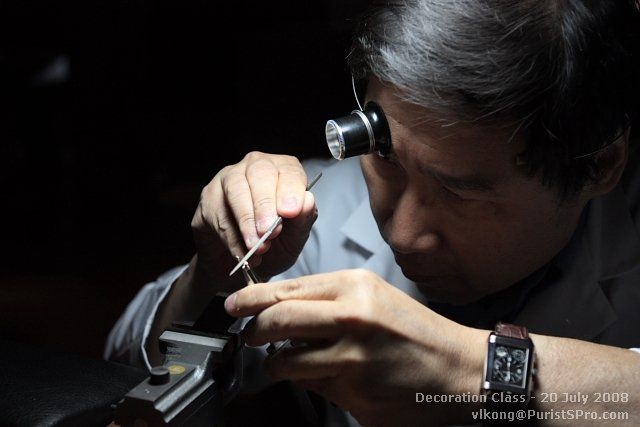


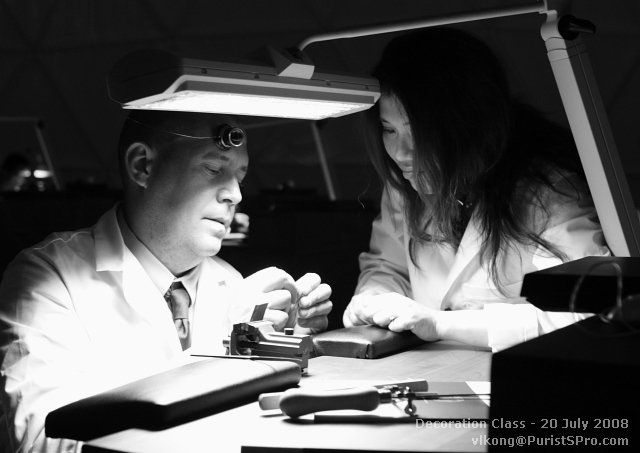
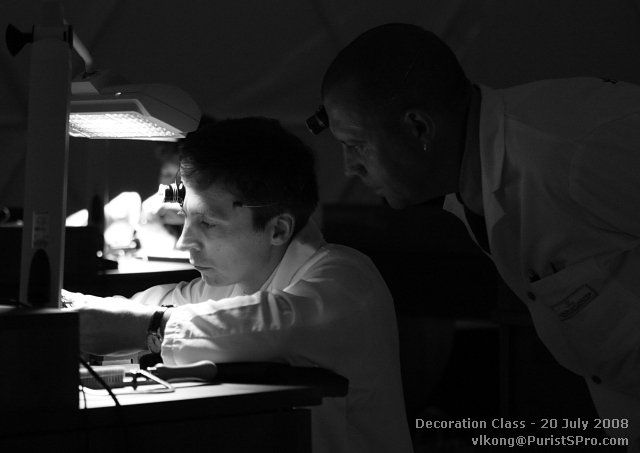
The Master went round to check everyone's work...and also helped a few who need assistance too...

Wonder if Rodney was smiling...a sense of relief or fulfillment
At about 18:30, most have completed....and the certificates were given out to all the students by the Master Dominique...
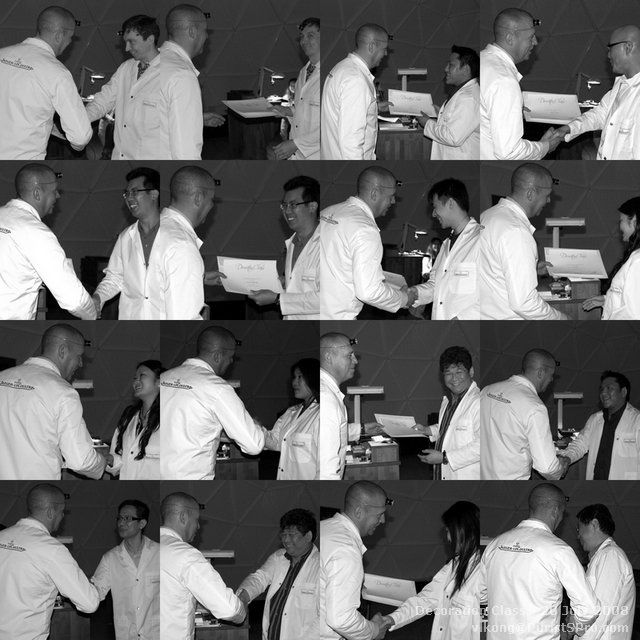
All our PuristS friends were happy and now appreciate the work of their finepieces even more.
As most said, it looked so easy but the actual hands-on was otherwise
.
By the time, we left, the domes were transformed...should be more spectacular as night falls......
Kong
Correct typo.
This message has been edited by Kong on 2008-07-22 13:29:08