monochrome
457

Finishing a bridge
Finishing a movement is not only done to show it’s beauty, but it also positively affects the movement's rate and lifespan. Although I’ve been interested in watches for quite some time, I’ve never seen what it takes to finish a movement part to a very high degree.
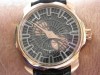
Recently I visited Tim and Bart Grönefeld in their atelier. They had just picked up the unfinished bridges of their new movement, caliber G-02, which they developed themselves. Let’s take a look at the finishing of one bridge of the new Grönefeld One Hertz’s caliber G-02. 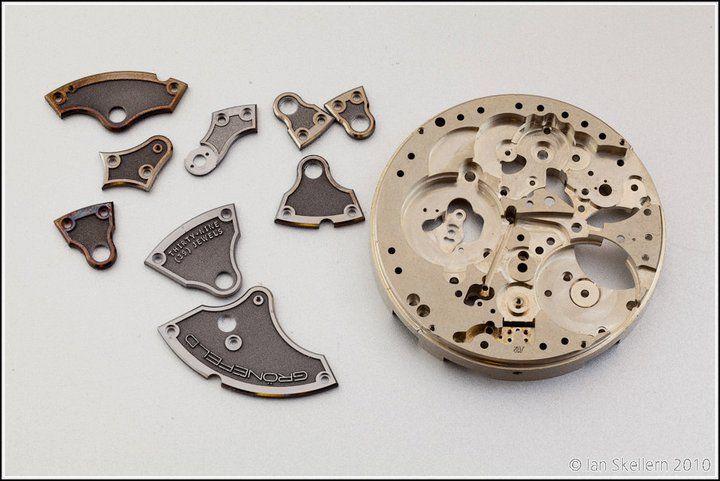
After a design process of many months, it’s an exiting moment now the first parts have arrived. It’s finally time to start working on the new One Hertz. I’m absolutely thrilled about the new Grönefeld One Hertz with its independent dead beat seconds complication.
Bart Grönefeld showed me every step in the process of finishing a bridge. 
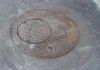
The photo above shows an unfinished bridge, the way it comes from the manufacturer. The Grönefelds have chosen for stainless steel bridges, which is quite unusual as far as I know. Usually bridges are made of brass or German silver.
After the CNC process the bridges are laser engraved. The heath of this process is responsible for the different colors of the unfinished bridges. After being treated with an acid, the discoloration disappears. Than the bridge is screwed on an unfinished mainplate to get a stable bridge to work on. 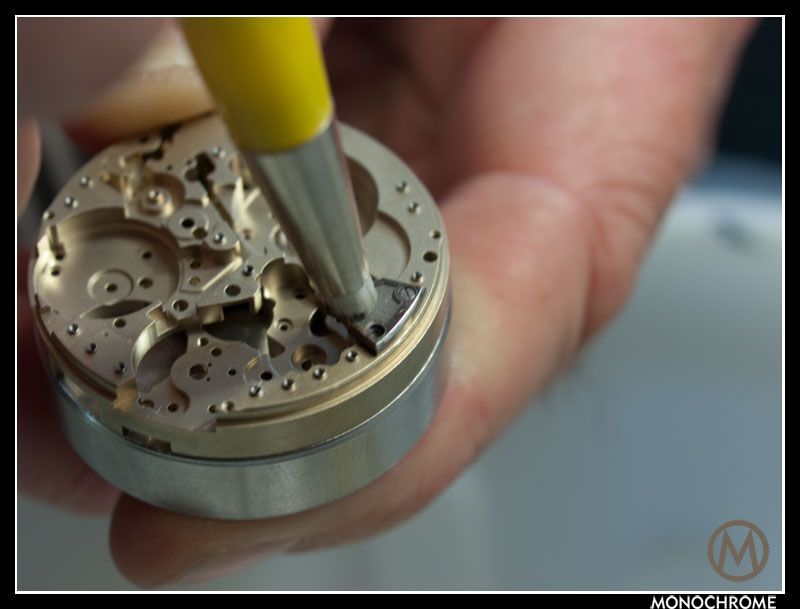
First the bridge is brushed, to eliminate small parts. The following step is removing burs around the holes. 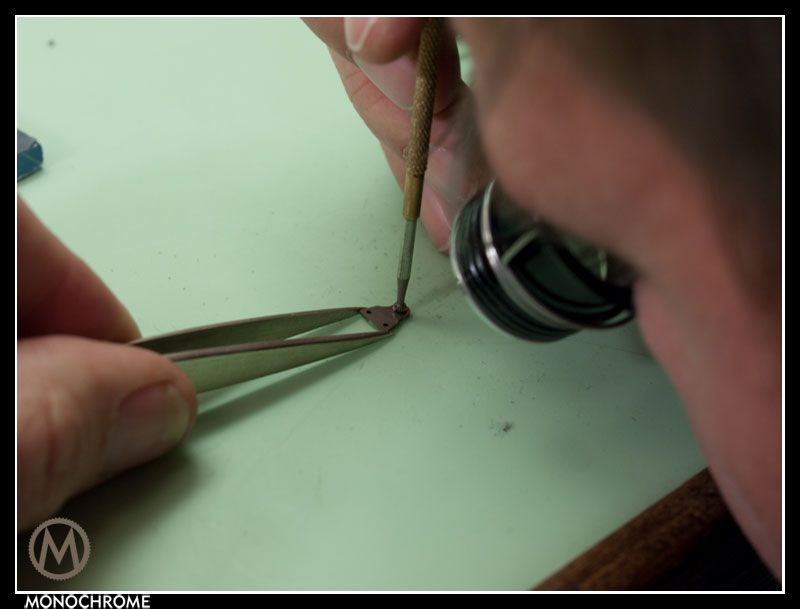
This has to be done on both sides of the bridge.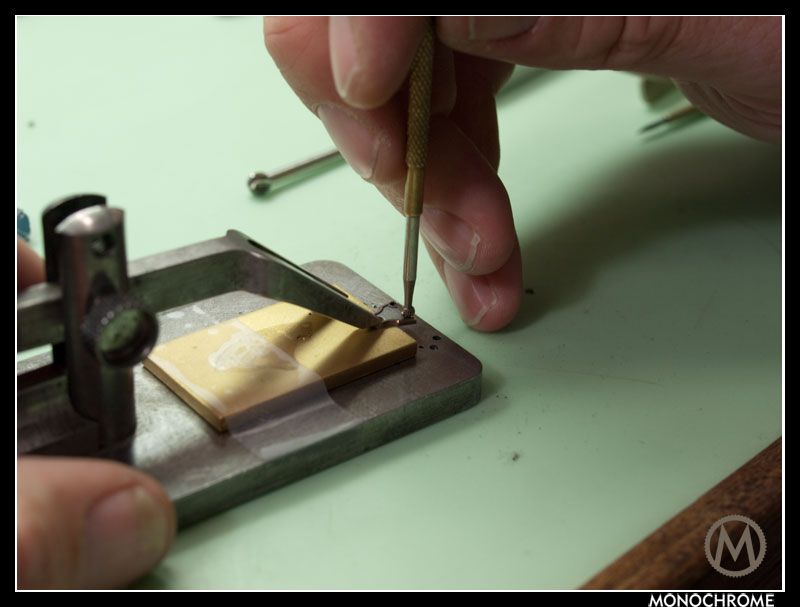
After deburring the bridge looks like this.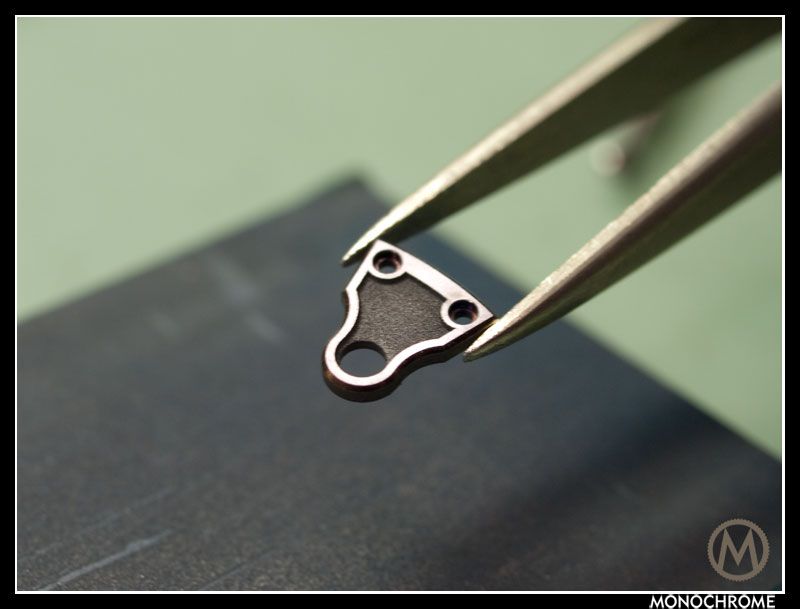
Now it’s time for micro blasting, which smoothens the surface. 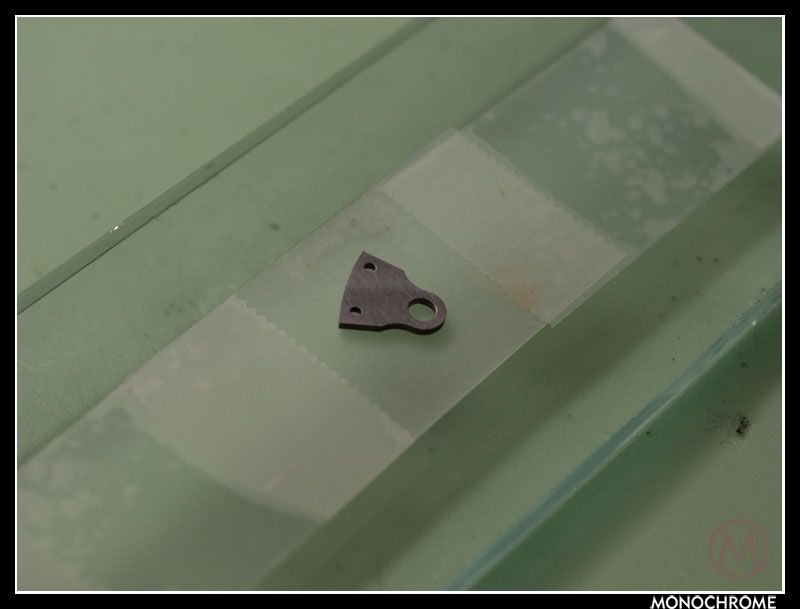
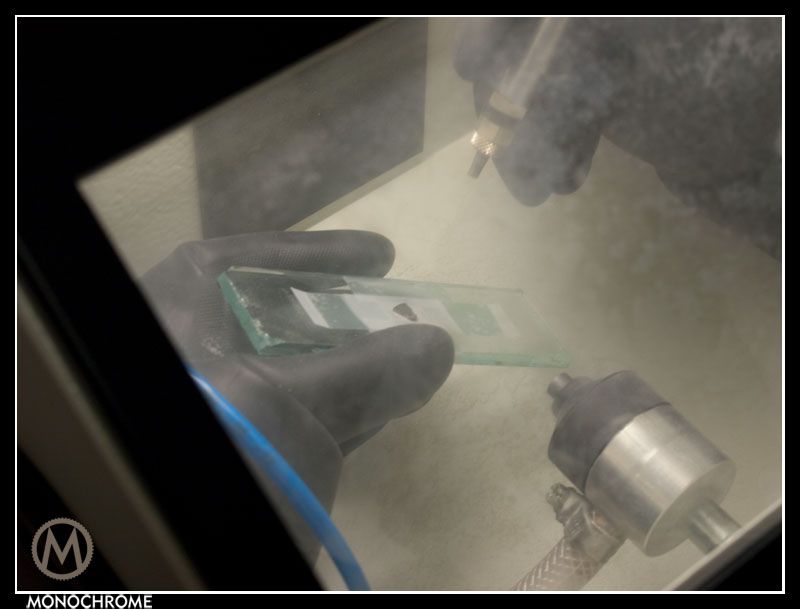
After the micro blasting the bridge is cleaned in an ultrasonic cleaner. Here’s the result of the front and backside. 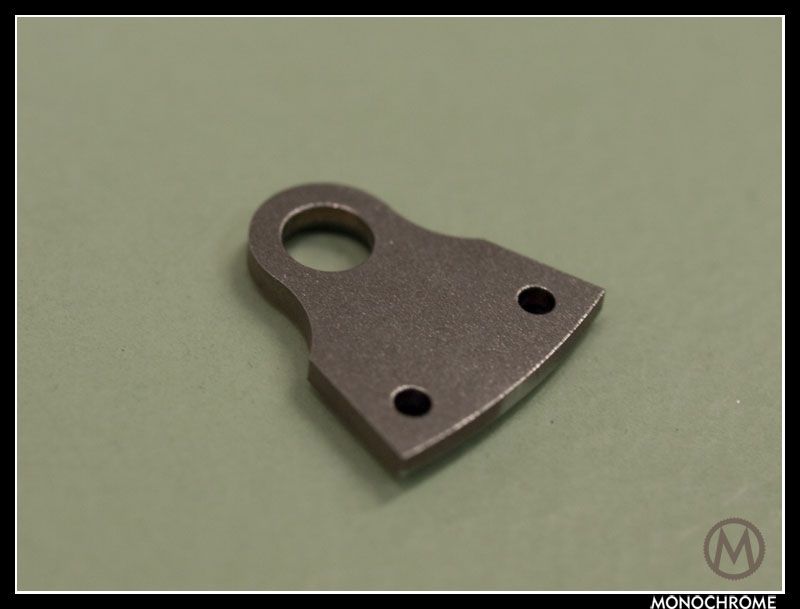

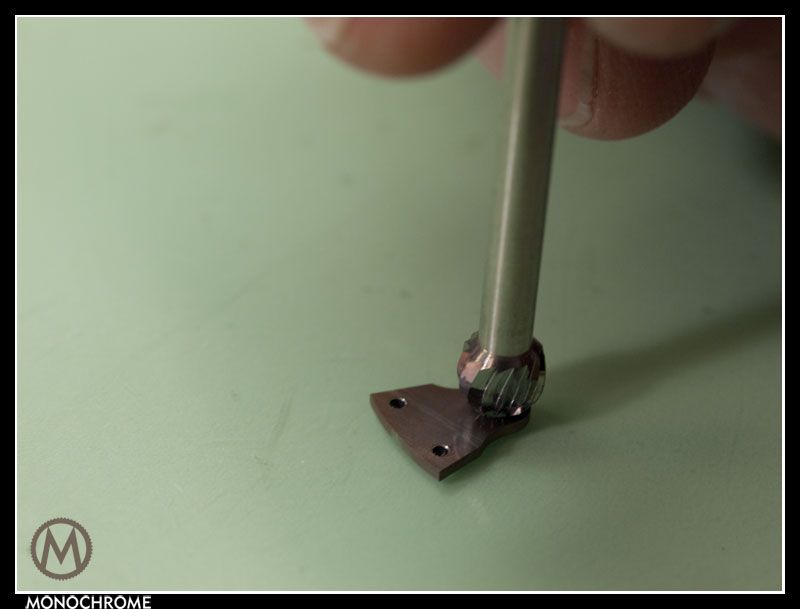
Now the part start, that makes most of us really happy… the angling! Anglage truly makes the difference on a hand-finished movement.
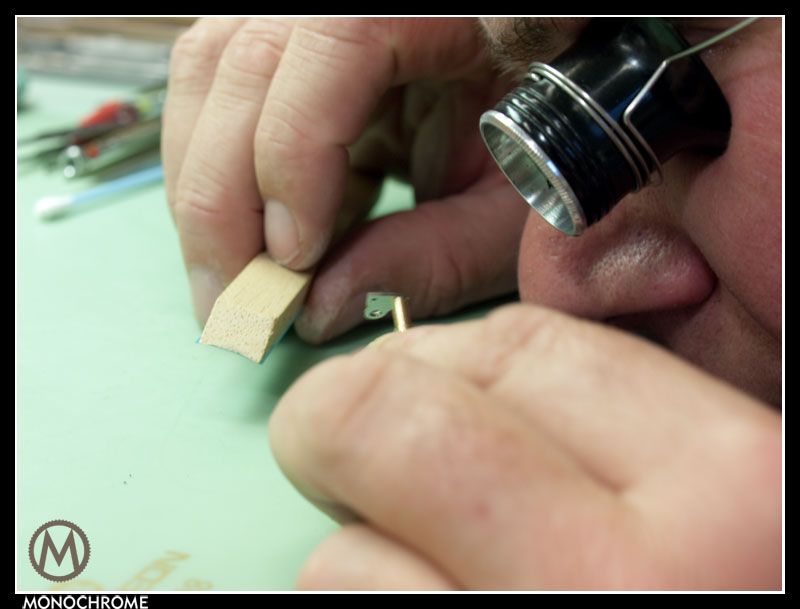
The first step in angling is done by a very fine file or by wood. Which tool is used, depends on the shape of the edge and the material of which the bridge is made of.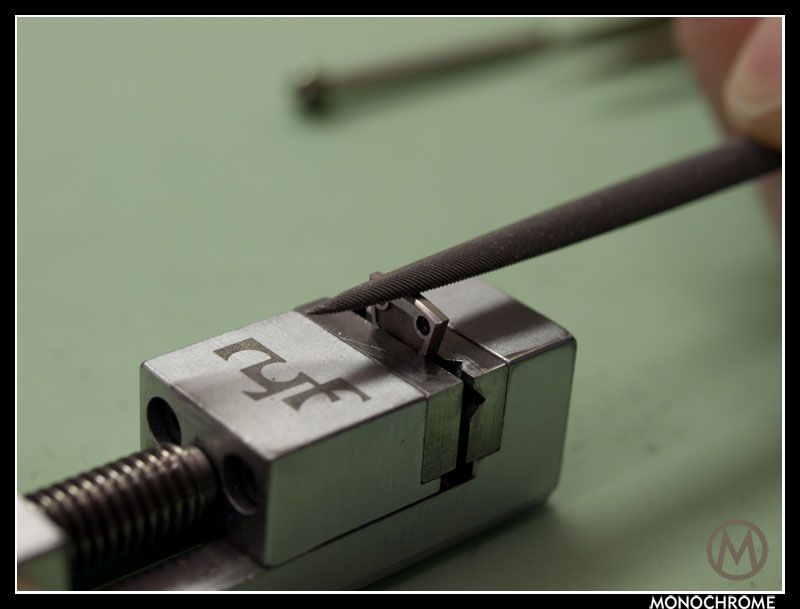
Using the file on the round edges is impossible, so this is done by this tool (don’t know what it’s called) with a wooden pin. 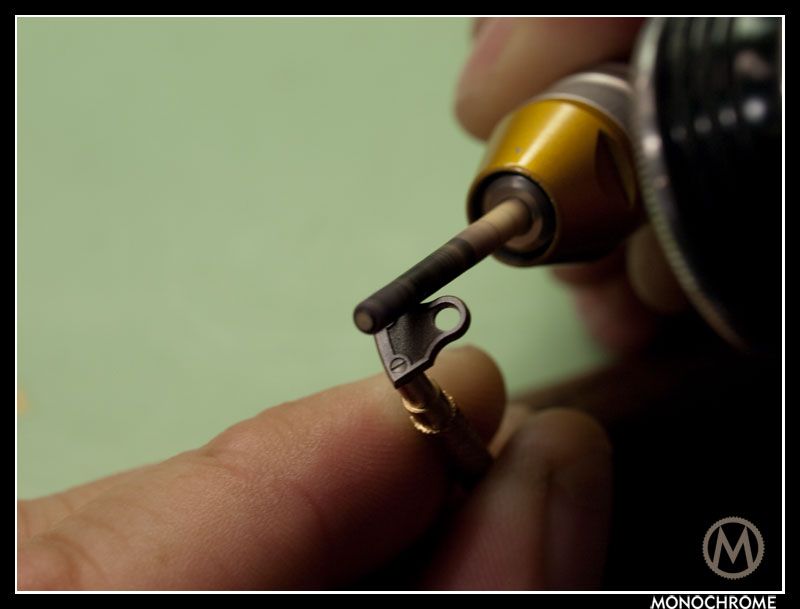
And another part is done by a very fine, curved wooden file. 
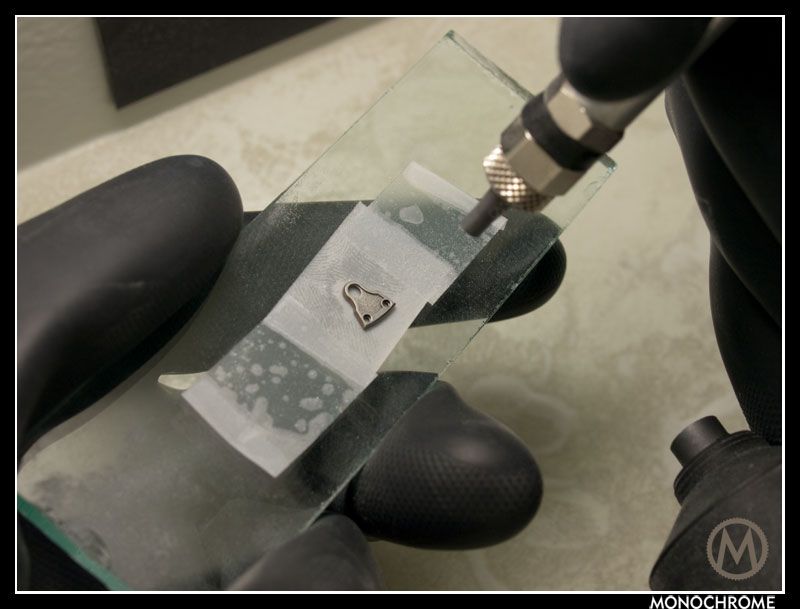
The next step in angling is to polish the angled sides to obtain the beautiful shiny anglage. This is done with felt.
Bart explains the angling he does makes the angles round, so the reflection of the light is more beautiful. 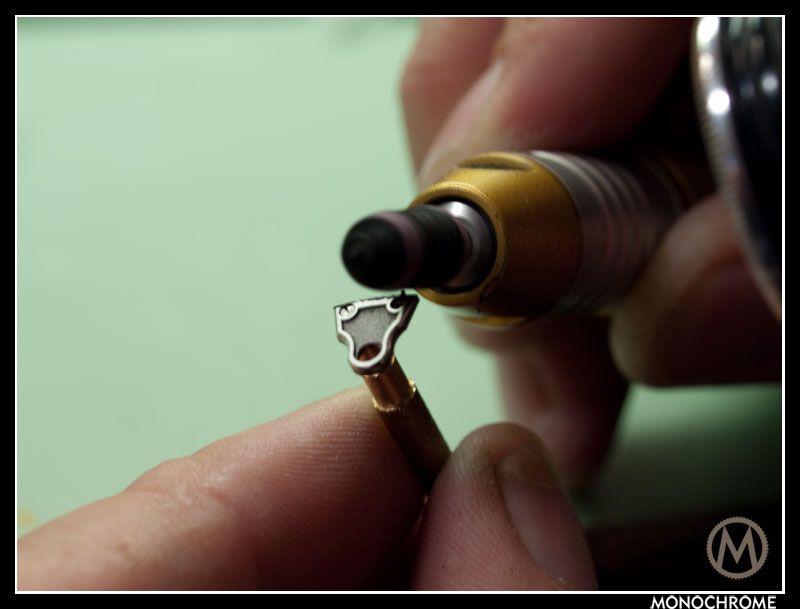
And after all edges have been polished, the holes also have to be polished.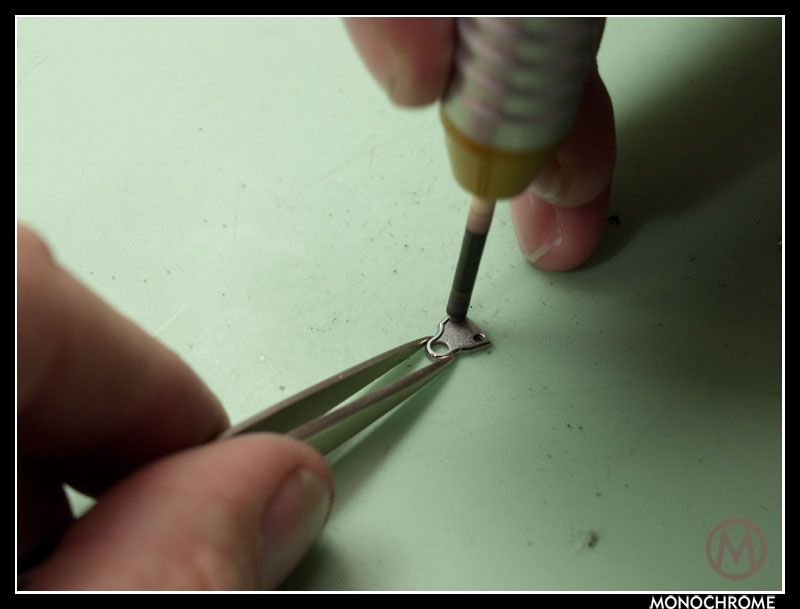
Now the bridge is screwed on the unfinished mainplate that functions as a good bridge-keeper during the finishing process. 
The flat parts also have to be polished…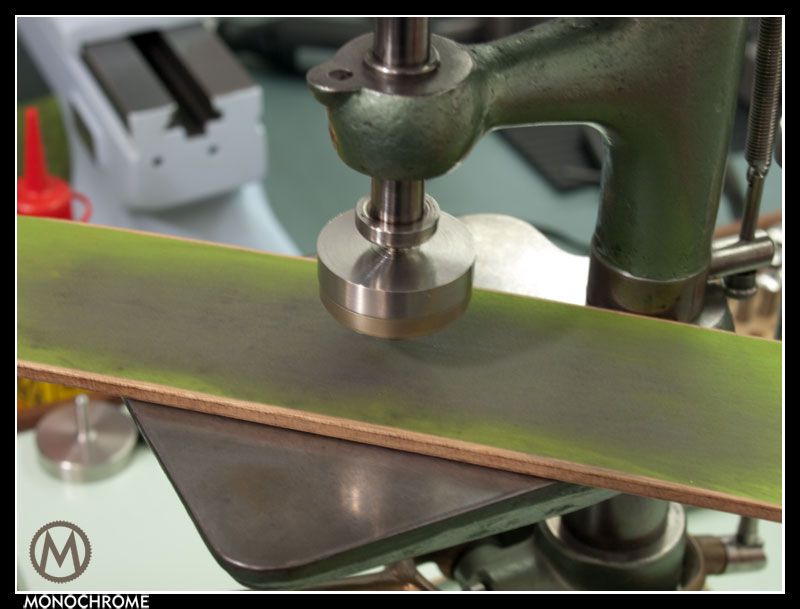
Check, double check… This is done during the whole process, over and over again. 
A bit more…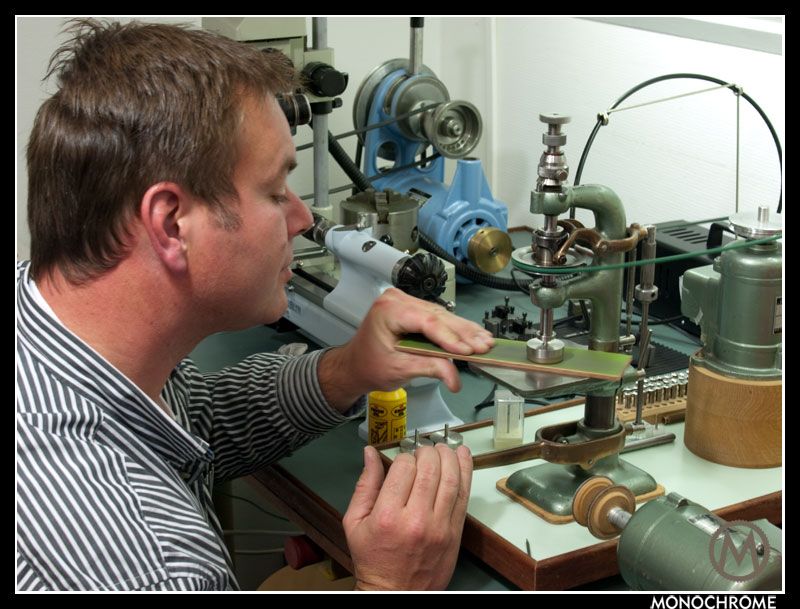
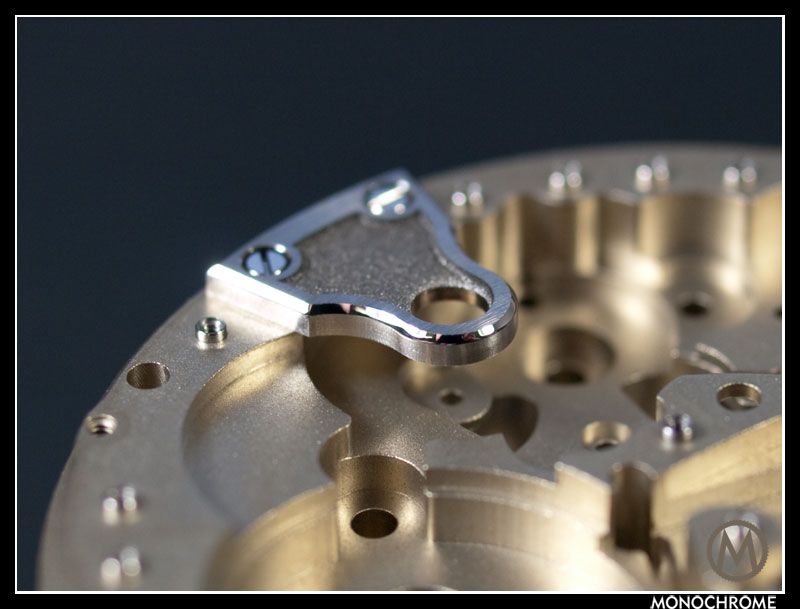
And Bart Grönefeld is done. At least with one of the bridges. The entire process took 3 hours and there are 9 bridges. If more bridges are finished this reduces the process to roughly 2 hours for each bridge. And this is just for the bridges!
Hand finishing a movement requires skills, a steady hand, knowledge and patience. Massive amounts of patience… But the result looks fabulous.
My sincerest thanks go to Tim and Bart Grönefeld for taking the time to show me how a bridge is finished. I'm absolutely looking forward to seeing more of this movement and of course the entire watch when it's ready.
Finishing a bridge

This gives us a small idea of the work going into a highly finished movement...


Excellent report


thanks for the indepth lesson in Anglage Frank.
Polishing
With your permission I would like to post an image showing this

Thanks Frank


Thanks Frank ! May I add a few pics ?


Thanks Frank,


Many thanks for sharing this!